Advertisement
Quick Links
Model-E600
INSTRUCTION MANUAL
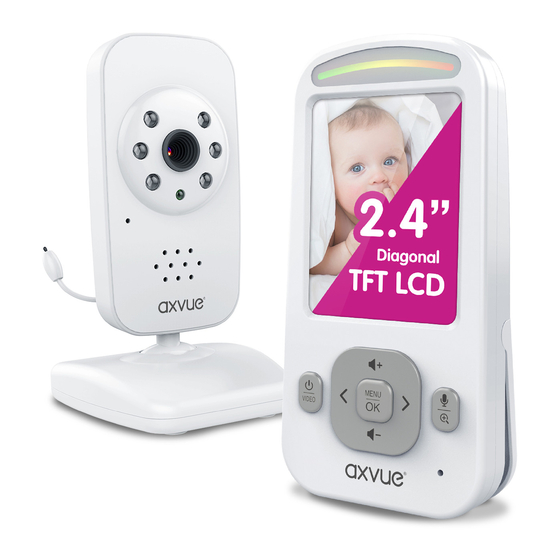
AXVUE E600 VIDEO BABY MONITOR
WITH 2.4" LCD SCREEN AND NIGHT VISION
Please read the following instructions and warnings carefully
Tools required for wall mount: Screwdriver and drill (not included)
Keep this instruction manual for future reference.
For technical support see FAQ page.
For adult use only.
Get to know us at: www.axvue.com
Advertisement

Subscribe to Our Youtube Channel
Related Manuals for Axvue E600


Summary of Contents for Axvue E600
- Page 1 Model-E600 INSTRUCTION MANUAL AXVUE E600 VIDEO BABY MONITOR WITH 2.4" LCD SCREEN AND NIGHT VISION Please read the following instructions and warnings carefully Tools required for wall mount: Screwdriver and drill (not included) Keep this instruction manual for future reference.
-
Page 2: Battery Warning
Adult assembly required. Exercise care when unpacking and assembling the product. BATTERY WARNING -Use only the original rechargeable battery provided. Please contact Axvue Inc. for replacement battery. Contact information can be found on last page of these instructions. -
Page 3: Features And Components
Features and components 1 LED* 6 Right/Zoom In 11 Kickstand 2 Up / Volume Up 7 Talk Back 12 DC Jack 3 Power / Video 8 Down / Volume Down 4 Left/Temperature mode 9 Speaker 5 OK / menu 10 Battery Compartment Adapter for monitor: *LED Power &... - Page 4 Features and components (continued) 13 Nighttime LEDs Adapter for camera: 14 Lens 15 Microphone 16 Speaker 17 Power On / Off Switch 18 Temperature sensor 19 DC Jack WARNING STRANGULATION HAZARD - Children have STRANGLED in cords. Keep this cord out of reach of children (more than 3 feet (0.9 m) away from the crib).
- Page 5 Adapter into wall outlet and turn camera power on. Step2: Press and hold ‘POWER/MENU’ button on monitor for 5-seconds until the AXVUE showed on the screen.Video should immediately appear on screen. If video does not appear, go to page 5 ‘To pair monitor and camera’.
- Page 6 Plug the monitor AC adapters into the AC adapter jacks and other ends into standard electrical outlets. Step 2: Press and hold POWER/MENU button for 5-seconds to power up until the AXVUE logo or video appears on screen.
- Page 7 All cameras can be auto-scanned to view on an 8-second rotation. The SCAN, DELETE, ADD, VIEW CAMERA menu options are used with addtional cameras only. Order the extra camera by visiting us at http://www.axvue.com . Favorite features (continued) DIGITAL ZOOM The zoom option enables you to get a closer view on screen.
- Page 8 Favorite features (continued) ADJUSTABLE VOLUME AND BRIGHTNESS Volume adjustments allow higher volume settings for parents who want to hear every little sound from baby, like cooing, and lower volume settings to monitor louder sounds and cries from baby. Easily adjust the volume based on your preferences and the level of other sounds in the home. Brightness can be adjusted, as well, to accommodate the level of light in the room.
-
Page 9: Important Safety Instructions
RISK OF ELECTRIC SHOCK CAUTION DO NOT OPEN DO NOT EXPOSE TO RAIN OR MOISTURE IMPORTANT SAFETY INSTRUCTIONS -Read safety and operating instructions before the product is operated. -Retain instructions for future reference. -Heed warnings on the product and in the operating instructions. -Follow instructions and operate properly. - Page 10 -The product should be mounted to a wall or ceiling only as recommended by the manufacturer. -The product should be situated away from heat sources such as radiators, heat registers, stoves, or other products (including amplifiers) that produce heat. Get to know us at: www.axvue.com PAGE 9...
-
Page 11: Fcc Information
2. This transmitter must not be co-located or operating in conjunction with any other antenna or transmitter. Get to know us at: www.axvue.com Colors and styles may vary. Please retain information for future reference. - Page 12 AXVUE stands behind all of its products. If you are not completely satisfied or have any questions, please contact us at http://www.axvue.com MADE IN CHINA connect with us: AXVUE INC. 19 W 34TH STREET SUITE 1018 NEW YORK, NY 10001...
Need help?
Do you have a question about the E600 and is the answer not in the manual?
Questions and answers