
Related Manuals for Truma Trumove S


Summary of Contents for Truma Trumove S
- Page 1 Trumove S / T Operating instructions Page 2 Installation instructions Page 8 To be kept in the vehicle! Sales and warranty UK and Southern Ireland only...
-
Page 2: Table Of Contents
Choice of location ............... 10 Operating instructions Mud guards .............. 10 Adapting the mud guards to the Trumove S / T ....10 Remote control ..............4 Determining the cut-out dimensions ........10 Remote control LED flash codes and acoustic signal ..5 Installation of the drive units ........ -
Page 3: Symbols Used
/ mover operation. – Do not use the Trumove S / T as a support – Always check tyres and drive rollers before when jacking up the caravan, since this can using the equipment;... -
Page 4: Batteries
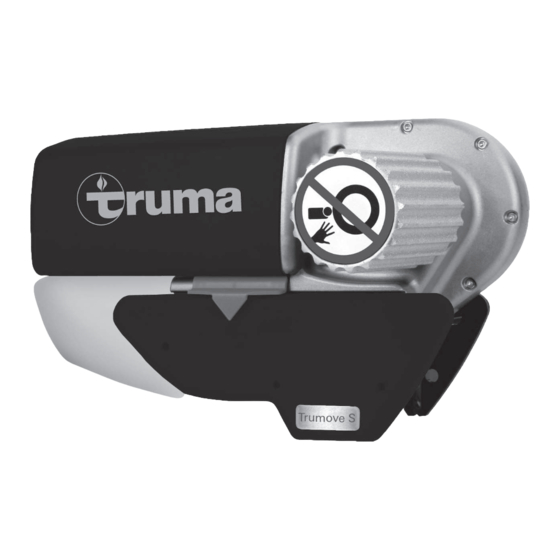
“On” after approximately 1 second. The Trumove S / T is a manoeuvring system with which a caravan can be moved without the assistance of a towing There is no “On / Off” switch on the caravan to be operated. -
Page 5: Remote Control Led Flash Codes And Acoustic Signal
(2 Hz). Switch remote control off and on again (wait for cooling down if necessary in the event of overtemperature). After starting up, the Trumove S / T moves at a uniform speed. The speed will increase a little when going downhill and de- crease a little when going uphill. -
Page 6: Checks
It is extremely easy for you or your caravan dealer to perform the checking and maintenance of your Trumove S / T during the annual inspection of your caravan. If in doubt, please The remote control and the control unit are synchronised contact the Truma Services (see www.truma.com). -
Page 7: Declaration Of Conformity
– for parts subject to wear and in cases of natural wear and tear, 3. Complies with the requirements of the following – as a result of using parts that are not original Truma parts in EC directives the units, 3.1 R&TTE directive (1999/5/EC) -
Page 8: Installation Instructions
Approval min. 170 The Trumove S / T satisfies other requirements stated in the EC directives and standards (see declaration of conformity). The technical and administrative regulations of the country in which the vehicle is initially registered must be complied with Fig. -
Page 9: Special Accessory Installation
Special accessory installation 6. AL-KO Chassis M adapter kit for chassis with axial displacement with 1. Spacer set 30 mm a permitted gross weight of 1800 kg To compensate for the height difference for caravans / trailers Mounting set to compensate for frame edges for caravans with a frame height of less than 170 mm and up to 140 mm, with AL-KO Chassis M. -
Page 10: Choice Of Location
Choice of location If necessary, make recesses in mud guard for apron contour The Trumove S / T should preferably be installed in front of the and attach mud guard to underside of caravan 300 mm from axle, but can also be installed behind the axle under special tyre. - Page 11 Fig. 26 The screws are coated with a sealant and may therefore If there is a height difference, Truma has 30 mm and 60 mm only be screwed in once. spacer sets in its accessory program to compensate for the height difference.
-
Page 12: Installation Of Motor Cables And Control Unit
The two drive motor cables must be of the same length to ensure that the drive output of the Trumove S / T is uniform! Seal hole in vehicle underbody using plastic body sealant. Excess cable must be routed in wavy lines without looping. -
Page 13: Connecting The Engagement Motors
The cables leaving the terminal need to be installed separately from each other until after the fuse in the plus line. Fig. 34 Route battery connecting cables (only use the original Truma cables included in the delivery) to control unit and securely attach using the provided clips and screws. -
Page 14: Commissioning The Trumove S / T
B 3.9 x 33 (3 x) Check whether the battery is fully charged for operating the Trumove S / T and that the isolating switch is in the “ON” position. Park the caravan outside on an open, level surface and apply the handbrake. - Page 15 Shown left side in the direction of travel Trumove S / T Outside edge Außenkante...
- Page 16 In Germany, always notify the Truma Service Centre if problems are encountered; in other countries the relevant service partners should be contacted (see www.truma.com). Having the equipment model and the serial number ready (see type plate) will speed up processing.
Need help?
Do you have a question about the Trumove S and is the answer not in the manual?
Questions and answers