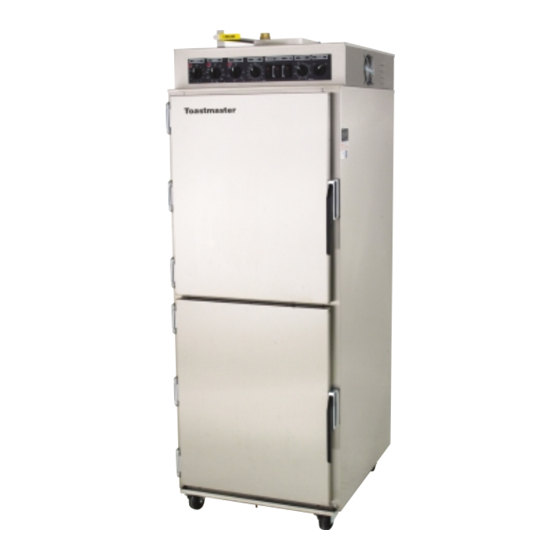
Toastmaster ES-13 Manual
Hide thumbs
Also See for ES-13:
- Specification sheet (2 pages) ,
- Product catalog (64 pages) ,
- Specifications (2 pages)
Advertisement
Advertisement

Subscribe to Our Youtube Channel
Summary of Contents for Toastmaster ES-13
- Page 1 Models:ES-13 ES-6 ES-6R ES-13L Revised: March 23, 2010...
-
Page 2: Table Of Contents
ES–6 & ES–13 TABLE OF CONTENTS EQUIPMENT WARRANTY................. RECEIPT AND INSTALLATION..............INITIAL START–UP ................... OPERATING INSTRUCTIONS ..............10 MAINTENANCE AND CLEANING GUIDE ..........12 REPLACEMENT PARTS LIST..............14 ELECTRICAL SCHEMATICS..............16... -
Page 3: Equipment Warranty
WARRANTY LIMITATIONS: TOASTMASTER® will pay for parts and labor under warranty if there is a defective component, but not for: •Parts damaged in shipment beyond the confines of the TOASTMASTER® factory. - Page 4 Food service equipment and parts must be installed and maintained in accordance with TOASTMASTER® instructions. Users are responsible for the suitability of the units or parts to their application. There is no warranty against damage resulting from accident, abuse, alteration, misapplication, inadequate storage prior to installation, or improper specification or other operating conditions beyond our control.
-
Page 5: Receipt And Installation
RECEIPT AND INSTALLATION RECEIPT: It is essential to inspect the unit immediately when it arrives. TOASTMASTER® has placed instructions on the packaging to help avoid damage in transit. However, negligent handling can produce hidden damage. These steps should be carefully followed: A. - Page 6 Oven. If the values match the unit is ready for its INITIAL START–UP. If the readings DO NOT coincide you must call the TOASTMASTER® Service Department for instructions on changing the voltage and/or the phase.
- Page 7 WATER SUPPLY CONNECTION: IMPORTANT: TOASTMASTER® strongly recommends that SOFT WATER only be used in any unit requiring a water supply. Also, a good quality water filter MUST be installed in-line between the unit connection and the water supply to guard against clogging and mineral build-up in the components.
-
Page 8: Initial Start-Up
INITIAL START–UP (Manual Controls) This START–UP procedure is used to verify that your TOASTMASTER® Smoker has been installed correctly and will perform as intended when put into use. This INITIAL START–UP procedure should be carried out by your electrician, licensed installer or a TOASTMASTER®- approved service agency. - Page 9 Set the HUMIDITY control to the OFF position. Set the SMOKER switch(s) to the ON position. The SMOKE BOX should begin to heat up. The standard SMOKE BOX is located near the ceiling on the inside back wall of the Smoker. The smoke element intensity can be adjusted with the dials located at the far right of the control panel.
-
Page 10: Operating Instructions
This lets you finish products quickly, but still hold them at optimum temperatures to prevent loss of moisture and resulting shrinkage. The TOASTMASTER® Smoker is equipped with an internal Grease Pan to catch any drippings from your products and to make cleaning easier. The Grease Pan can be lifted out for dumping and cleaning at the end of the day. - Page 11 Your product will remain at the set HOLD temperature until the setting is changed or the unit is turned OFF. IMPORTANT: Your TOASTMASTER® smoker is well insulated and will maintain the original Cook temperature for ½ to 1 hour depending on the product, product density and load size.
-
Page 12: Maintenance And Cleaning Guide
MAINTENANCE AND CLEANING GUIDE TOASTMASTER® equipment is designed to last for years of useful service. Careful consideration is given in selecting components for durability, performance and ease of maintenance. For example, the Smoker Motor has sealed bearings and never needs to be lubricated. - Page 13 CLEANING: Your TOASTMASTER® smoker should be cleaned daily and as soon as possible after a spill has occurred. It is essential to maintain a clean unit, especially if the public views the unit in your place of business. The following should be used for cleaning: A.


Need help?
Do you have a question about the ES-13 and is the answer not in the manual?
Questions and answers