
Related Manuals for Marshall Electronics Genesis


Summary of Contents for Marshall Electronics Genesis
- Page 1 Professional Audio Division Phone: 310-333-0606 · 800-800-6608 · Fax: 310-333-0688 www.mxlmics.com · sales@mxlmics.com...
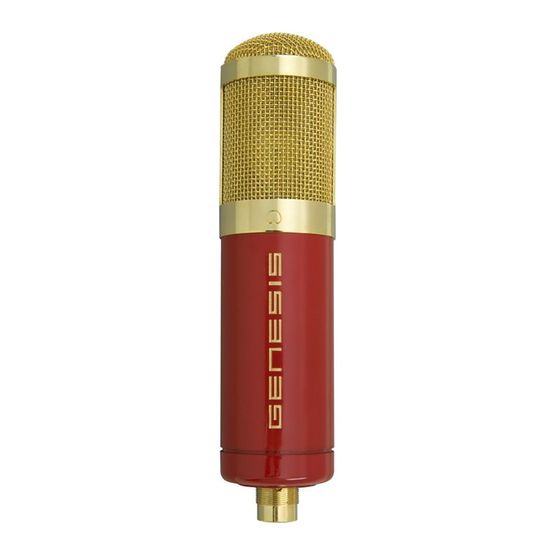
- Page 2 Heritage Edition Heritage Edition Tube Microphone...
- Page 3 One of the key components is the Mullard 12AT7 tube, which is universally accepted as one of the most musical tubes available. Your Genesis HE will provide many years of outstanding service, and will always ensure you get the finest quality recordings attainable.
- Page 4 Genesis HE Specs Type: Vacuum Tube Studio Condenser Microphone Mullard 12AT7 or equivalent Tube Type: Diaphragm: 6 micron gold-sputtered 20 Hz – 20 kHz Frequency Response: Polar pattern: Cardioid Output Impedance: 200 ohms 0 dB, -10 dB Pre-Attenuation Switch: High Pass Filter:...
- Page 5 Recording a Drum Set Like the piano, capturing the drums can be quite a challenge, if for no other reason than the fact that you must be very careful to avoid positioning the microphone(s) where they could be hit! Ideally you’ll want a minimum of two microphones for this job, though a single microphone can be employed.
- Page 6 230 Volts AC position for export. However, you always want to Accessories Pop Filter The Genesis HE comes with a custom pop filter which should be used anytime the microphone is being used to record vocals. The pop filter not only eliminates plosives (those “popping Ps”),...
- Page 7 This will likely rectify the problem. Afterward, you should always use a pop filter. Shockmount The Genesis HE comes with a custom shockmount specifically designed handle large size. Shockmounts de-couple the...
- Page 8 Fig. 4B Side View Front View Mics positioned Front Panel Removed 8-11” away from strings Front Panel Placement: For the upper strings, position the microphone approximately 8 - 11 inches away from the strings, with the Pan position set to left of center. For the lower strings, position the microphone 8 - 11 inches away from the strings, with the Pan position set to right of center.
- Page 9 Recording the Piano The piano is one of the most challenging instruments to record, and many problems stem from the quality and maintenance of the instrument itself. You’ll obtain the best results by using an instrument that has just been tuned and is in good mechanical condition.
- Page 10 Recording Vocals and Dialog Fig. 1 Ideally, you want to record vocals in a relatively “dead” room. If you clap your hands and get an echo effect, you should consider adding some carpet, blankets, drapes, or other sound absorbing materials. On that note, make every effort to avoid getting too close to the room’s walls.
- Page 11 Recording Acoustic Guitar While it may seem obvious, your best Bridge Placement: Similarly, you results for capturing the acoustic can position the microphone so it is guitar similar stringed 3 - 6 inches from the guitar’s instrument for that matter) begin with bridge.
- Page 12 Recording an Amplified (Electric) Guitar Fig. 3 Top View Side View 4” Mic is aimed directly at center of loudspeaker Mic is positioned 4” from grill While the electric guitar can certainly produce the most “edge” to your be recorded directly, there are times sound.
Need help?
Do you have a question about the Genesis and is the answer not in the manual?
Questions and answers