Table of Contents
Advertisement
Advertisement
Table of Contents

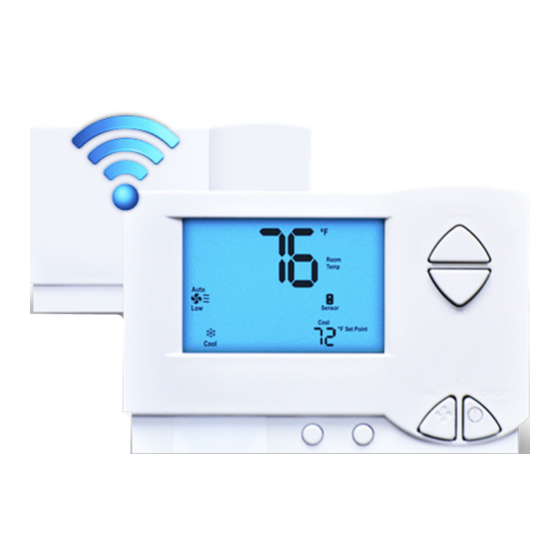
Summary of Contents for EcoSmart PST6000
- Page 1 EcoWave Installation Guide PST6000 and PST6550...
-
Page 2: Table Of Contents
Table of Contents Table of Contents ........................1 Installation Requirements ......................2 Required Equipment ......................2 Hardware ........................2 Regulatory Compliance ......................2 FCC Notice ........................2 Wiring the EcoInsight/EcoSource ....................3 Wireless Installation of the EcoAir ....................6 Configuration ......................... 7 Join the EcoInsight/EcoSource to the EcoConnect ................. -
Page 3: Installation Requirements
Installation Requirements Required Equipment Hardware EcoAir (P/N: PST6550) • EcoInsight/EcoSource (P/N: PST6000) • Voltmeter • Small Phillips screwdriver • Wire nut or electrical tape • Wire stripper • Wire cutter • Security screw wrench • Level • Two AA Batteries •... -
Page 4: Wiring The Ecoinsight/Ecosource
Wiring the EcoInsight/EcoSource 1. Locate the wiring in the HVAC Unit. 2. Review the table below and determine where the EcoInsight/EcoSource will be mounted. Mounting Best Practice Consideration RF Interference If the EcoInsight/EcoSource will be mounted inside a metal HVAC unit or in a room with a large amount of metallic equipment, an external antenna may be necessary. - Page 5 16. Refer to either the wiring diagram provided by your Telkonet Project Manager for this install or use the wiring pinouts below in Figure 1and Table 1. Figure 1: EcoInsight/EcoSource Wiring Pinout Table 1: EcoInsight/EcoSource Wiring Pinout Label on Backplate Function R (Power) 12-277VAC power from HVAC, used to power the thermostat...
- Page 6 17. Starting at the bottom of the terminal block and working up, use a Phillips screwdriver to secure each of the HVAC wires into the appropriate pins on the terminal block. See Figure 2. Figure 2: Connecting Wiring from Bottom to Top 18.
-
Page 7: Wireless Installation Of The Ecoair
Wireless Installation of the EcoAir 1. Review the table below and determine where the EcoAir will be mounted. Mounting Best Practice Consideration Temperature The EcoAir should be mounted on a wall away from heat or cold sources that could affect its temperature reading. -
Page 8: Configuration
Configuration Join the EcoInsight/EcoSource to the EcoConnect Enter the join codes on each device. The PAN and Channel will be set automatically. Required Equipment Hardware An EcoCommander or EcoCommander Pro • An EcoConnect • An EcoInsight/EcoSource that has been wired •... - Page 9 Figure 5: EcoSource and Join Code 9. Verify the LED on the front of the EcoSource blinks a “Red, Red, Green” sequence. 10. Wait 60 seconds for the EcoSource to find the network. 11. Verify that the EcoSource reboots. 12. Verify that the LED on the front of the EcoSource is lit solid green. Continue to Step 18. 13.
- Page 10 18. Using the paperclip or pen, press the pushbutton on the front of the EcoConnect once. The LED on the front of the EcoConnect should change from blinking green to solid green. This means the EcoConnect will no longer accept join requests from ZigBee devices. 19.
-
Page 11: Ecoair To Ecoinsight/Ecosource Association
EcoAir to EcoInsight/EcoSource Association Associating One EcoAir with One EcoInsight/EcoSource (Standard) In most installations, one EcoAir will be associated with one EcoInsight/EcoSource. The EcoInsight/EcoSource manages Recovery Time calculations, temperature profiles, and HVAC drift and drive. The EcoAir acts as a remote control to change settings on the EcoInsight/EcoSource. - Page 12 Figure 9: Maintenance → Learn Menu With 1 Device Associated, In Learn Mode 9. Hold the “On / Off” button on the EcoAir until the EcoAir displays two digits on its screen. This may take up to 10 seconds. The displayed digits will be the last two digits of the EcoInsight’s serial number. 10.
-
Page 13: Associating One Ecoair With Multiple Ecoinsights/Ecosources (Multi-Bind)
Associating One EcoAir with Multiple EcoInsights/EcoSources (Multi-Bind) In some installations, one EcoAir may communicate with multiple EcoInsights/EcoSources. One EcoInsight/EcoSource, designated the Master EcoInsight/EcoSource, manages the Recovery Time calculations and temperature profiles. All other EcoInsights/EcoSources, designated Slave EcoInsights/EcoSources, drift or drive their own HVAC unit at the command of the Master EcoInsight/EcoSource. The EcoAir acts as a remote control to change settings on the Master EcoInsight/EcoSource. - Page 14 23. If your device is an EcoSource, continue to the next step. If your device is an EcoInsight, continue to Step 30. 24. Locate the recessed push button above the LED on the Slave EcoSource. 25. Using the paperclip or pen, press the push button three times. The Slave EcoSource LED will double- blink red.
-
Page 15: Troubleshooting
Troubleshooting Issues Configuring Firmware Problem Potential Cause Potential Solution Backspace was used while typing The EcoInsight/EcoSource says cmd Re-enter the zb command without using backspace. the zb command. not found after entering a zb command. The channel was not set to the The channel you entered was Re-enter the zb command.


Need help?
Do you have a question about the PST6000 and is the answer not in the manual?
Questions and answers