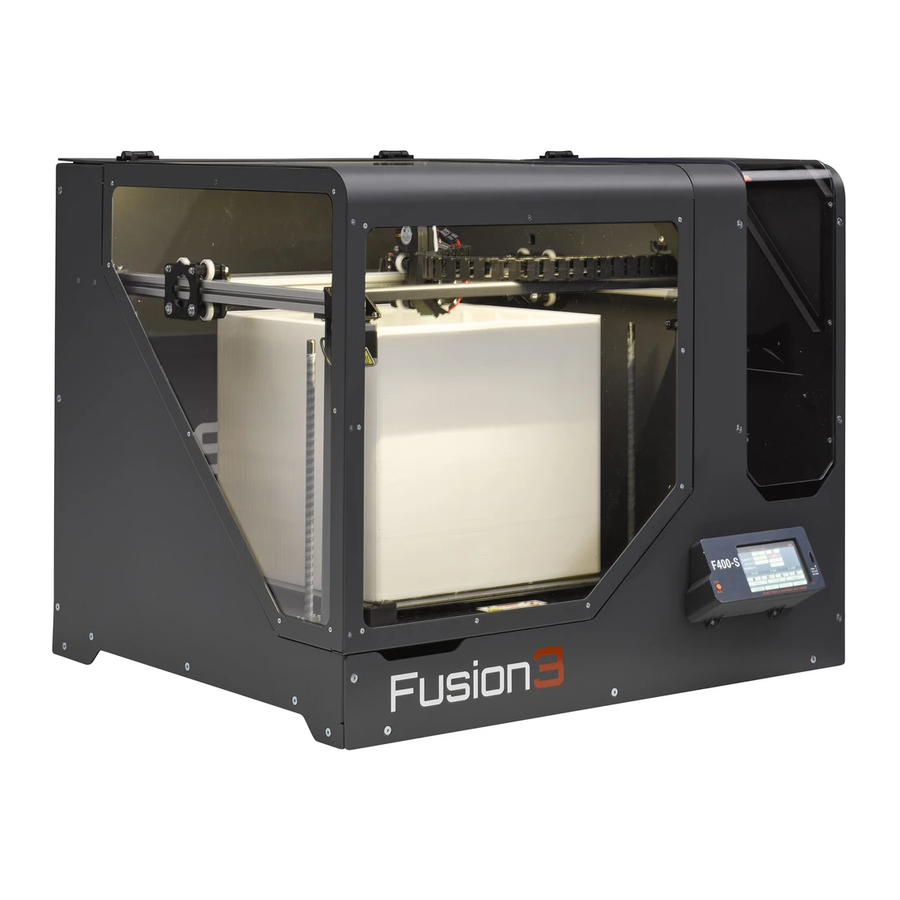
Table of Contents
Advertisement
Quick Links
See also:
User Manual
Advertisement
Table of Contents

Summary of Contents for Fusion3 Design F400
- Page 1 F400 QUICK-START GUIDE PLEASE READ THIS DOCUMENT BEFORE OPERATING YOUR PRINTER Revision 7 3/31/17 Page...
-
Page 2: Table Of Contents
1. Introduction ....................3 2. What’s in the Box ..................3 3. Unboxing Your F400 ................... 4 4. Where Should I Put My F400? ..............7 5. Moving your F400 ..................7 6. Setup ......................8 7. Loading Filament..................10 8. -
Page 3: Introduction
1. Introduction & Getting Support Thank you for purchasing Fusion3’s F400 3D printer! Your F400 has been designed and manufactured to the highest quality standards to give many years of reliable, high-quality output with minimal maintenance. This quick-start guide is designed to help you get printing quickly. It is not a comprehensive manual! A full user manual is provided on your SD card, and is also available on our website (links to content in Section 14 at the end of this guide). -
Page 4: Unboxing Your F400
3. Unboxing Your F400 1. Cut the plastic wrap off the box 2. Cut the plastic tie-down straps 3. Lift the lid straight up off the box Page... - Page 5 4. You can now remove the printed copy of this Quickstart guide (hello there!) located on top of your printer. 5. Remove the top foam blocks (these are now separate pieces front and back). 6. Carefully lift the sleeve straight up and off the box.
- Page 6 8. Now you are ready to move your F400 to its final home (see next section). 9. Under your printer attached to the bottom tray will be your accessories, operator’s toolkit, filament, and spare print surface.
-
Page 7: Where Should I Put My F400
Must be at least 31” x 30” in size Should be sturdy enough to resist shaking during the printer’s operation The rear face of your F400 must be at least 2” from any wall or obstruction The right face needs enough clearance for ... -
Page 8: Setup
6. Setup Once your F400 is placed where you will operate it, you can finish the setup process. 1. Remove the protective films from the outside of the 3 main door windows and the filament door. (This may generate a static charge that attracts dust in the first few days of operation. - Page 9 X endstop is triggered. 7. Repeat this process for Y and Z. 8. Congratulations! You’re ready to begin printing. For more information on setting up, including connecting your F400 to your network, see section 3 in your user manual. Page...
-
Page 10: Loading Filament
7. Loading Filament 1. Slide the filament dowel through the center hole of the filament spool. 2. Orient the spool so that the filament pays off the front underneath the spool. Page... - Page 11 3. Using 1 hand on either side of the spool, slide the dowel into the track in the filament bay. The dowel will drop into the groove in the track when it’s positioned correctly. 4. Locate the end of the filament. Trim off the end of the filament at an angle.
- Page 12 6. While gently pushing on the filament, slowly turn the orange wheel until you feel the extruder “bite” on the filament and begin to pull it. 7. Continue to turn the wheel until the end of the filament protrudes into the feed tube on the exit side of the extruder.
-
Page 13: Your First Print
10. After the load is complete the extruder will reverse slightly and the heaters will shut off. CAUTION: The print head will still be hot. 11. Remove the string of filament the print head extruded. 8. Your First Print We include a couple pre-prepared print files on your SD card so you can get printing without setting up Simplify3D. - Page 14 3. Select the SD card icon to see a list of files on the card. 4. Select one of the files. You will see a pop-up with some additional information about the file. Select “Print”. 5. Your printer will begin the print by homing all the axes and pre-heating the bed.
-
Page 15: Removing Finished Parts From The Bed
9. Removing Finished Parts from the Different materials behave differently. Use the part removal tool to work the part loose from the bed. PLA will need to be manually detached. Larger parts will require more force. One helpful trick is to heat the bed to 70C to soften the bottom layer. -
Page 16: Cleaning Up After A Print
10. Cleaning Up After a Print 1. Remove the outline (skirt) printed around the part. 2. Remove the priming pile at the front left corner. 3. Spray down the bed with water from your spray bottle, let is soak for at least 15 seconds Page... -
Page 17: Setting Up Simplify3D (Slicer Software)
4. Remove the glue using the part removal tool and paper towels. PLEASE NOTE: Fresh glue must be used for every print! ONLY use normal tap water to clean the bed. Cleaners such as rubbing alcohol, windex, etc will affect print adhesion. -
Page 18: General Precautions & Operating Notes
DO NOT LEAVE YOUR PRINTER RUNNING UNATTENDED. While the F400 is highly reliable and includes many safety features, there is always a chance something can go wrong. This can cause damage to your printer, and worst case can cause a fire. -
Page 19: Additional Resources
14. Additional Resources Manuals & Downloads: http://www.fusion3design.com/manuals/ Questions about Filament: http://www.fusion3design.com/3d_printer_filament/ Contact Support: http://www.fusion3design.com/contact_support/ or 877-452-0010 x2 Simplify3D resources: https://www.simplify3d.com/support/ Page...

Need help?
Do you have a question about the F400 and is the answer not in the manual?
Questions and answers