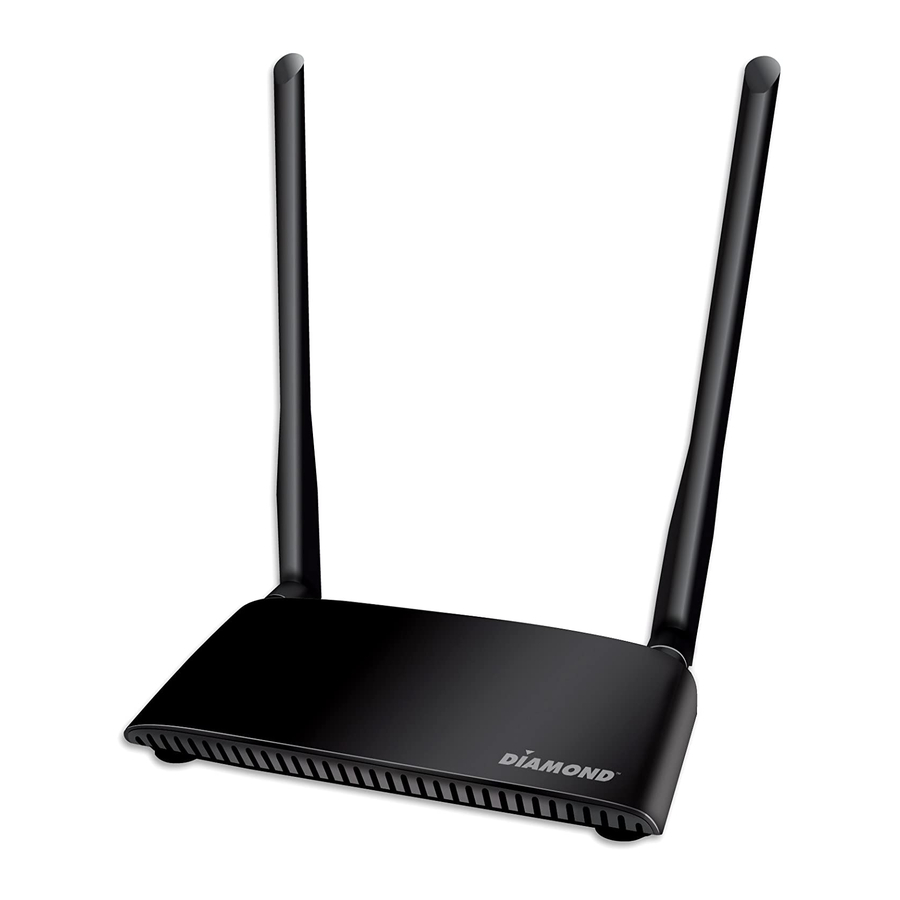
Summary of Contents for Diamond Multimedia VS200VR(TX)
-
Page 1: User Guide
VS200VR Wireless Video Sender User Guide Please read this User Manual carefully to ensure proper use of this product... -
Page 2: Important Safety Instructions
Safety Information Safety is Important To ensure your safety and the safety of others, please ensure you read the Safety Information before you operate this product. * Position the cables so that they cannot be walked on or pinched by other items placed on or against them. -
Page 3: Table Of Contents
Table of Contents Important Safety Instructions ............1 Table of Contents ................2 What’s included................... 3 Overview ................... 4 Panel Illustration ................5-6 Connection instruction and Installation ........... 7-11 Technical Specification ..............12 Trouble Shooting ................ 13-14 Contact ....................14... -
Page 4: What's Included
WHAT'S INCLUDED VS200VR(TX/RX) AC/DC Adapter x2 HDMI Cable x2 IR Emitter Cable(ForTX) IR Receiver Cable(For RX) Manual... -
Page 5: Overview
OVERVIEW VS200VR(TX) (TRANSMITTER) VS200VR(RX) (RECEIVER) VS200VR wireless video sender is a private protocol-based end-to-end solution for interactive, multi-room wireless display andhome video distribution, which allows end users to play any video remotely on another screen with no discernable lag even if the deviceis located in a different room. The product includes a Wireless HDMI Transmitter (TX) box and wireless HDMI receiver (RX) box. -
Page 6: Panel Illustration
PANEL ILLUSTRATION VS200VR(TX) front panel LED Indicators (from right to left) Green Orange Green Orange Blue Blue & Red light (Power indicator):redlight means power is off or abnormal, blue light meanspower is on & HDMI video source is detected. Orange (middle): Blinking means TX/RX are unpaired, stable orange light on when paired. Green (WiFi indicator): Light on when WiFi works, flickering when data transferring. - Page 7 VS200VR(RX) front panel LED Indicators (from right to left) Green Orange Green Orange Blue Blue & Red light (Power indicator):redlight means power is off or abnormal, blue light meanspower is on & HDMI video source is detected. Orange (middle): Blinking means TX/RX are unpaired, stable orange light on when paired. Green (WiFi indicator): Light on when WiFi works, flickering when data transferring.
-
Page 8: Connection Instruction And Installation
CONNECTION INSTRUCTION Install VS200VR(TX) Step1: Connect the power adapter (5V, 2.5A) to TX and wall socket, press power switchto "ON", the power LED light will turn on red. Step 2: Connect video source (Receiver, DVD player,PC..) to TX(HDMI In) by HDMI cable which comes with the package Step3: Connect TX (HDMI out) to TV through HDMI cable. - Page 9 Install VS200VR(RX) Step1:Connect the power adapter (5V, 2.5A) to RX and wall socket, press power switch to "ON", the power LED light will turn on red. Step 2: ConnectRX (HDMI Out) to TV by HDMI cable which comes with the package Step 3: Wait around 50 seconds, the video will be sent from TX to RX.
- Page 10 3. Then you can use the mouse or game controller to control the PC in other room. Using VS200VR(TX)to connect smartphone: The TX can send video to any mobile device which has WiFi receiving ability (Android and iOS devices). The APP installed could split the mobile phone screen into two windows which works with Google Cardboard based VR glasses.
- Page 11 Please follow the steps below for connection: 1. Please download and install “TXplayer” app in Google Play Store (Android) or App store (iOS) to smartphone. 2. After power on TX about 40 seconds, this device will work as a WiFi access point. Do not turn on RX.
- Page 12 Remark: 1. Timeout alert may show as below if it can’t find available TX, please make sure all process is the same with above procedure, and restart the APP to try again. 2. The APP may not compatiblewith all of the smart phones, especially the smart phone with Non-standard Android system or old models.
-
Page 13: Technical Specification
TECHNICAL SPECIFICATIONS Features of VS200VR(TX): Features Description Video Input 1080i/1080p/720p/576p/480p,up to 1080p at Format 60fps,suggest to choose the best resolution that TV can supported to guarantee best display effect Video 1080p at 30fps or 720p at 60fps or other resolutions Compression depends on input Format... -
Page 14: Trouble Shooting
TROUBLE SHOOTING Q1: No Video/Bad Video or Incorrect Video/Video Stuck A1: This device will take about 45 seconds booting time after plug in the main power if all connects are OK, then you should see the signal on the TV on both TX and RX. A2: Please make sure the HDMI in/out are connected correctly, if above connects are OK, then make sure you are using the HDMI cable inside the gift box, which provide noise reduction and shielding and no noise will affect the wireless transmission (be sure to... -
Page 15: Contact
WiFi list on your smart phone, check if WiFi SSID “TX” exists, if yes,please make sure your smart phone is connected to Using VS200VR(TX)to it successfully and obtained the IP address. Thenfollow the “ connect smartphone ”...

Need help?
Do you have a question about the VS200VR(TX) and is the answer not in the manual?
Questions and answers