Table of Contents
Advertisement
Quick Links
Advertisement
Table of Contents

Related Manuals for Hosen MINI WASH MOVING HEAD

Summary of Contents for Hosen MINI WASH MOVING HEAD
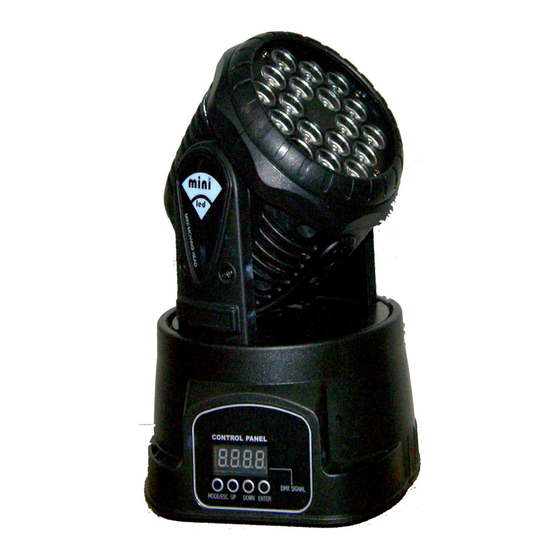
- Page 1 MINI WASH MOVING HEAD USER MANUAL (Suitable for 1w or 3w* mode)
-
Page 2: Before You Begin
1. BEFORE YOU BEGIN THERMAL Maximum ambient What is included temperature...............104°F(40°C) 1w or 3w x18 pcs Min wash CONTROL & PROGRAMMING Data input ..............locking 3-pin XLR male socket User Manual Data output .............. locking 3-pin XLR female socket Data pin configuration ...........pin 1 shield, Unpacking Instructions pin 2 (-), pin 3... - Page 3 DMX Mode plate of the fixture or refer to the fixture s specifications chart. A fixture s listed current This mode allows the unit to be controlled by any rating is its average current draw under normal universal DMX controller. If you are unfamiliar with conditions.
-
Page 4: Control Features
1) Use standard DMX cables to daisy chain your Not all fixtures have a voltage switch, units together via the DMX connector on the rear of the units. Proper performance it may be please be sure to connect to the proper voltage necessary to use a terminator at the last fixture. - Page 5 2) Press enter to confirm your selection. Compact and lightweight LED display menu with invert Reset to factory setting option Display auto on/of Pan/tilt invert option Operation Pan cooled Stand-Alone Mode (Auto Mode): This mode allows a single unit to run to a factory installed program in one of two speeds.
-
Page 6: Fuse Replacement
TO SET THE MAX I MUM PAN ANGLE: Lens 1) Press the Mode button until it shows Projector Head 2) Use the Up/Down buttons to set to the desired inversion, press enter to confirm. TO SET THE MA X I MUM TILT ANGLE: 1) Press the Mode button until it shows or LED Display Control... -
Page 7: User Configurations
User Configurations TO SET THE PAN TO INVERTING OR NON- INVERTING: 1) Press the Mode button until it shows 2) Use the Up/Down buttons to set to the desired inversion, press enter to confirm. Fixture Linking TO SET THE TILT TO INVERTING OR NON- INVERTING: You will need a serial data link to run light shows of one or more fixtures using a DMX-512 controller or to run synchronized shows 1) Press the Mode button until it shows... -
Page 8: Dmx Data Cable
Data Cabling To link fixtures together you must obtain data cables. Menu Map You can purchase CHAUVET-certified DMX cables directly from a dealer/distributor or construct your own cable. If you choose to create your own cable please use data-grade cables that can carry a high Use the <MODE/ESC>... -
Page 9: Master/Slave Fixture Linking
DMX connector configuration Master/Slave Fixture Linking INPUT 1.Connect the (male) 3 pin connector side of the DMX cable to the output (female) 3 pin connector of the first fixture. 2.Connect the end of the cable coming from the first fixture which will have a (female) 3 pin connector to the input connector of the next fixture consisting of a (male) 3 pin connector. -
Page 10: Setting Up A Dmx Serial Data Link
Data signal Order Code Description DMX1.5 DMX Cable 1.5m/4.9ft Data signal DMX4.5 DMX Cable 4.5m/14.8ft DMX10 DMX Cable 10m/32.8ft Do not Do not use Do not use Do not use Setting up a DMX Serial Data Link 1. Connect the (male) 3 pin connector side the DMX cable to the output (female) 3 connector of the controller.
Need help?
Do you have a question about the MINI WASH MOVING HEAD and is the answer not in the manual?
Questions and answers