Advertisement
Table of Contents
Advertisement
Table of Contents

Related Manuals for Casio QW-2387


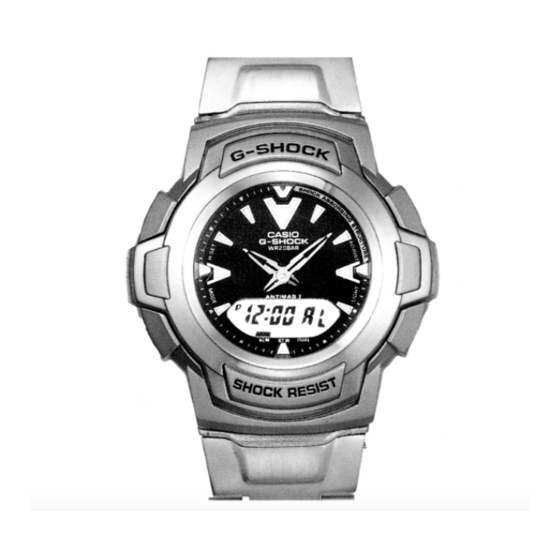
Summary of Contents for Casio QW-2387
- Page 1 ERVICE ANUAL & PARTS LIST REF. NO. S/M-748 AUG. 2001 MODULE NO. QW-2387 G-200 INDEX (WITHOUT PRICE)
-
Page 2: Table Of Contents
3-3. CHECKING TERMINALS AND COMPONENTS ..........4. EXPLODED VIEW: QW-2387 ................ 7 5. PARTS LIST: QW-2387 ................. 8 6. EXPLODED VIEW: ANALOG BLOCK OF QW-2387 ........9 7. PARTS LIST: ANALOG BLOCK OF QW-2387 .......... 10 8. PRECAUTIONS FOR REPAIR: QW-2387 8-1. -
Page 3: Specifications: Qw-2387
1. SPECIFICATIONS: QW-2387 Item Detail Battery CR2016 Battery life Approx. 3 years 1.13 µA maximum Current consumption Alarm system Piezo plate on Back cover ±15 sec./month Accuracy Accuracy setting system Trimer capacitor Accuracy checking See page 11 Functions: • Shock resistant (G-SHOCK) •... -
Page 4: Operation Chart: Qw-2387
2. OPERATION CHART: QW-2387 GENERAL GUIDE • Press C to change from mode to mode. • In any mode (except when making any settings), press L to illuminate the display. Alarm Mode Stopwatch Mode Dual Time Mode Timekeeping Mode Calendar Mode Press C. - Page 5 DUAL TIME MODE The Dual Time Mode lets you keep track of the time in another time zone. To set the Dual Time Hold down B. Hour Seconds Press B. Minutes Press B. Hour Mode indicator Minutes 1. In the Dual Time Mode, hold down B for about two seconds, until “ADJ” and then the hour digits flash on the display.
-
Page 6: Drawings: Qw-2387
3. DRAWINGS: QW-2387 3-1. LCD DIAGRAM col1 col0 COM. SEG. (DT0) (ST0) (AL0) col0 (i3) col1 (k3) (j3) (h3) (k2) (j2) (h2) — 4 —... -
Page 7: Circuit Diagram
3-2. CIRCUIT DIAGRAM LC1 - - - - LC5 L12 - - - L27, L1 - - L11 28 - - 31 An.B Xtal TOTAL 68PINS BONDING 51PINS VSS2 VSS1 VSS3 Open (No Soldering) Terminal L LED2 No bonding LED1 Short (Soldering) Not used —... -
Page 8: Checking Terminals And Components
3-3. CHECKING TERMINALS AND COMPONENTS Resistor/Chip Resistor/Chip Xtal 5.Oscillator/Crystal Transistor (7110 0693) Resistor/Chip 9. Cushion/506 4. Capacitor/Trimmer (7211 9631) (1001 0950) ANO1 CATH ANO2 CATH VSS2 ANO1 VDD VDD ANO2 ANO3 VSS2 KI5 LD1 VSS2 VSS2 VSS2 LD2 3a.PCB ass'y ANO4 (7640 4665) CATH... -
Page 9: Exploded View: Qw-2387
4. EXPLODED VIEW: QW-2387 2 (1005 3616) 13 (1005 3617) 19 (7224 0652) 20 (1005 3614) 11 (7231 1962) 6 (7640 4662) 16 (1005 3615) 16 (1005 3615) 1 (1003 6046) 12 (1005 3621) 18 (7229 0772) 14 (1005 3618) -
Page 10: Parts List: Qw-2387
5. PARTS LIST: QW-2387 Note: 1. Prices and specifications are subject to change without prior notice. 2. Spare parts are classified as follows according to their importance in after-sales service. A Rank ------------------------------------------ Very Important B Rank ------------------------------------------ Important C Rank ------------------------------------------Less important 3. -
Page 11: Exploded View: Analog Block Of Qw-2387
6. EXPLODED VIEW: ANALOG BLOCK OF QW-2387 6-4 (7227 0273) 9 6-1 (7235 0916) 8 3 6-7 (7235 0350) 6-6 (7235 0532) 5 6 6-8 (7235 0336) 6-3 (7640 2423) 4 9 ~ 1 : Disassemble order 1 ~ 9 : Reassemble order... -
Page 12: Parts List: Analog Block Of Qw-2387
7. PARTS LIST: ANALOG BLOCK OF QW-2387 Note: 1. Prices and specifications are subject to change without prior notice. 2. Spare parts are classified as follows according to their importance in after-sales service. A Rank ------------------------------------------ Very Important B Rank ------------------------------------------ Important C Rank ------------------------------------------Less important 3. -
Page 13: Precautions For Repair: Qw-2387
8. PRECAUTIONS FOR REPAIR: QW-2387 8-1. AC (ALL CLEAR) AND REMOVING OF MODULE 1. Perform AC (ALL CLEAR) when inserting a new battery, or else the memories and/ or counters may give erratic displays. Touch the AC contact and the positive (+) side of the battery or main plate with the metallic tweezers. - Page 14 CASIO TECHNO CO.,LTD. Overseas Service Division Nishi-Shinjuku Kimuraya Bldg. 1F 5-25, Nishi-Shinjuku 7-Chome Shinjuku-ku, Tokyo 160-0023, Japan...
Need help?
Do you have a question about the QW-2387 and is the answer not in the manual?
Questions and answers
To whom it may concern, My Casio G-Shock watch is in need of repair, the light works, power from the battery is still working through the module but the time hands are no longer working and the numbers on the digital display are faint and not showing fully. Is it possible to purchase a new module for my model being the G-200 ST (2387) Steel strap with Japan Movement Y ?
The document lists available modules for the Casio G-Shock model G-200 series with movement QW-2387AT. The modules available are:
- MODULE/WITH MOVEMENT QW-2387AT-01TK (Applicable to G-200-1EV/2EV, G-200D-1EV, G-200L-2B/3B)
- MODULE/WITH MOVEMENT QW-2387AT-02TK (Applicable to G-200L-1B/4B)
However, the document does not mention a specific model "G-200 ST (2387) with Japan Movement Y." If your model falls under the listed applicable models, you may be able to purchase a module. Otherwise, availability cannot be confirmed.
This answer is automatically generated