Table of Contents
Advertisement
Quick Links
Advertisement
Table of Contents

Related Manuals for Neoline G-TECH X37


Summary of Contents for Neoline G-TECH X37
- Page 1 Video recorder NEOLINE G-TECH X37 User manual...
-
Page 2: Table Of Contents
Dear customer! We appreciate you for purchasing our car video recorder Neoline G-TECH X37. Please, read thoroughly the manual in order to use the device properly and to extend its service life. Keep the user manual to use it if necessary. -
Page 3: Terms Of Use
• It is strictly forbidden to disassemble or modify the device. • Neoline Company is not responsible for loss of data and/or damage, direct or indirect, caused to the User or the third party due to the incorrect use of the device or software, incorrect assembly or use of accessories that were not included into the accessory package. - Page 4 • GPS module can operate improperly in a car with athermal windscreen or with heated windscreen. Since such windscreens include metal coating, GPS module may not work correctly. • Mounting on 3M adhesive tape is disposable. Choose right mounting prior to fixation of a mounting on the windscreen.
-
Page 5: Technical Specifications
[ Technical specifications ] • Processor: NTK96660 • Sensor: OV4689, 4 Mp • Viewing Angle 160 degrees • Display: LCD, 2’’ • The video resolution QHD 2560*1440 (30fps) / FHD 1920*1080 (60 fps)/ HD 1280x720P (120 fps) (basic modes are specified, see Adjustment Clause) •... -
Page 6: Accessories Package
[ Accessories package ] • Car video recorder NEOLINE G-TECH X37 • Splitter for 2 USB-ports (2.1А+1А) • USB-cable • Bracket with built-in GPS module on 3M tape • Bracket without GPS module on 3M tape • Clamp locks for power cable •... -
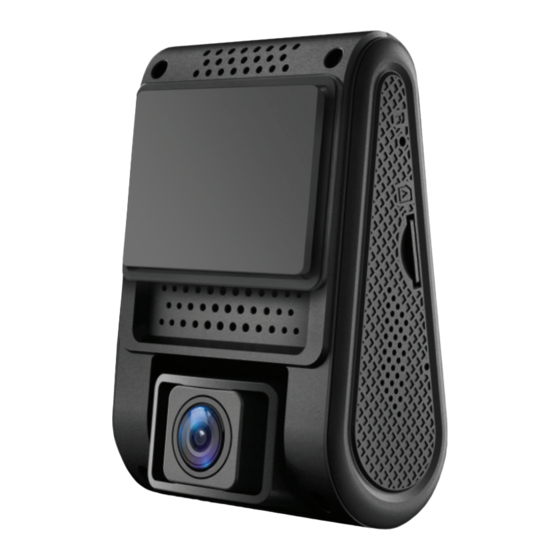
Page 7: Description Of Buttons And Their Functions
[ Description of buttons and their functions ] 1) Button «Power on/Power Off» 2) Button «Rec/To the left» 3) Button «Menu» 4) Button «Emergency recording /Confirmation» 5) Button «Microphone/To the right» 6) USB-port in the car video recorder casing 7) AV output 8) Reset button 9) Memory card slot 10) USB-port in connection with the GPS-module... - Page 8 LED Indicators Indicator Meaning In video recording mode Red (continuous) When switched on, as well as when Red (flashing) updating the firmware Mode Functions Buttons Stand-by mode Power on/Power Off Enter the Adjustments menu Open playlist Start video recording Turn off audio recording on video, turn on audio recording on video by second pressure.
-
Page 9: Assembling Of The Car Video Recorder
Turn on the display /turn off the display by second Playback Mode pressure Return to recording mode Switch to previous setting Switch to next setting Choose setting - Recording mode - Recording time - Video resolution - Recording mode indicator - Emergency recording - Microphone - Memory card... - Page 10 B. Remove protective cover from the 3М tape C. Choose appropriate place on the windscreen to provide the best visibility and mount the car video recorder by tightly pressing it to the windscreen. 2. Connection to the charger. Insert the car charger into the cigarette lighter. Insert the plug into the USB connector on the device.
- Page 11 To enable automatic Power on/Power Off on your device after rotation of the ignition key to the ACC position, use power cable for connection to the on-board power system (needs to be purchased separately). To receive information on possible connection and the peculiarities of the fuse box please contact your vehicle manufacturer.
-
Page 12: Use Of Device
3. Adjustment of the viewing angle Adjust of the viewing angle by turning the objective lens in the right direction (right-left, up-down). Set the objective lens so that the camera captures images at a ratio of “40% of the sky / 60% of the road” for the best shooting result. [Operation of the device] Preparation of the device А. -
Page 13: Loop Recording
Caution: Do not apply excessive force when inserting a memory card, in order to avoid damage to the device. To insert a memory card, insert the MicroSD card into the slot until it locks (until it clicks), if necessary, use a needle to insert a card. To remove a memory card, press the card until it clicks and remove a card from the slot, if necessary, use a needle to insert the card. -
Page 14: Motion Detection
Emergency record Designed for protection of the current video file from rewrite and erasure. To protect current video file, press emergency button during recording and the recorded file will be marked with the special tag that will forbid the device to delete and rewrite the file. -
Page 15: Firmware Upgrade
Relevant indicator will appear on the display. Firmware upgrade 1) Download file with firmware from the official site www.neoline.ru, extract file from the archive. 2) Format memory card and drag the file to the МicroSD memory card. -
Page 16: Adjustment
[ Adjustments ] Resolution: 2560х1440Р 30fps, 2304x1296P 30fps, 1920x1080P 60fps, 1920x1080P 60fps, 1920x1080P 30fps, 1280x720P 120fps, 1280x720P 60fps, 1280x720P 30fps. Loop recording: Off/1/2/3/5/10 Exposure: Adjust exposure to receive better image quality depending on light sources. Index varies between -2.0 and +2.0. Default index is 0.0. WDR: On/Off Time-lapse recording: switch off/200 msec./1 sec./2 sec./5 sec./10 sec./ 30 sec./ 1 min./5 min./10 min. - Page 17 Date/time stamp: Switch on/Switch off. Serves to show current date and time on video. GPS info stamp: On/Off Speed stamp till 100 KPH: On/Off Camera model stamp: On/Off Sound recording: On/Off. Screen Saver: Off/1 sec./ 3 sec./15 sec./30 sec./1 min./3 min. Serves to switch off display light after set period of time.
-
Page 18: Possible Problems And Their Solutions
[ Possible problems and their solutions ] If despite compliance with operating conditions problems occurred in the device, use this section to resolve them. - It is impossible to take pictures or record video. Check if you have enough free space on the MicroSD card, or if it is blocked. - Spontaneous stop during recording.
Need help?
Do you have a question about the G-TECH X37 and is the answer not in the manual?
Questions and answers