
Related Manuals for Slinex ML-20IP


Summary of Contents for Slinex ML-20IP
- Page 1 ML-20IP INNOVATION IP video door station DIRECT User manual Thank you for the choice of our equipment { Design. Uniqueness. Innovation }...
-
Page 2: Table Of Contents
INNOVATION { Design. Uniqueness. Innovation } DIRECT Safety instructions Table of contents Read and keep that manual. 1. Package......................................3 The device installation process should be carry out by the quli ed specialists. 2. Speci cation....................................3 Use the device from the –40 ˚C to +50 ˚C, always keep it within that temperature range. 3. -
Page 3: Design. Uniqueness. Innovation
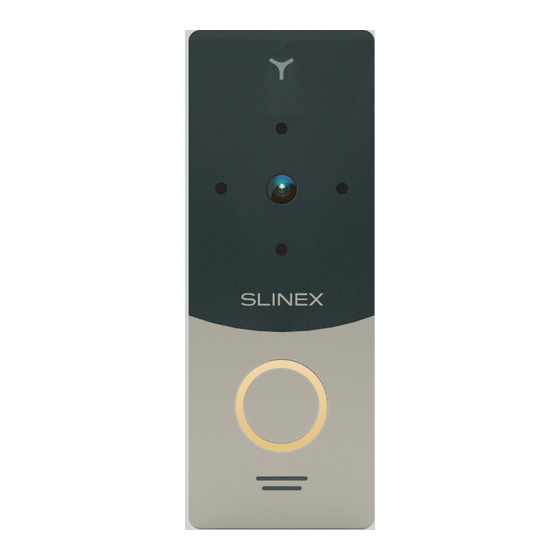
White & green wire Speaker Orange wire Type B Rain shield mounting hole White & orange wire Connection wires color code for ML-20IP door station White & green Network, white & green wire Sensor type 1/4” CMOS Green Network, green wire... -
Page 4: Installation
INNOVATION { Design. Uniqueness. Innovation } DIRECT 4. Installation Diagram 2. ML-20IP network wired connection by twisted pair cable 4.1 Cable requirerments Disconnect all power cables before device installation. This device can be connected with such cable types: ) Use 2- or 4-wire cable for the video door station power and electronic lock power... -
Page 5: Software
1) Take the angle bracket from the kit and situate it 150-160 cm from the oor line. Use twisted pair CAT5 or CAT6 cable to connect ML-20IP video door station to the local network according 2) Mark and drill two halls in the wall. -
Page 6: Wireless Wi-Fi Network Connection Steps
Wireless Wi-Fi network connection should be made according to Diagram 3. Wireless network setup includes next steps: 1) Enter «GooglePlay» (for Android) or «AppStore» (for iOS) and search for «Slinex» application, then install this application on your mobile device. 2) Run «Slinex» application on your mobile device and push icon to add a new device. - Page 7 INNOVATION { Design. Uniqueness. Innovation } DIRECT Push to start conversation with the visitor...
-
Page 8: Noti Cation Messages
Press «View» button to talk with the visitor or «Cancel» button to stop alarm message. Note: For the iOS mobile devices, go to «Settings» → «Noti cations», then click «Slinex» icon and make sure that all the noti cation are turned on: Enter RTSP string in «Please enter a network URL»... - Page 9 INNOVATION { Design. Uniqueness. Innovation } DIRECT 6. Limited warranty Manufacturer guarantees product normal functioning during the warranty period if the user keeps all safety instructions described in that manual. Warranty period is 12 months from the moment of the product purchasing (warranty period could be extended up to 24 months or more, depending on the local regulations).
Need help?
Do you have a question about the ML-20IP and is the answer not in the manual?
Questions and answers