Table of Contents
Advertisement
Quick Links
Advertisement
Table of Contents

Subscribe to Our Youtube Channel
Summary of Contents for Orion 52074
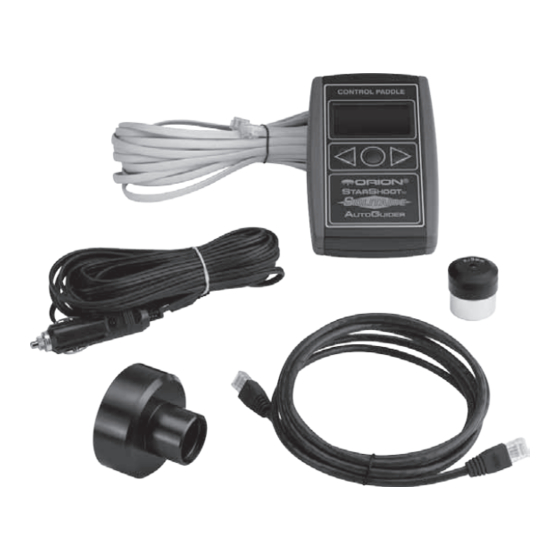
- Page 1 MAnuAl Orion StarShoot ® Solitaire AutoGuider ™ #52074 Providing Exceptional Consumer Optical Products Since 1975 Oriontelescopes.com Customer Support (800) 676-1343 E-mail: support@telescope.com Corporate Offices (831) 763-7000 89 Hangar Way, Watsonville, CA 95076 IN 363 Rev. B 05/09...
-
Page 2: Table Of Contents
Table of Contents Welcome to a world of astro-imaging with trouble-free auto- matic guiding! Your Orion StarShoot Solitaire AutoGuider 1. Getting Started . . . . . . . . . 3... - Page 3 Just about any equatorial mount equipped with an autoguide port will work with the Solitaire (Figure 3a). The Solitaire is “ST-4” compatible which Alternatively, the Orion X-Y Guidestar Finder can be used instead of adjustable uses the same pin out configuration as the first generation CCD autoguiders guide scope rings.
-
Page 4: Quick Start Guide
Figure 4. This screen appears after the Solitaire Quick Start Guide is powered on. Thanks to its ease of use, you can hook up your StarShoot Solitaire and be ready within minutes. Once your imaging rig has been set up, polar aligned and carefully balanced, here are the main steps to follow: 1. - Page 5 6. Select FOCUS, and the StarShoot Solitaire will automatically scan the 8. Once the guide star has been centered and focused, select CALIBR to whole frame for the guide star (Figure 7) get to the STATUS CALIBRATING screen (Figure 10). Press OK to start calibrating the mount.
-
Page 6: Aggressiveness
Figure 12b. Figure 14b. Select START to begin autoguiding. The AGGRESSIVENESS screen The tracking error graph will display during for Y. autoguiding. At times the guide star may be lost (1 beep per second and STAR LOST). This The aggressiveness in both axes can range from 1 to 6 (1-2=LOW, 3-4=MILD, can be due to a number of different reasons, e.g. -
Page 7: Tips And Tricks
4. tips and tricks Mount calibration Note: The telescope must not be touched during calibration, otherwise the relevant parameters may not be calculated correctly. Please also ensure that choosing a Suitable Guide Scope the control paddle is not moved during calibration! Thanks to its sub-pixel guiding accuracy, the StarShoot Solitaire does not Once calibration is complete, the parameters are permanently stored into the require telescopes with a very long focal length or large aperture. -
Page 8: Specifications
5. Specifications decreased until the oscillation decreases to show as little movement as pos- sible. It’s still typical to see some oscillation across the zero line is acceptable since both graphs depict the offset between two consecutive exposures with Camera a 2X scale. - Page 9 . During this warranty period Orion Telescopes & Binoculars will repair or replace, at Orion’s option, any warranted instrument that proves to be defective, provided it is returned postage paid to: Orion Warranty Repair, 89 Hangar Way, Watsonville, CA 95076 . If the product is not registered, proof of purchase (such as a copy of the original invoice) is required .


Need help?
Do you have a question about the 52074 and is the answer not in the manual?
Questions and answers