Advertisement
Quick Links
swig
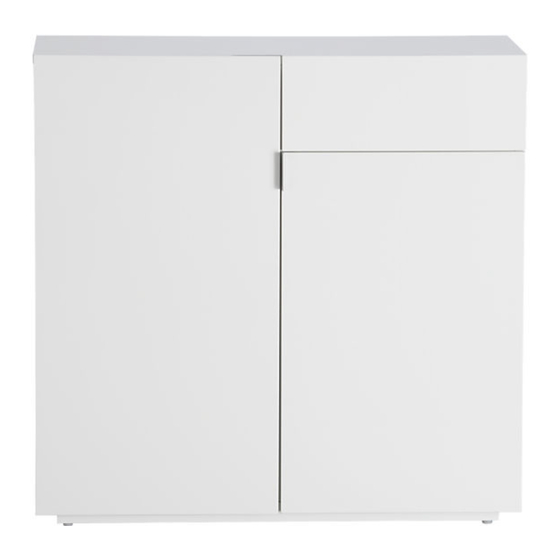
MINI BAR
Thank you for purchasing the Swig Mini Bar. This
page lists all the contents included in the box. Please
take the time to identify the hardware as well as the
individual components to this product. As you unpack
and prepare for assembly, place the contents on a
carpeted or padded area to protect them from damage.
Note: 2 people are required to safely assemble this product.
components
1 - top
panel
1 - partition
1 - large
door
1 - drawer
bottom
Made in Vietnam - r03
1 - bottom
panel
1- back
panel
1 - small
door
2 - drawer
sides
(1 left, 1 right)
Customer Service 800.606.6252 | Latest instructions available at www.cb2.com
hardware
24
- small
8 - large
6 - bolts
screws
screws
24 - wood
16 - cam
2 - pull
dowels
screws
screws
Missing hardware? Please call
800.606.6387 for replacements.
4 - hinges
6 - cam
covers
tools required
phillips head screwdriver
(We recommend the use of hand tools instead of power tools)
1 - left side
panel
2 - wine rack
shelves
( 1 front, 1 back)
1 - drawer
front
1 - drawer
back
6 - flat
16 - cams
washers
6 - spring
1 - pull
washers
1 - right side
panel
2 - fixed
shelves
(1 left, 1 right)
1 - crossbar
Page 1 of 7
Advertisement

Summary of Contents for CB2 Swig
-
Page 1: Tools Required
800.606.6387 for replacements. 4 - hinges 6 - cam covers Thank you for purchasing the Swig Mini Bar. This page lists all the contents included in the box. Please take the time to identify the hardware as well as the tools required individual components to this product. - Page 2 B) Insert 2 cams and 4 wood dowels into Insert 6 cam screws into top panel as shown. crossbar as shown. Customer Service 800.606.6252 | Latest instructions available at www.cb2.com Made in Vietnam - r03 Page 2 of 7...
- Page 3 Slide back panel into spring washers and 6 flat washers as shown, grooves of assembled unit as shown. using an phillips head screwdriver. Customer Service 800.606.6252 | Latest instructions available at www.cb2.com Made in Vietnam - r03 Page 3 of 7...
- Page 4 B) Attach pull to small door front with 2 pull shown. screws as shown, using a screwdriver. Customer Service 800.606.6252 | Latest instructions available at www.cb2.com Made in Vietnam - r03 Page 4 of 7...
- Page 5 Slide drawer bottom into groove of drawer holes of drawer assembly, and secure with 2 large assembly as shown. screws, using a screwdriver. Customer Service 800.606.6252 | Latest instructions available at www.cb2.com Made in Vietnam - r03 Page 5 of 7...
- Page 6 Do not use furniture wax or polish as the unit is finished with a protective clear lacquer. It is recommended to use coasters to protect surface from heat and water. Customer Service 800.606.6252 | Latest instructions available at www.cb2.com Made in Vietnam - r03 Page 6 of 7...
- Page 7 B and re-tighten screw A forwards or backwards, re-tighten height and re-tighten screw C screw A and secure screw B with a 1/4 turn clockwise Customer Service 800.606.6252 | Latest instructions available at www.cb2.com Made in Vietnam - r03 Page 7 of 7...


Need help?
Do you have a question about the Swig and is the answer not in the manual?
Questions and answers