Advertisement
Quick Links
Advertisement

Related Manuals for Globalmediapro HDM-944S50

Summary of Contents for Globalmediapro HDM-944S50
- Page 1 8x8 HDMI Matrix With IR Matrix & Coaxial output Operation Manual...
-
Page 2: Package Contents
1.Introduction The 8x8 HDMI Matrix with EDID control connects eight HDMI sources to eight displays. This matrix provide eight HDMI outputs and each HDMI output is supporting 1080p Full HD up to 4K plus all 3D formats and supporting independent EDID control. It works with Blu-Ray players, Set-Top boxes, Home Theater PCs, and game consoles that connect to an HDMI display. - Page 3 adapter-------------------------------------------- 1pcs Operation Manual-------------------------------------------------------- 1pcs HDMI Matrix IR Remote------------------------------------------------ 1pcs Mounting ears------------------------------------------------------------- 2pcs RS232 cable---------------------------------------------------------------- 1pcs Wideband calbe-----------------------------------------------------8pcs Wideband cable-----------------------------------------------------9pcs 4.Speci fications Video Bandwidth 297 MHz Support Video Resolution 480i,576i,480p,576p,720p,1080i,1080p @24/30/50/60Hz, 4K@30Hz, 1080P3D@60Hz Input Ports 8×HDMI, 1×RS-232, 1xRJ-45(Control) 9xIR Receiver Jack Output Ports...
-
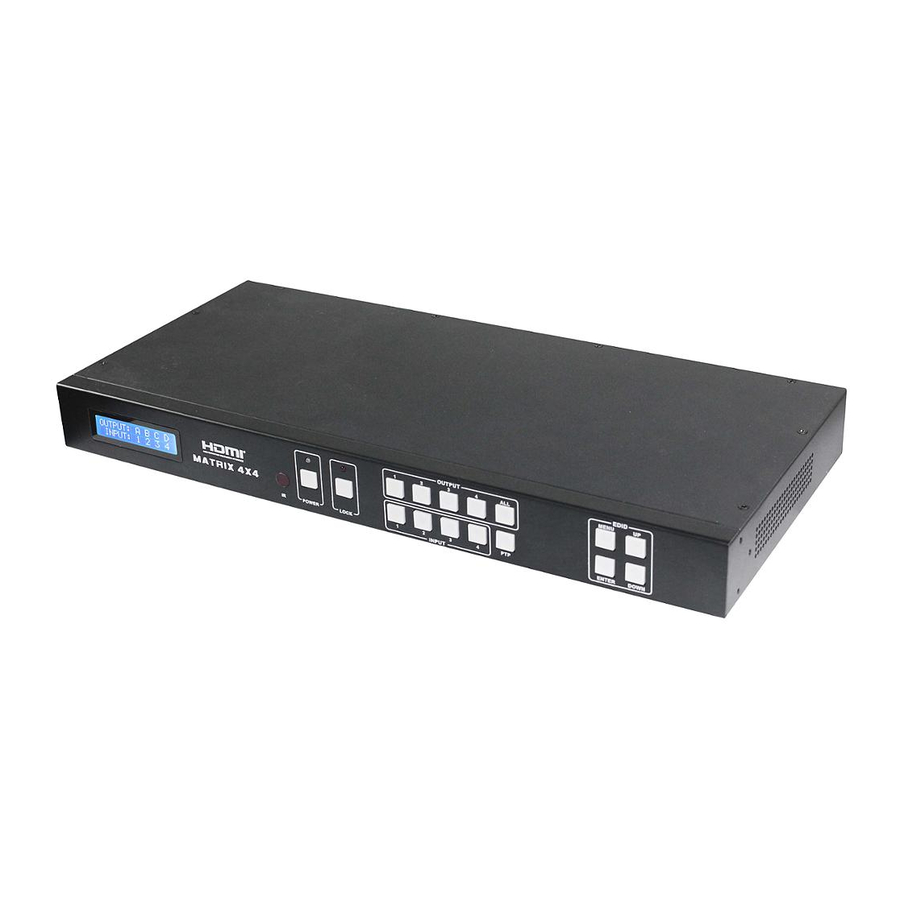
Page 4: Front Panel
Relative Humidity 20~90 % RH (non-condensing) Power Consumption 23 W(max)/0.5w(Standby) 5. PANEL FUNCTIONS 5.1 Front Panel 1. LCM : Show the status of input-output selection, EDID info and so on. 2. IR receiver window : Receive the IR from the remote control of 8x8. - Page 5 4. LOCK : Press this button to lock all the buttons on the panel, press again to unlock. The red LED will illuminate when the button is locked, on the contrary, turn dark when unlock. 5. HDMI output selection button area : HDMI output selection button 1 to 8 :...
- Page 6 1. #1 submenu : EDID mode table Number EDID Description 1080i, 2CH AUDIO 1080i, DOLBY/DTS 5.1 1080i, HD AUDIO 1080p, 2CH AUDIO 1080p, DOLBY/DTS 5.1 1080p, HD AUDIO 3D,1080p, 2CH AUDIO 3D, 1080p,DOLBY/DTS 5.1 3D,1080p, HD AUDIO 4k*2k, 2CH AUDIO 4k*2k, DOLBY/DTS 5.1 4k*2k, HD AUDIO DVI 1024x768...
- Page 7 Input 5 Input 6 Input 7 Input 8 Input ALL EDID. What is it and what is it used for? Under normal circumstances, a source device (digital and analog) will require information about a connected device/display to assess what resolutions and features are available. The source can then cater its output to send only resolutions and features that are compatible with the attached device/display.
-
Page 8: Rear Panel
choose how the unit will manage the EDID from multiple HDMI devices/displays. Therefore the user has some control over the resolutions/features that the source devices will output. The HDMI Matrix for has a multiple EDID management modes that will control EDID information from... - Page 9 1. PC CONTROL : Show the status of input-output selection, EDID info and so on. TCP/IP: This port is the link for TCP/IP controls, connect to an active Ethernet link with an RJ45 terminated cable. RS232: Connect to a PC or control system with D-Sub 9-pin cable for the transmission of RS-232 commands.
- Page 10 IR RECEIVER (RX) To control the source: Plug IR Receiver into IR RX port of receiver unit; place receiver at or near display. To control the display: Plug IR Receiver into IR RX port of transmitter unit; place receiver in position where it is able to receive remote signals.
-
Page 11: Remote Control
6.Remote Control 1. Power on /Standby : Press this button for power on the matrix or set it to standby mode. 2. Input port selection area : Press these buttons to select input 1-8. Press forward/backward button will cycle from input 1-8. 3. - Page 12 A. Press OUTPUT-X (X means 1 to 8 of outputs, including ALL) Press INPUT-Y (Y means 1 to 8 of inputs) 7. PC controller user guide Installation Matrix controller is a green software. Just copy MatrixController.exe to PC which is used to control the Matrix by RS232 COM port or TCP/IP to complete installation.
- Page 13 1. Select RS232 COM or TCP mode. 2. Select RS232 COM port. 3. Click to connect or disconnect PC and Matrix. 4. Select Matrix IP. 5. Connet to Matrix IP. 6. Search Matrix IP. 7. Con figure Matrix IP and MAC. 8.
- Page 14 1. Select auto or static IP 2. Rewrite the Matrix IP 3. Rewrite the Matrix MAC “EDID control” page Page 14 of 13...
- Page 15 The controller have 3 methods to set the EDID mode. Manual mode, Copy mode and open EDID file mode. 1. Select the needed EDID to input port and click set button the EDID will write to the selected HDMI input ports. 2.
- Page 16 “Matrix” page 1. LED which display Input number for respective Output. 2. Click to select Input port for respective Output port. 3. Click to select previous or next Input port for respective Output port. “FW upgrade” page Page 16 of 13...
- Page 17 1. Click to open FW file( file extension is “.fw”). 2. Display the FW file path. 3. Displaying the progress of the software upgrade. 4. Click to upgrade the Matrix software. 5. Display the message of the software upgrade. 6. Clear the message of the software upgrade. Page 17 of 13...
- Page 18 8. Operate and Connect 1. Connect up to 8 sources such as a Blu-Ray Player, game console, A/V Receiver, Cable or Satellite Receiver, etc. to the HDMI inputs on the unit. Do not hot plug! Insert and extract cables carefully with the power SWITCHED OFF. Connecting and disconnecting while the unit is powered can result in damage to circuitry.
- Page 19 Selector Switcher (power supply included), followed by each output connected. 4. Power on each device in the same sequence. At this point each display connected should display the assigned source (input 1 at default when powered on initially), scroll through each of the sources on each display to ensure everything is in working order.
Need help?
Do you have a question about the HDM-944S50 and is the answer not in the manual?
Questions and answers