Table of Contents
Advertisement
Advertisement
Table of Contents

Related Manuals for Coolster POCKET BIKE QG-40


Summary of Contents for Coolster POCKET BIKE QG-40
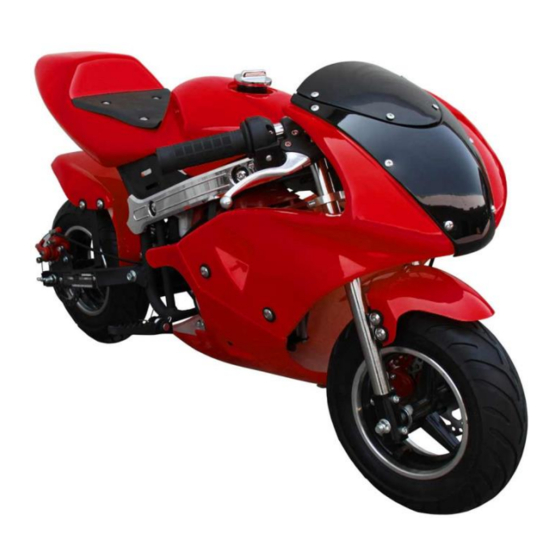
- Page 1 USER MANUAL POCKET BIKE QG-40 WWW.POWERDIRTBIKES.COM...
-
Page 2: Table Of Contents
Pocket Bike SERVICE MANUAL FOR USE AND MAINTENANCE AND SPARE PARTS LIST For your own safety and the safety of others Follow these recommendations in order to use your POCKET BIKE safely and correctly. Read the instructions CAREFULLY, failure to do so may place yourself and others in extreme and or ultimate DANGER. -
Page 3: Introduction
INTRODUCTION The Pocket bike -PB-G02 is designed and built for use on a paved closed circuit track. The track should be clean and without obstacles of any kind. Qualified adults and younger persons can drive the pocket bike. Children can drive the pocket bike only under the supervision of a responsible adult person. -
Page 4: Unpacking And Setting Up Before Riding
UNPACKING AND SETTING UP BEFORE RIDING The pocket bike is delivered in a cardboard carton and packed with folded handlebars and brake levers. After unpacking, set up the handlebars into the position, that suits the best for driving. The maximum pulled brake lever position should not touch on the handlebar grip. -
Page 5: Starting The Engine .Fig. 2
STARTING THE ENGINE To be done only on the starting stand - Fig. 2. After opening the tank filling hole, fill the lank with fuel and close it by screwing-in cap. Open the petrol supply cock by turning the small lever into position "ON", Fig. 3. Set the choke lever into position "C',Fig. -
Page 6: Riding
PERIODIC MAINTENANCE Periodic maintenance is the best way to help the machine perform well, give longevity and provide safety and low cost operation. In addition, you will be spared from many-worries from self caused problems, resulting from poor maintinence or no maintinence. A - Before every ride: 1. -
Page 7: Front Brakes Pads Replacement .Fig. 7
ADJUSTING THE BRAKES Fine brake adjusting: Fine Fig. 4 brake adjustment can be carried out on both ends of brake bowden wire by means of the screw 1 and nut 2. Basic brake adjusting: It is carried out in such a way, at first, the nut 2 will be loosened and the screw 1 of fine tuning screwed-in. - Page 8 UFREE SPORTS VEHICLE www.scooter-manufacturer.com REMOVE AND REPLACE THE FRONT WHEEL - FIG. 5 Before dismantling the front wheel it is necessary to remove the front brake pads from the front brake, so it is possible to move the brake caliper from the wheel and be able to draw out the wheel and tire.
- Page 9 UFREE SPORTS VEHICLE www.scooter-manufacturer.com...
- Page 10 UFREES PORTS VEHICLE www.scooter-manufacturer.com 9,10...
-
Page 11: Engine
www.scooter-manufacturer.com C40.00.000 POCKET BIKE E40.008.00 STARTER SPRING STEERING S C R E W M 5 ×1 6 C40.10.002 E40.009.00 RATCHET WHEEL C40.01.004 BOWDEN OUST GUARD SCREW M 5 × 20 C40.00.015 E40.00.000 ENGINE E40.011.00 C40.02.003 SCREW M 5× 30 WASHER 4.5×16×1.5 E40.005.01 ENGINE COMPLETE C40.02.001... - Page 12 C40.02.907 - FRONT BRAKE COMPLETE C40.10.907 -REAR DRAKE COMPLETE Fig.7...
-
Page 13: Replacement Of Tire .Fig. 5
REPLACEMENT OF TIRE - FIG.5 Remove the wheel from the pocket bike. For the front wheel unbolt the brake disk and for the rear wheel, the brake disk and sprocket. Deflate the tire by removing the valve stem. Place the wheel on a hard surface and press the tire bead from the wheel rim in to the middle relief at centre of rim.
Need help?
Do you have a question about the POCKET BIKE QG-40 and is the answer not in the manual?
Questions and answers