Sign In
Upload
Download
Table of Contents
Contents
Add to my manuals
Delete from my manuals
Share
URL of this page:
HTML Link:
Bookmark this page
Add
Manual will be automatically added to "My Manuals"
Print this page
×
Bookmark added
×
Added to my manuals
Manuals
Brands
Axia Manuals
Recording Equipment
RAQ
Installation & user manual
Axia RAQ Installation & User Manual
Hide thumbs
1
2
3
4
5
Table Of Contents
6
7
8
9
10
11
12
13
14
15
16
17
18
19
20
21
22
23
24
25
26
27
28
29
30
31
32
33
34
35
36
37
38
39
40
41
42
43
44
45
46
47
48
49
50
51
52
53
54
55
56
57
58
59
60
61
62
63
64
65
66
67
68
69
70
71
72
73
74
75
76
77
78
79
80
page
of
80
Go
/
80
Contents
Table of Contents
Bookmarks
Table of Contents
Important Safety Information
Customer Service
About this Manual
Credit Where Credit's Due
Service
Warranty
Table of Contents
Getting Started
Fast Five: How to Pass Audio in 5 Minutes or Less
Chapter One: Setup and Connections
Introduction
QOR.16: Front Panel
QOR.16: Rear Panel
Audio Connections
Ethernet Connections
Chapter Two: Inputs and Outputs
Source Profiles
Source Configuration
Creating a New Source
Source Type
Source Input
Primary Source
Signal Mode
Signal Phase
Fader Trim Gain
Panorama Position
Source Availability
Fader Mode
Preview Mode
Preview Switching
Auto-Start Timer
Logic Port
Feed to Source
Feed to Source DIM Gain
Live Controls
Output Types
Outputs
V-Mixer Controls
V-Mode Controls
Adding Backfeeds and GPIO
Chapter Three: Console Operation
Overview
Displays
Show Profiles
Sources, Channels and Faders
MIX-Minus
Gpio
Software
Callouts and Operation
Source-Specific Channel Controls
Control Room Operator MIC Channel
Control Room Guest Microphone Channel
Line Channel
Phone Channel
Codec Channel
Remote Control
Chapter Four: Show Profiles
Creating a Show Profile
Show Profile Options
User Interface
Chapter Five: Configuring GPIO
GPIO Port Definitions
GPIO Operator's Microphone Logic
GPIO Control Room Guest Microphone Logic
GPIO Producer's Microphone Logic
GPIO Line Input Logic
GPIO Codec Logic
GPIO Telephone Hybrid Logic
GPIO Control Room Monitor Logic
GPIO Computer Playback Device Logic
Assigning GPIO to a Source
Connections to GPIO Ports
Input Connections
Output Connections
Chapter Six: Advanced Controls
Configuration Screens
The QOR Control Center
The Status Screen
The Setup Menu
The Customize Menu
Log, Log History and Log Setup Menus
The Module Manager
Brightness Control Menu
GPIO Configuration Menu
Profile Manager Menu
IO Manager Menu
Ethernet Switch Settings (Preconfigured)
Chapter Seven: Networking with DESQ and RAQ
Inputs
Outputs
Appendix A: Specifications
Appendix B: Block Diagrams
Appendix C: Channel / IP Worksheets
Warranty
Advertisement
Quick Links
Download this manual
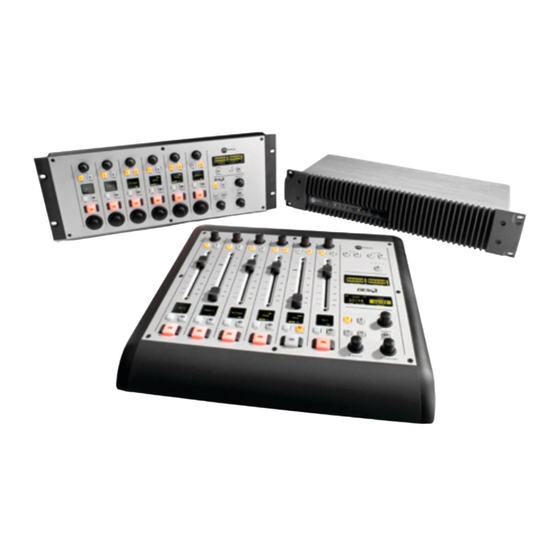
RAQ/DESQ
Installation & User's Guide
Manual Rev 1 - January 2012
p/n 1490-00086-001
Table of
Contents
Previous
Page
Next
Page
1
2
3
4
5
Advertisement
Table of Contents
Need help?
Do you have a question about the RAQ and is the answer not in the manual?
Ask a question
Questions and answers
Related Manuals for Axia RAQ
Recording Equipment Axia DESQ Installation & User Manual
(80 pages)
Recording Equipment Axia Fusion Installation And User Manual
(144 pages)
This manual is also suitable for:
Desq
Table of Contents
Print
Rename the bookmark
Delete bookmark?
Delete from my manuals?
Login
Sign In
OR
Sign in with Facebook
Sign in with Google
Upload manual
Upload from disk
Upload from URL


Need help?
Do you have a question about the RAQ and is the answer not in the manual?
Questions and answers