Advertisement
Quick Links
Advertisement

Summary of Contents for Blue Line Innovations BLI-28000
- Page 1 Innovative Energy Solutions The PowerCost Monitor ™ Quick Installation Guide...
-
Page 2: Safety Precautions
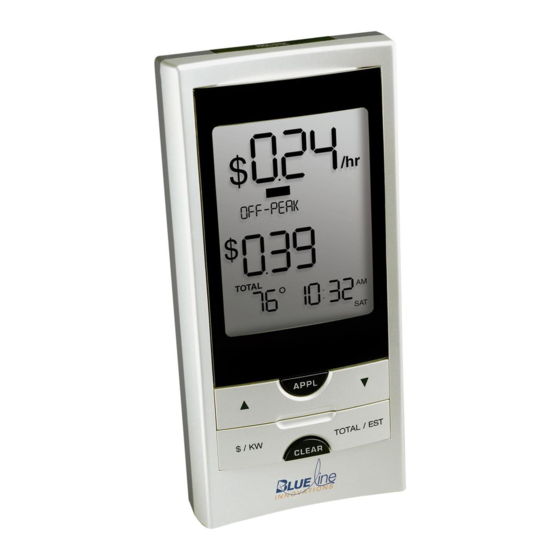
Welcome! Congratulations for having purchased your PowerCost Monitor™. This guide will show you how to install your PowerCost Monitor™ safely and start enjoying your electricity savings immediately. By following the instructions in this Installation Guide, you will: Ensure that your PowerCost Monitor™ Display Unit and Sensor Unit operate as intended. Install your Sensor Unit on your meter. - Page 3 Step 1: Verify the contents and basic operation 1 Verify that your box contains all these components, then store the packing materials in a safe place: • Display Unit • Sensor Unit • Rubber Shims (2) • Clear Alignment Template (1) •...
- Page 4 Step 2: Determine your meter type Your utility meter is most probably located outside your house and it looks like one of the pictures on these two pages. Your PowerCost Monitor™ Sensor Unit has been designed to fit on virtually any residential meter type, using its built-in clamping strap that goes over the meter dome.
- Page 5 If your meter is one of the following types, you can only install the Sensor Unit by following the instructions in the appropriate section in the supplied user guide Your meter looks like this… …with the Sensor Unit mounted Optical Port Electronic Meter Front Optical Port LESS THAN 1½...
- Page 6 Step 3 - Prepare your Sensor Unit The Sensor Unit has two main parts: the fixed body and the movable Sensor Arm. The Sensor Head is located at the end of the Sensor Arm. IMPORTANT: Please remember that your ultimate goal is to position the Sensor Head either inline with your electromechanical meter’s spinning disk, or directly above your electronic meter’s optical port.
- Page 7 Step 4 - Install your Sensor Unit When you are ready to install your PowerCost Monitor™ on your meter, you will need the following: This Guide Display Unit 1 large Flat Head screwdriver Stepping stool or ladder if your utility meter is located higher than eye level Clean damp cloth IMPORTANT: Wipe the meter glass dome clean with the damp cloth before proceeding.
-
Page 8: Step 5 - Complete The Installation
Step 5 - Complete the installation This procedure synchronizes the Sensor Unit and Display Unit, enabling you to program the Display Unit. Press and release the RESET button on the battery cover of the Sensor Unit. On an electromechanical meter, the red indicator on the Sensor Unit lights up and stays lit for approximately 45 seconds, until the Sensor Unit has determined that it is installed on an electromechanical meter. - Page 9 187 Kenmount Road St. John’s, NL Canada A1B 3P9 www.bluelineinnovations.com Toll Free: (866) 607-2583 P/N: BLI-00194 Rev2 © BlueLine Innovations Inc. PowerCost Monitor™ is a trademark of BlueLine Innovations Inc.


Need help?
Do you have a question about the BLI-28000 and is the answer not in the manual?
Questions and answers