Sign In
Upload
Download
Table of Contents
Contents
Add to my manuals
Delete from my manuals
Share
URL of this page:
HTML Link:
Bookmark this page
Add
Manual will be automatically added to "My Manuals"
Print this page
×
Bookmark added
×
Added to my manuals
Manuals
Brands
Noritsu Manuals
Scanner
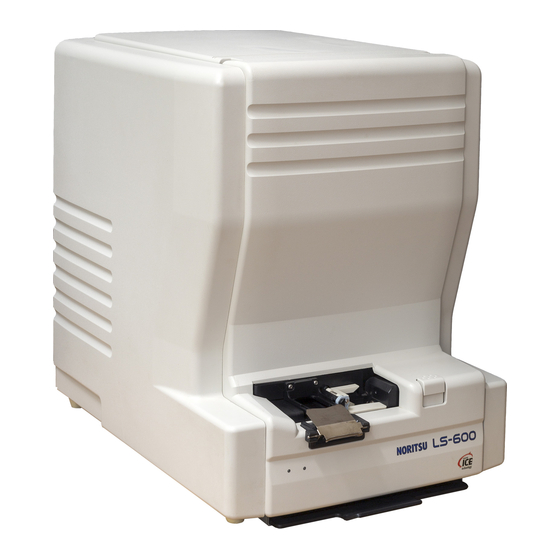
LS-600
Installation manual
Noritsu LS-600 Installation Manual
Hide thumbs
Also See for LS-600
:
Starting manual
(94 pages)
1
2
3
4
5
Table Of Contents
6
7
8
9
10
11
12
13
14
15
16
17
18
19
20
21
22
23
24
25
26
27
28
29
30
31
32
33
34
35
36
37
38
39
40
41
42
43
44
45
46
47
48
49
50
51
52
53
54
55
56
57
58
59
60
61
62
63
64
65
66
67
68
69
70
71
72
73
74
75
76
77
78
79
80
81
82
page
of
82
Go
/
82
Contents
Table of Contents
Bookmarks
Table of Contents
Installation Manual
Description of Warnings (Signal Words)
Symbols Used in this Manual
Table of Contents
1 Before Installation
Workflow (Windows XP)
Workflow (Windows Vista)
Outline of Connecting Devices
Installation Place
Required Items
Removing Packing Angle Brackets and Antirust Material
2 Confirming the Component Parts
3 Configuring Monitor Display Settings
4 Setting up the PC
Configuring Power Options
Configuring the Virtual Memory
Configuring the Transfer Mode
Turning off Autoplay of Media Drives
Setting the Taskbar
Turning off the Hotkey Function (Shortcut Key Function) on the Resident Application
Configuring the User Account Control Setting
Configuring Sidebar Settings
5 Installing the TWAIN Driver
Installation Procedure
Installing the Windows Installer 3.1
Installing the Microsoft Visual C++ 2005 SP1 Redistributable
Installing the Microsoft .NET Framework Version 3.0
Installing the Postgresql8.1
Installing the MSXML 4.0 SP2 Parser and SDK
Installing the MSXML 6.0 Parser
Installing the Sentinel Protection Installer 7.3.0
Installing the EZ Controller
Installing the EZ Controller Imgdataproc Additional Software
Installing the System Capture
6 Installing the SYSTEM PROGRAM
7 Connecting the Power Supply and Setting the USB Driver
Connecting the Power Supply
Configuring USB Driver Settings
8 Configuring Various Settings
Configuring the USB Power Management Setting
Configuring the Installation Date and Display Settings
Configuring the Display Unit and Resolution Name Settings
9 Creating Print Channels
Advertisement
Quick Links
1
Installation Manual
2
Description of Warnings (Signal Words)
3
Table of Contents
4
Workflow (Windows Xp)
5
Confirming the Component Parts
6
Installing the Twain Driver
7
Installing the Ez Controller
8
Creating Print Channels
Download this manual
LS-600/LS-1100
Installation Manual
Before installation, carefully read and understand Workflow explained in this Installation
Manual.
For details, see
1.1 Workflow (Windows XP) or
1.2 Workflow (Windows Vista).
Table of
Contents
Previous
Page
Next
Page
1
2
3
4
5
Advertisement
Table of Contents
Need help?
Do you have a question about the LS-600 and is the answer not in the manual?
Ask a question
Questions and answers
Related Manuals for Noritsu LS-600
Scanner Noritsu LS-600 Starting Manual
(94 pages)
Scanner Noritsu LS-1100 Installation Manual
(82 pages)
This manual is also suitable for:
Ls-1100
Table of Contents
Print
Rename the bookmark
Delete bookmark?
Delete from my manuals?
Login
Sign In
OR
Sign in with Facebook
Sign in with Google
Upload manual
Upload from disk
Upload from URL


Need help?
Do you have a question about the LS-600 and is the answer not in the manual?
Questions and answers