Nibe RMU 40 Installer And User Manual
Room unit for
nibe f1145, f1245, f750
Hide thumbs
Also See for RMU 40:
- Installer manual (65 pages) ,
- Installer manual (65 pages) ,
- Installer manual (64 pages)

Related Manuals for Nibe RMU 40


Summary of Contents for Nibe RMU 40
- Page 1 RMU 40 Installer and User Manual Room Unit For NIBE F1145, F1245, F750 IHB 1121-2 031435...
-
Page 2: Room Sensor
Room sensor General RMU 40 contains a room temperature sensor with the With RMU 40 you can control and monitor your NIBE same function as that supplied with the heat pump heat pump from another room in the house. (BT50). - Page 3 RMU 40 cannot be installed directly against a wall be- cause the connection terminal protrudes from the reverse. Install RMU 40 either in a spare apparatus box or on the plastic spacer supplied. If you want to use the room temperature sensor in RMU 40 the position of the room unit is important.
-
Page 4: Electrical Connection
F1245 RMU 40 Several RMU 40/SMS 40 If an additional RMU 40 or a SMS 40 is to be connected +12V GND to the F1145/F1245/F370/F470/F750 this should be con- nected from the terminal block in the first unit. No more than two units can be connected. -
Page 5: Program Settings
Program settings Control - Introduction 1. Hold the back button in RMU 40 for 7 seconds to Room unit access the menu "service settings". 2. Enter the menu and select which climate system RMU 40 should be connected to. 3. Start the heat pump, enter menu "system settings"... -
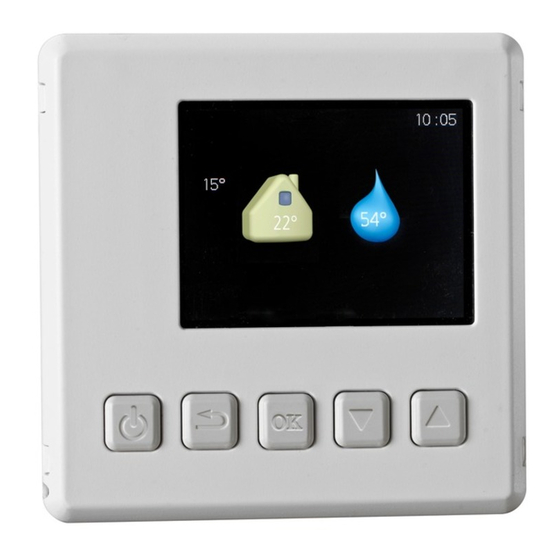
Page 6: Menu System
Selecting options Menu system When RMU 40 is started you come to the information menu. Basic information about the heat pump status is shown here. The indoor temperature is displayed in rela- tion to the selected climate system. In an options menu the current selected option is indicated by a green tick. -
Page 7: Control - Menus
Menu 1 - temperature Control - Menus Main menu Setting the temperature (without room sensors activated): Sub-menus Setting range: -10 to +10 Status information for the relevant menu can be found on the display to the right of the sub-menus. The display shows the set values for heating (curve offset). - Page 8 Menu 3 - ventilation Wait 24 hours before making a new setting, so that the room temperature has time to stabilise. Menu 2 - temporary lux Setting range: normal and speed 1–4 Caution This menu is only displayed for the exhaust air Setting range: 3, 6 and 12 hours and mode "off"...
-
Page 9: Manage Alarm
The climate system must also be activated in the only additional heating is used. heat pump menu 5.2. Activate all climate sys- tems you wish to control from RMU 40. Functions "addition" is what helps the compressor to heat the... -
Page 10: Troubleshooting
Troubleshooting Communication error Check that the settings in RMU 40 menu 5 and heat pump menu 5.2 correspond. Check the cable connection between RMU 40 and heat pump. Display extinguished Check the cable connection between RMU 40 and heat pump.
Need help?
Do you have a question about the RMU 40 and is the answer not in the manual?
Questions and answers