Advertisement
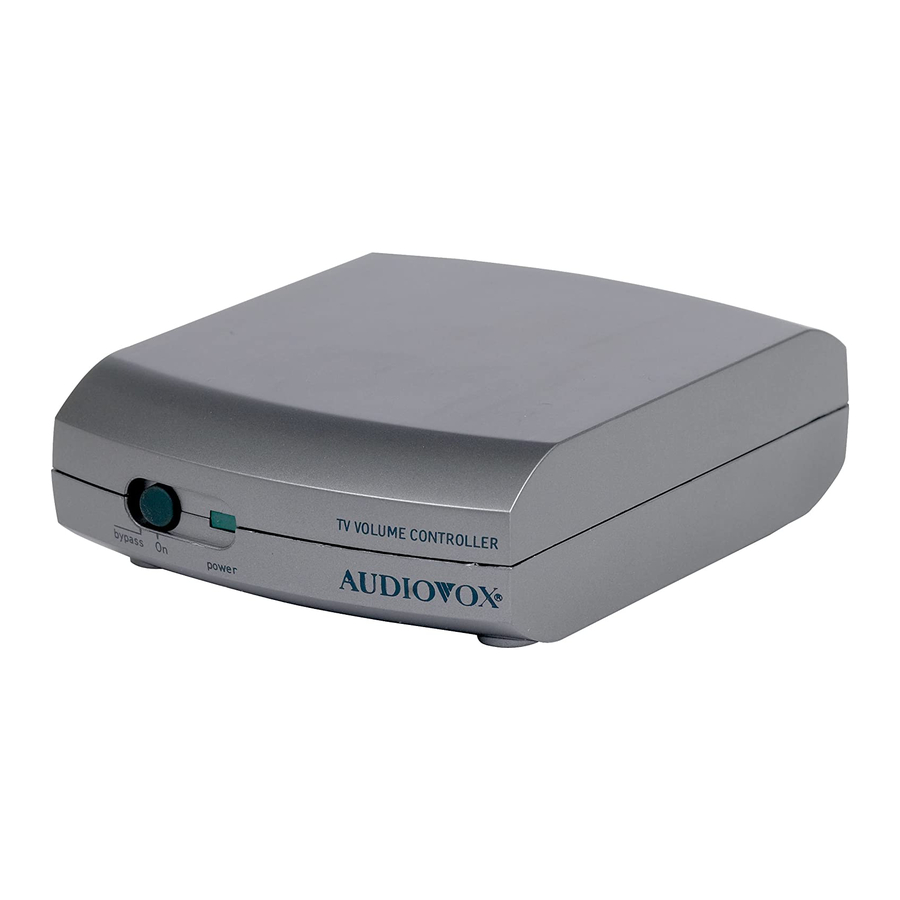
Connecting the VR-1 from the
Audio Outputs of Your TV
1. Use a set of red and white audio connection cables
2. Use another set of red and white connection cables
3. Connect the A/C adapter to the DC input of the VR-1.
4. Plug the A/C adapter into a working electrical outlet.
Note: You may need to enable the audio output feature of
your TV. Please check the owner's manual of your system to
determine how to do this.
4
to connect the audio output of your TV to the INPUT
of the VR-1.
(not included) to connect the OUTPUT of the VR-1 to
the input of your stereo or home theater receiver.
Advertisement
Table of Contents

Subscribe to Our Youtube Channel
Related Manuals for Audiovox VR-1

Summary of Contents for Audiovox VR-1
- Page 1 (not included) to connect the OUTPUT of the VR-1 to the input of your stereo or home theater receiver. 3. Connect the A/C adapter to the DC input of the VR-1. 4. Plug the A/C adapter into a working electrical outlet.
-
Page 2: Limited Warranty
This warranty is only valid in the USA. Replacement as provided under this warranty is the exclusive remedy of the consumer. Audiovox shall not be liable for any incidental or consequential damages for breach of any express or implied warranty on this product, except to the extent that limitations of this sort are prohibited by applicable law. - Page 3 VR-1 Owner’s Manual VR-1 TV Volume Controller...
- Page 4 About Your TV Volume Regulator The VR-1 provides effective volume matching for television audio, DVDs, movies and more. With the VR-1, you will enjoy consistent audio levels when surfing from channel-to- channel, program-to-commercial, or between loud and noisy scenes of a movie.
- Page 5 (such as a stereo, home theater receiver, powered speakers, etc.). 3. Connect the A/C adapter to the DC input of the VR-1. 4. Plug the A/C adapter into a working electrical outlet. Note: When using RCA cables as shown above make sure...
- Page 6 OUTPUT of the VR-1 to the Tape Monitor input of your stereo or home theater receiver. 3. Connect the A/C adapter to the DC input of the VR-1. 4. Plug the A/C adapter into a working electrical outlet.
Need help?
Do you have a question about the VR-1 and is the answer not in the manual?
Questions and answers