Table of Contents
Advertisement
Quick Links
Advertisement
Table of Contents

Related Manuals for Eclipse P400

Summary of Contents for Eclipse P400
- Page 1 USER’S MANUAL USER’S MANUAL FU LL VE RS IO N TEMPERED GLASS EDI TI ON...
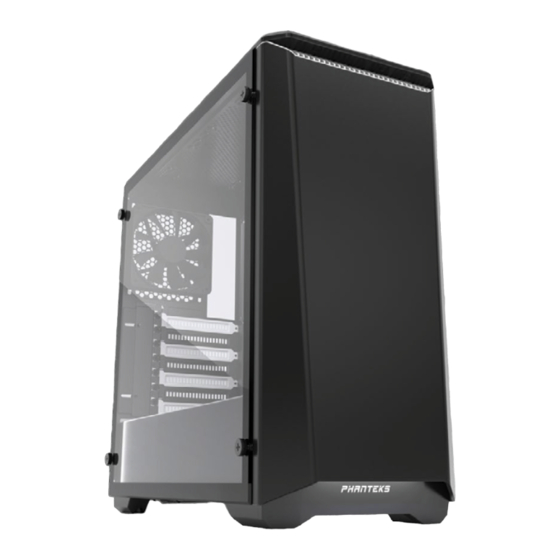
- Page 2 Thank you. Phanteks continues its user friendly design chassis with the new Eclipse Series P400. Without much effort, the P400 allows users to create a clean and beautiful system. Ambient RGB illumination adds character while the solid metal exterior gives the case a simple elegant design.
-
Page 3: Table Of Contents
2x USB 3.0, Mic, Headphone, Reset, MOTHERBOARD INSTALLATION ....................................LED Color Control, *3-Speed Fan CPU cooler 170 mm (6.7 in) POWER SUPPLY INSTALLATION ..................................... controller (*Eclipse P400S models only) Cable Management 25 mm (1.0 in) Side window Tempered Glass Side Panel PSU (including cable) 270 mm (10.6 in) -
Page 4: Exploded View
2. EXPLODED VIEW 1. Chassis 2. Top Panel 3. SSD Brackets 4. Fans 5. Right Side Panel 6. Front Panel 7. HDD Tray 1. 筐体 1. 섀시 1. Шасси 1.机箱 8. Hard Drive Cage 2. 上部パネル 2. 상단 패널 2 Верхняя панель 2.顶部面板... -
Page 5: Accessories
3. ACCESSORIES 4. I/O PORTS I / O P A N E L 1. USB 3.0 1. USB 3.0 1. U 1. USB 3.0 1. USB 3.0 1. USB 3.0 1. USB 3.0 Top Dust Filters (P400S only) 2. Microphone 2. -
Page 6: Connections
5. CONNECTIONS 6. PANEL REMOVAL CAPTIVE THUMBSCREWS AUDIO PANEL USB 3.0 Power SW MIC2 L Reset SW AGND IntA P2_D+ MIC2 R AVCC IntA P2_D- IntA P1_D+ H.D.D LED FRO-R MIC2_JD IntA P1_D- F_IO_SEN IntA P2_SSTX+ LINE2_JD FRO-L IntA P2_SSTX- IntA P1_SSTX+ IntA P1_SSTX- IntA P2_SSRX+... -
Page 7: Motherboard Installation
6. PANEL REMOVAL 7. MOTHERBOARD INSTALLATION For the front panel, place your hands on the area shown and pull outward. 打开面板时,用手从指示位置向前拉出。 前面パネルの場合、図に示したエリアに両手を置き外側に引きます。 전면 패널을 분리하려면, 양손을 그림에 표시된 부분에 올려놓고 바깥쪽으로 당깁니다. Чтобы снять переднюю панель, возьмитесь за нее руками в указанных местах и потяните... -
Page 8: Power Supply Installation
8. POWER SUPPLY INSTALLATION 9. FILTERS REMOVAL To clean the dust filters, run slow moving water through the filters. Dry REAR VIEW filters before reinstalling. 慢慢的用水清洗滤尘器。等滤尘器凉干后再装入。 ダストフィルターを清掃するには、勢いのない水をフィルターに通し ます。 フィルターを乾かしてから再度取り付けます。 먼지 필터를 청소하려면 천천히 흐르는 물로 필터를 통과시킵니다. 다 시 설치하기 전에 필터를 말리십시오. Для... -
Page 9: Fans Compatibility
10. FAN COMPATIBILITY 11. HARD DRIVE INSTALLATION 3.5” INSTALLATION 2.5” INSTALLATION FAN COMPATIBILITY TABLE 140mm 120mm Front Rear Place hard drive into tray and push in the arms to lock. 把硬盘放入托盘,并推入两边侧翼锁住。 Slide in the SSD and screw in from the side to lock in place. ハードドライブをトレイに置き、アームを押して固定します。하... -
Page 10: Hard Drive Cage
12. HARD DRIVE CAGE 13. DROP-N-LOCK SSD BRACKET HDD BRACKET REMOVAL SSD INSTALLATION To remove, unscrew the 4x screws on the midplate and the 4x Slide in the SSD and screw in from the side to lock screws on the bottom of the case. in place. -
Page 11: Watercooling Installation
14. WATERCOOLING INSTALLATION 14. WATERCOOLING INSTALLATION 120 MM FORM FACTOR RADIATORS WATERCOOLING RADIATOR COMPATIBILITY *Caution: Supported Radiator size and thickness varies depending on your setup. Radiator Size Front Rear Bottom 提示:机箱所支持的水冷排的尺寸和厚度的变化取决于你的水路及风扇 设置。 散热排尺寸 前面 后面 底部 顶部 ラジエーターのサイズ 正面 背面 下部... -
Page 12: Optional Upgrades
15. OPTIONAL UPGRADES PWM FAN HUB INSTALLATION Step 1. Remove the HDD cover by removing the m3 Screw 3.5” HDD MODULAR BRACKET INSTALLATION (UP TO 4X EXTRA HDD’S) Step 2: Align the HDD bracket to the slot and drop in. REQUIREMENTS: Step 3: Screw in from the back with thumb screws to lock the bracket in PHANTEKS PWM FAN HUB (PH-PWHUB) - Page 13 16. SERVICES AND SUPPORT If you have any questions or concerns, please visit Phanteks’ website for technical support. We consider customer support, satisfaction and feedback an essential element of our overall marketing effort. Please feel free to contact our support team. Thank you! Contact Us at: www.phanteks.com www.phanteksusa.com...
Need help?
Do you have a question about the P400 and is the answer not in the manual?
Questions and answers