Sign In
Upload
Download
Table of Contents
Contents
Add to my manuals
Delete from my manuals
Share
URL of this page:
HTML Link:
Bookmark this page
Add
Manual will be automatically added to "My Manuals"
Print this page
×
Bookmark added
×
Added to my manuals
Manuals
Brands
Orion Manuals
Amplifier
XTR5004
Owner's manual
Orion XTR500.4 Owner's Manual
Hide thumbs
Also See for XTR500.4
:
Owner's manual
(102 pages)
1
Table Of Contents
2
3
4
5
6
7
8
9
10
11
12
13
14
15
16
17
18
19
20
21
page
of
21
Go
/
21
Contents
Table of Contents
Troubleshooting
Bookmarks
Table of Contents
Table of Contents
Introduction
What's in the Box
Practice Safe Sound
Record Your Serial Number and Date
End Panel Layouts
CEA Specifications
Specifications
Amplifier Settings
Signal Input and Output Configurations
Level Control
Line Output Configurations
Internal Crossover Configurations, Flat (Full Range)
Crossover Switch
Low-Pass Crossover
High-Pass Crossover
Adjusting Bass Boost
Phase Shift Control
Remote Gain Operation
Amplifier Wiring
Power Connections
XTR1700.4 and XTR2500.4
Amplifier Installation
Choosing Mounting Locations
Passenger Compartment
Trunk Compartment
General Precautions and Installation Tips
Tools of the Trade
Step by Step Installation
Set up and Troubleshooting
Testing the System
Adjusting the Sound of the System
Amplifier Visual Troubleshooting
Troubleshooting Tips
Advertisement
Quick Links
1
End Panel Layouts
2
Cea Specifications
3
Specifications
4
Amplifier Wiring
Download this manual
See also:
Owner's Manual
OWNER'S MANUAL
Amplifier
MODEL
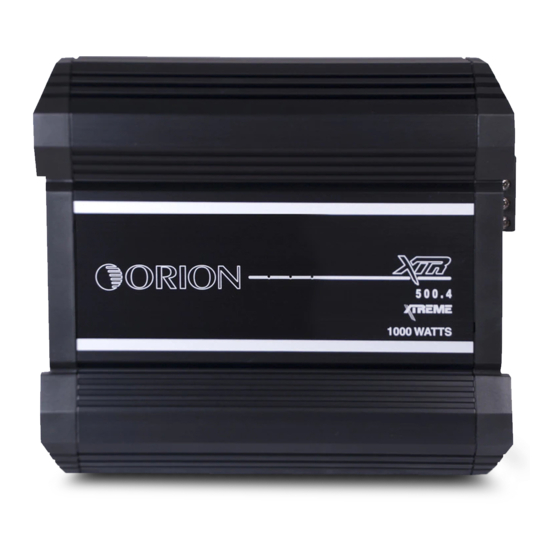
XTR500.4
XTR750.4
XTR1000.4
XTR1700.4
XTR2500.4
Table of
Contents
Previous
Page
Next
Page
1
2
3
4
5
Advertisement
Table of Contents
Troubleshooting
Set Up and Troubleshooting
15
Amplifier Visual Troubleshooting
16
Need help?
Do you have a question about the XTR500.4 and is the answer not in the manual?
Ask a question
Questions and answers
Related Manuals for Orion XTR500.4
Car Amplifier Orion XTR Amplifier XTR5004 Owner's Manual
Directed audio xtr amplifier owner's manual (102 pages)
Amplifier Orion XTREME 14002 Owner's Manual
Xtr series (26 pages)
Amplifier Orion XTREME 9002 Owner's Manual
Orion power amplifier owner's manual (24 pages)
Amplifier Orion XTR300BIQ Installation Manual
Xtr series power amplifier (12 pages)
Amplifier Orion "The Beast" Power Amplifier XTR 2250 Installation Manual
Orion xtr 2250 "the beast" power amplifier installation manual (15 pages)
Amplifier Orion Xtreme Series Installation Manual
Xtreme series (18 pages)
Amplifier Orion Xtreme Series Installation Manual
(17 pages)
Amplifier Orion XTREME Series Instruction Manual
4-channel power amplifier (19 pages)
Amplifier Orion XTR Series Installation Manual
(11 pages)
Amplifier Orion XTR 800.4-2 Owner's Manual
Orion amplifiers owner's manual (20 pages)
Amplifier Orion XTR1000.4 Owner's Manual
(21 pages)
Amplifier Orion XTR2500.4 Owner's Manual
(21 pages)
Amplifier Orion XTR1700.4 Owner's Manual
(21 pages)
Amplifier Orion 500.42 Owner's Manual
Orion power amplifier owner's manual (16 pages)
Amplifier Orion XTR1500.1D Owner's Manual
(18 pages)
Amplifier Orion XTR2500.1D Owner's Manual
(18 pages)
This manual is also suitable for:
Xtr750.4
Xtr1000.4
Xtr2500.4
Xtr1700.4
Table of Contents
Print
Rename the bookmark
Delete bookmark?
Delete from my manuals?
Login
Sign In
OR
Sign in with Facebook
Sign in with Google
Upload manual
Upload from disk
Upload from URL


Need help?
Do you have a question about the XTR500.4 and is the answer not in the manual?
Questions and answers