Sign In
Upload
Download
Table of Contents
Contents
Add to my manuals
Delete from my manuals
Share
URL of this page:
HTML Link:
Bookmark this page
Add
Manual will be automatically added to "My Manuals"
Print this page
×
Bookmark added
×
Added to my manuals
Manuals
Brands
D-Link Manuals
Switch
DGS-1024D G2
User manual
D-Link DGS-1024D G2 User Manual
Hide thumbs
1
2
3
Table Of Contents
4
5
6
7
8
9
10
11
12
13
14
15
16
17
18
19
20
21
22
23
24
25
26
27
28
29
30
31
32
33
34
35
36
37
page
of
37
Go
/
37
Contents
Table of Contents
Bookmarks
Table of Contents
Preface
Trademarks
Manual Revisions
Certifications
Ce Mark Warning
Table of Contents
Package Contents
Introduction
D-Link Green Technology
Power Saving Technology
Features
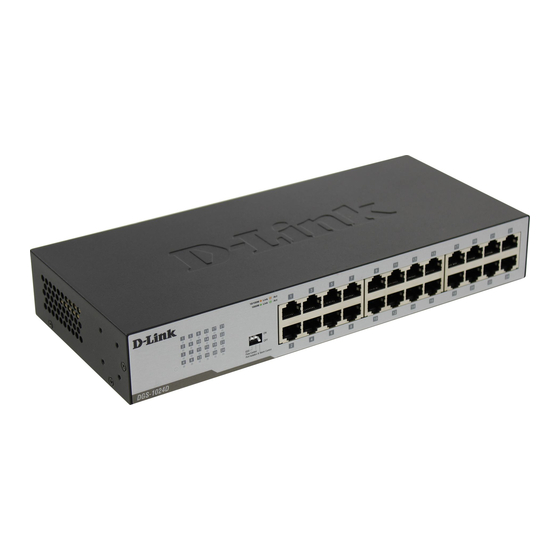
Hardware Overview
Front Panel
LED Indicators
Rear Panel
Safety Instructions
Safety Precautions
Electrical Power Guidelines
Protecting against Electrostatic Discharge
Hardware Installation
Step 1 - before Connecting to the Network
Step 2 - Switch Installation
Desktop or Shelf Installation
Attaching the Rubber Feet
Rack Installation
General Precautions for Rack-Mountable Products
Step 3 - Installing the Power Cord Retainer
Step 4 - Grounding the Switch
Step 5 - Plugging in the AC Power Cord
Power Failure
Cable Diagnostics
DIP Switches
Eee
Flow Control
Port Isolation
Storm Control
Technical Specifications
Regulatory Information
Advertisement
Quick Links
1
Front Panel
2
Step 1 - before Connecting to the Network
3
Step 2 - Switch Installation
4
Dip Switches
5
Flow Control
6
Eee
7
Port Isolation
Download this manual
Table of
Contents
Previous
Page
Next
Page
1
2
3
4
5
Advertisement
Table of Contents
Need help?
Do you have a question about the DGS-1024D G2 and is the answer not in the manual?
Ask a question
Questions and answers
Related Manuals for D-Link DGS-1024D G2
Switch D-link DES-3226 Reference Manual
Cross reference list (1 page)
Switch D-Link DGS-1016D Quick Installation Manual
Gigabit desktop switch (33 pages)
Switch D-Link DGS-1016D Quick Installation Manual
16 / 24-port gigabit desktop switch (3 pages)
Switch D-Link DGS-1016D Quick Installation Manual
16 / 24-port gigabit desktop switch (28 pages)
Switch D-Link DGS-1016D Quick Installation Manual
Gigabit desktop switch (21 pages)
Switch D-Link DGS-1024D Quick Install Manual
24-port gigabit desktop or rackmount switch (2 pages)
Switch D-Link DGS-1024D/B Quick Install Manual
(9 pages)
Switch D-Link DGS-1016D Quick Start Manual
Unmanaged switches (2 pages)
D-Link DGS-1016D, DGS-1024D, DGS-1016D/F1A Manual
(article)
Switch D-Link DGS-1024D Technical Specifications
24-port gigabit desktop/rackmountable switch (2 pages)
Switch D-Link DGS-1024D Quick Install Manual
(9 pages)
Switch D-Link dgs-1024d Quick Installation Manual
(16 pages)
Switch D-Link DGS-1024A Quick Install Manual
24-port gigabit desktop switch (2 pages)
Switch D-Link DGS-1016A Quick Install Manual
16/24-port gigabit desktop switch (2 pages)
Switch D-Link DGS-1024C Quick Installation Manual
(8 pages)
Switch D-Link DGS-1016D H1 User Manual
Desktop (36 pages)
This manual is also suitable for:
Dgs-1016d g3
Table of Contents
Save PDF
Print
Rename the bookmark
Delete bookmark?
Delete from my manuals?
Login
Sign In
OR
Sign in with Facebook
Sign in with Google
Upload manual
Upload from disk
Upload from URL


Need help?
Do you have a question about the DGS-1024D G2 and is the answer not in the manual?
Questions and answers