Table of Contents
Advertisement
Quick Links
Advertisement
Table of Contents

Related Manuals for Campfire 504112

Summary of Contents for Campfire 504112
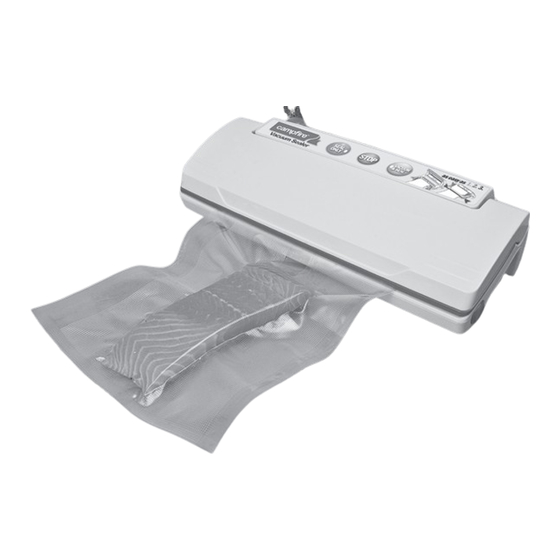
- Page 1 Vacuum Sealer A simple 3 step vacuum seal for hygienic, fresher & healthier food IMPORTANT Read these instructions for use carefully. Familiarise yourself with the appliance before use. Keep these instructions for future reference. Instruction manual Part No. 504112...
- Page 2 Contents Important Safeguards Important instructions – Read the instructions retain for future use. carefully. Always follow these basic precautions when using the Vacuum Sealer. p2. Important Safeguards p3. Packaging Tips • Do not use the appliance on wet or p4. Functions & Features hot surfaces.
- Page 3 Packaging Tips When vacuum packaging: • When packaging products with sharp • Vacuum packaging is NOT a substitute edges (dry spaghetti, silverware, etc.), for refrigeration. protect the bag from punctures by • Use ONLY bags, rolls and canisters wrapping the products in a cushioning that are recommended.
-
Page 4: Functions And Features
Functions & Features 1.Seal Only (Indicator) Seal Only (Indicator): 2.Stop 3.Vacuum & Seal (Indicator) To seal the bag without vacuum or make a vacuum seal bag. Stop: To switch off the vacuuming and sealing action. Vacuum & Seal (Indicator): To draw air out of the bag and automatically switch to seal the bag after vacuum is completed. -
Page 5: Operating Instructions
Operating Instructions As easy as 1. 2. 3. Place the items you wish to preserve inside the bag. Clean and straighten the open end of the bag, make sure there are no wrinkles or ripples on the panels of the open end. 1. -
Page 6: Making A Bag Using The Bag Roll
Operating Instructions Making a bag using the bag roll 1. Unroll the bag and put one end of the bag on top of the grey rubber strip, then close the lid. Make sure that both panels of the bag are located within the rippled area (Vacuum Channel), but below the round post which is the vacuum pump hole. -
Page 7: Care Instructions
Care Instructions Packaging Non-Food Items Vacuum Sealer Your Vacuum Sealer also • Always unplug the appliance before cleaning. protects non-food items from oxidation, corrosion • Clean using a mild dishwashing soap and moisture. Just follow the and a warm, damp cloth. Do not immerse the appliance in water. - Page 8 Food Preparation and Storage The combination of vacuum Vacuum sealing is not a substitute for sealing and freezing will canning nor can it reverse deteriorating quality; it can only slow down changes extend food freshness in quality. It is impossible to predict how and reduce the growth of long a specific food will have top-quality bacteria in perishable foods.
- Page 9 Guidelines for Vacuum Sealing Preparation guidelines for Preparation guidelines meat and fish for vegetables Vegetables need to be blanched before For best results, pre-freeze meat and fish vacuum sealing. This process stops the for 1-2 hours before vacuum sealing in a enzyme action that could lead to loss of pre-cut bag.
- Page 10 Preparation guidelines NOTE: Marinating times will vary for fruits depending on the type of marinade being used. Do not marinate for more When freezing soft fruits or berries, it is than 5-10 minutes if the marinade best to pre-freeze them for 1-2 hours or contains acidic ingredients, such as until solidly frozen.
-
Page 11: Troubleshooting
Trouble Shooting Air was removed from the Nothing happens when the bag, but has come back into buttons are pressed the bag • Check to see that the appliance is plugged in. Test electrical outlet by • Leaks along the seal can be caused plugging in another appliance. - Page 12 WARRANTY This appliance is covered against faulty workmanship Distributed by and materials for a period of PRIMUS AUSTRALIA PTY LTD 12 months from the date of Bundoora Victoria 3083 original purchase. www.primusaustralia.com.au...
Need help?
Do you have a question about the 504112 and is the answer not in the manual?
Questions and answers