Table of Contents
Advertisement
Quick Links
Download this manual
See also:
Operating Manual
Advertisement
Table of Contents

Related Manuals for Audiovox VOD86


Summary of Contents for Audiovox VOD86
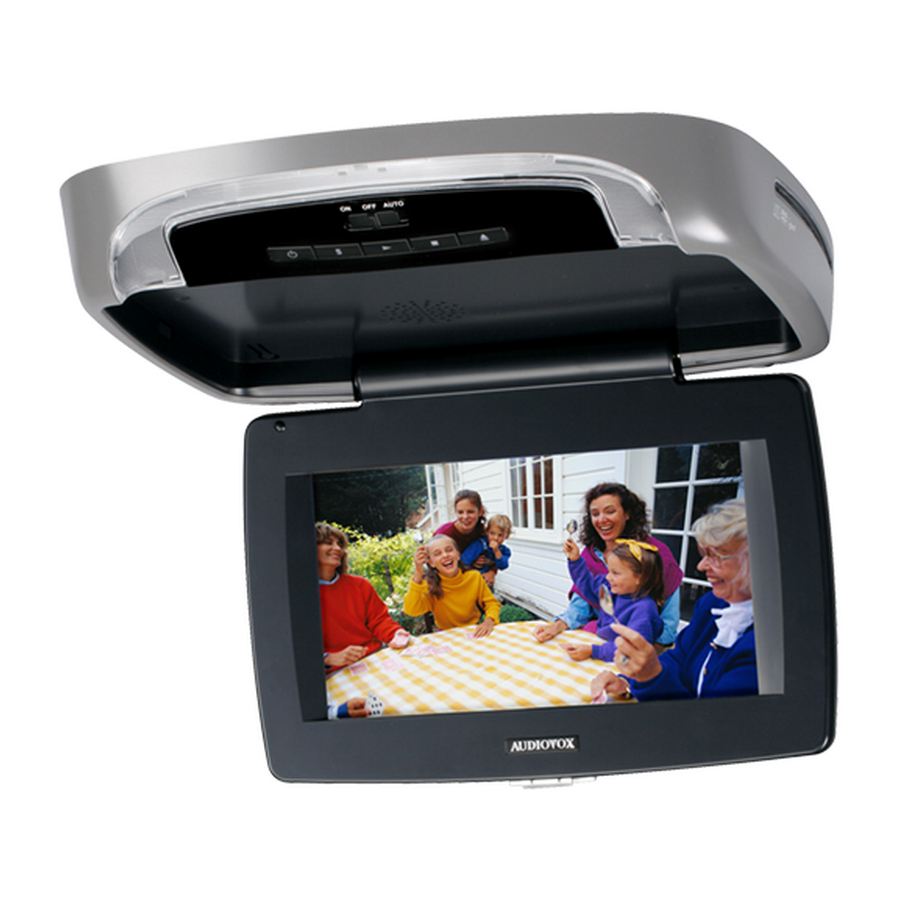
- Page 1 VOD86 8.5" OVERHEAD LCD MONITOR WITH DVD PLAYER...
-
Page 2: Important Notice
If this is the case, an optional relay box is available. The Audiovox part number is SIRSWB and it plugs into the 1/8" jack located next to the FM antenna on the side of the chassis. -
Page 3: Materials Included In This Package
MATERIALS INCLUDED IN THIS PACKAGE: ” 1) 8.5 TFT LCD Overhead Monitor With DVD Player 2) 12 Pin Power / Signal harness (P/N 112-3959) 3) 2 Pin Power Wire Harness with choke (P/N 112B3143) 4) Hardware Package Screws ISO M3 x 8mm Long #4 x 5/16"... - Page 4 Cap L & R...
-
Page 6: Vehicle Preparation
2) The mounting method and location will vary from vehicle to vehicle, so this manual will only focus on the installation of the VOD86 and related console accessories. 3) Generally, the best location for the video monitor is where the vehicle's factory dome light is installed. -
Page 7: Trim Ring Installation
4) Once the mounting location of the monitor has been determined, there may be additional preparation work necessary, depending on the vehicle structure and installation method. Some of the steps that may be required are: Removal of the vehicle's dome light If the trim ring will be used, it may have to be trimmed to fit the contour of the vehicle's headliner. - Page 8 3. AUX - AUX *NOTE: If the optional relay box P/N SIRSWB is installed, it recommended that the antenna for the wireless FM Modulator be unplugged. See VOD86 Wiring Diagram (Figure A) for antenna location. **NOTE: Extending the wireless antenna beyond its 12 inch length will cause the FM Modulator to exceed FCC limits for wireless transmission.
- Page 9 VOD86 * Optional Relay Box SIRSWB 12 Pin Power / Signal harness 2 Pin Power Auxillary Video Display Wire Harness with choke Figure A...
-
Page 10: Connecting The Dome Lights
CONNECTING THE DOME LIGHTS The dome lights in the video monitor require three connections to the vehicle's wiring. There are two common types of dome light circuits used, positive or negative switched. Positive systems supply voltage to the interior lights to turn them on, negative switched systems apply ground to illuminate the bulbs. -
Page 11: Troubleshooting
Negative Switched Dome Lighting To 12 pin connector Troubleshooting: SYMPTOM: No power at Video Monitor Power but no video or sound Static on TV Stations (Tuner Version Only) No Infrared remote functions for VCP (or other components) Red / black - Lamp on Black / red - Lamp common Purple / brown - Lamp Auto Factory Door ajar... - Page 12 2008 Audiovox Electronics Corp. 150 Marcus Blvd. Hauppauge, NY 11788 128-8343...
Need help?
Do you have a question about the VOD86 and is the answer not in the manual?
Questions and answers