
Related Manuals for RC Aerodyne UH-60


Summary of Contents for RC Aerodyne UH-60
-
Page 2: Important Notes
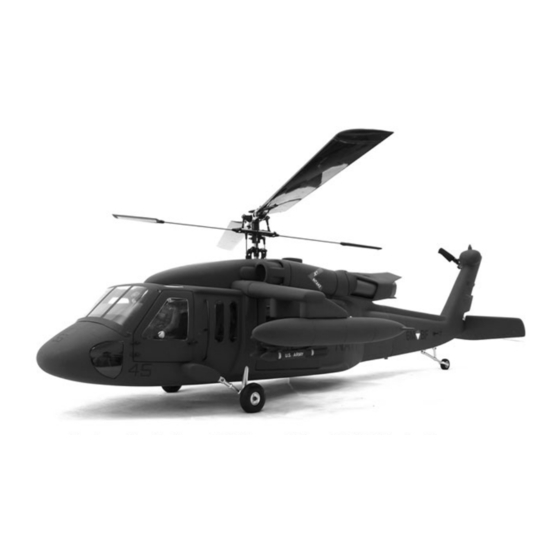
Thank yiu for buying an RC Aerodyne product.The 600 scale fuselage is designed as an easy to install kit. Please read Thank yiu for buying an RC Aerodyne product.The 600 scale fuselage is designed as an easy to install kit. Please read the manual. - Page 3 600scale fuselge,suitable for Chaos 600 Pro and T-REX600 ESP Helicopter series TOOL 自備工具 600像真機殼,適用于T-REX600ESP遙控直升機系列。 1:Cutter knife. 2:Hexagon screw driver 3:Phillips screw driver. 4:File. BEFORE ASSEMBLING組裝前准備事項。 5:Diagonal cutting pliers.6:Silicone 7:CA glue. 8:AB glue 9:Fine sandpaper. 1:Check for all the psrts in the list come with the manual. 10:Scissors.
- Page 4 1.Tail Transmission Gear Box 2.Vertical Tail Boom, 3. Vertical Torque Tube 228mm 4. Ball Linkages for Tail x2pcs 5. Brass Gear 1x1pcs, 6. Gear Shat 109.0mmx1pcs 7. Vertical Linkage Rod x 1pcs 8. Mounting Brackets x2PCS 9. Spacers 10. Boom Support Mount x1psc 11.
- Page 5 Use the 3.0mm mounting pins and C clips and install as shown above Remove Rear Tail Cover Install the rear lights in the tail boom. Use the 3.0x10.0mm screws and install in tail Use the 4.0x18mm Allen bolts to install the Using 3.0x10.0mm screws, install the main main gear and the φ3.0mm pins for the pivot gear mounts on the front fuselage pylons.
- Page 6 Install Windshield. U can use screws or Optional Cockpit canopy glue 550 works well. Install the Rear Drop down transmission The seats for the cockpit must be gear system as shown. installed separately Install the boom supports using the boom support mount Install the Tail gear box, vertical tail boom, torque tube and tail gear box.
- Page 7 。 Re attach rudder control rods Tighten lower gear box。 Install the foam insert Use the 3.0x16mm mounting screws and install in the factory wood platform...
- Page 8 Re attach the tail cover Install the stabilator hinges Use epoxy and set in tail Install HIRRS Exhaust using 5 min epoxy...
- Page 9 Weapons Set install 开关2 开关2 开关1 开关1 开关 开关1 The optional lighting system can be plugged into an open channel and controlled by the radio system. 开关2 开关2 开关1 开关1...
Need help?
Do you have a question about the UH-60 and is the answer not in the manual?
Questions and answers