Table of Contents
Advertisement
Advertisement
Table of Contents

Related Manuals for Tayama TXM-60XL

Summary of Contents for Tayama TXM-60XL
- Page 1 TAYAMA ® 8-in1 Multi-Functional Pressure Cooker User Manual For Model# TXM-60XL IMPORTANT: Do Not Use This Pressure Cooker Until You Have Read This Entire Manual Thoroughly...
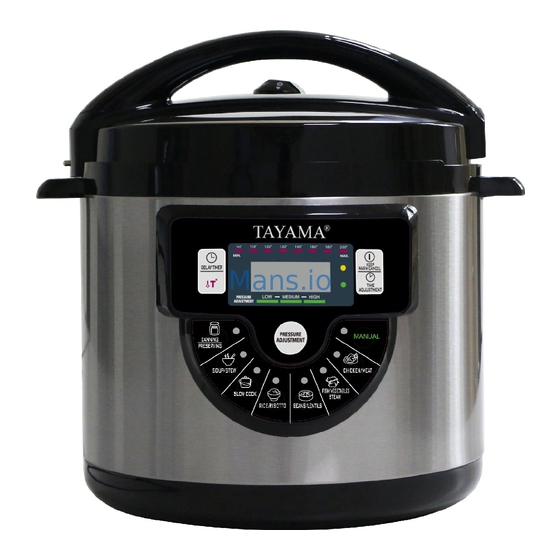
- Page 2 Congratulations The Tayama 8-in-1 Multi-Functional Pressure Cooker is the latest in our distinguished line. We have tested and perfected the right combination of metals, cooking surfaces and digital technology guaranteed to help you get mealtime raves from the whole family.
- Page 3 When using electrical appliances, Important Safeguards basic safety precautions should always be followed including the following: • Read and follow all instructions carefully. • Always attach plug to appliance first, then • This appliance is not intended for use by plug cord into the wall outlet.
- Page 4 • When in operation the pressure cooker until you are sure it is sitting correctly on requires sufficient air space on all sides the heater plate. Failure to do so will including top and bottom. Never operate prevent proper operation and prevent the unit near any flammable materials the risk of personal injury, fires, and such as dish towels, paper towels,...
- Page 5 Product Features Special Features • The Digital Display on your Pressure Cooker Never use bare hands. offers a wide range of choices including Low CAUTION: During this process protect your skin Temp Cooking, Stewing, Steaming and much from any contact with escaping steam. more.
- Page 6 Product Structure Accessories Condensation Collector Technical Parameters How It Works Each function is programmed for different cooking times based upon the type of food being cooked. After plugging unit into appropriate electrical outlet, select one of the following cooking functions: Canning/Preserving Soup/Stew Slow Cook...
- Page 7 When the pressure reaches a predetermined level, a small amount of steam will release from the floater valve and the floater valve will rise. When the steam stops releasing the unit is sealed. Shortly thereafter, the Pressure Cooker reaches the selected pressure level and the timer begins its countdown on the LED display.
- Page 8 #3 Pressure Valve WARNING: Avoid serious injury... Never use your hand to set the Pressure Valve in the “Vent” Position after any cooking process. Use tongs or some other kitchen tool. #4 Condensation Collector The Condensation Collector easily picks up any moisture that may drip off when using your Pressure Cooker.
- Page 9 4. To Close Lid – Place Lid on Pressure Cooker, turn handle counter-clockwise to CLOSE position, as indicated on the handle until lid locks in place. (See pictures 8, 9, 10 and 11) NOTE: Make sure lid is closed and properly aligned before use. Program Settings Table Functions Canning/...
- Page 10 Manual Button The “Manual” key allows manual setting of cooking time. The time set in this mode is pressure cooking time which will begin to count down when working pressure is reached. The maximum pressure cooking time is 720 minutes (12hours). Note: “Sauté...
- Page 11 Pressure Adjustment Button When a specific cooking program is selected, the unit will display the default time in the LED window and the “Pressure Adjustment : Low, Medium, or High” indicator below the LED window will light. Should your recipe or personal taste require “Medium”...
- Page 12 DO NOT POUR COLD WATER INTO A HOT PRESSURE COOKER. NOTE: To ensure safe operation of this Pressure Cooker, strictly follow the cleaning and maintenance instructions after each use, should a tiny bit of food (such as a grain of rice or pea shell) remain in the unit, it could prevent the safety devices from operating during subsequent use.
- Page 13 8. To reinsert the Lid Liner/Sealing Ring, align the center hold in the Lid Liner with raised metal shaft located in the center of the Inner Lid and press firmly into place. The Lid Liner is not reversible and therefore must be correctly inserted into the lid. (See picture 21) Warning USE EXTREME CAUTION DURING OPERATION...
- Page 14 Trouble Shooting Table...
- Page 15 Tayama Appliance USA Inc. www.tayama-usa.com...
Need help?
Do you have a question about the TXM-60XL and is the answer not in the manual?
Questions and answers
how to turn it on?
To turn on the Tayama TXM-60XL, plug the electrical cord directly into a wall outlet. The unit will enter standby state, and you can then press a function key to begin operation.
This answer is automatically generated