Table of Contents
Advertisement
Quick Links
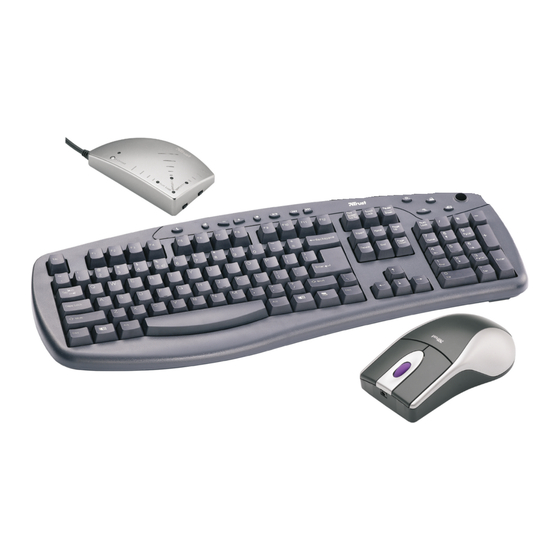
TRUST WIRELESS OPTICAL DESKSET 310KD
Method when using for the first time
Inserting the batteries
1.
2.
Selecting the channel
Uninstalling old drivers and devices
3.
Installing the software
4.
Checking after the installation
5.
1
Introduction
This manual is for users of the TRUST WIRELESS OPTICAL DESKSET 310KD. The
mouse has three buttons. The keyboard and mouse connect to your computer via a
radio frequency. The keyboard and mouse use 2 channels and 256 different
identification codes, so that a number of sets can be used in the same room.
2
Safety
Carefully read the following instructions before use:
-
The TRUST WIRELESS OPTICAL DESKSET 310KD does not require any
special maintenance. Use a slightly damp, clean cloth to clean the device.
Do not use aggressive substances, such as petrol or white spirit, to clean the
-
device. These may harm the material.
-
Do not submerge the device in liquid. This may be dangerous and will
damage the device. Do not use this device near water.
-
Make sure nothing is placed on the power cable. Do not use this device in an
area where the cable can become worn or damaged as a result of people
walking over it.
-
Do not repair this device yourself. If you open this device, you may touch live
components. This device must only be repaired by qualified personnel.
-
Under the following circumstances, have the device repaired by qualified
personnel:
The cable or plug is damaged or worn.
-
The device has come into contact with rain, water or another liquid.
-
0678
-
This device operates at a frequency of 27.042 ~ 27,20 MHz. It has been
approved according to the European R&TTE guidelines and meets the
essential requirements and other relevant conditions of Directive 1999/5/EC.
This device may be used in all EU countries, NO, CH, PL. The Declaration of
Conformity (DoC) is available at
-
There may be limitations for the use of this device outside of the EU. If this
device is used outside of the EU, check whether this device meets local
regulations. Frequency: 27.042 ~ 27,20 MHz, Bandwidth: 5 KHz, Capacity: 0,2
mW.
-
Nowadays, there are an increasing number of wireless products (video, audio,
convenience, computer, etc.) which work in the same frequency range as this
device. It may, therefore, be possible that the functionality of this product can
be limited by or be limiting for other wireless products. This can only be
avoided by paying attention to the distance between products and, where
possible, by changing channels.
-
Be careful when using wireless devices if you have a pacemaker or are
dependant on other life-saving, sensitive electronic equipment. This product
transmits radio signals!
Chapter
!
(3.1)
(3.2)
(3.3)
(3.4)
(3.5)
www.trust.com/12749/ce
U K
1
Advertisement
Table of Contents

Related Manuals for Trust 310KD


Summary of Contents for Trust 310KD
- Page 1 (3.5) Introduction This manual is for users of the TRUST WIRELESS OPTICAL DESKSET 310KD. The mouse has three buttons. The keyboard and mouse connect to your computer via a radio frequency. The keyboard and mouse use 2 channels and 256 different identification codes, so that a number of sets can be used in the same room.
-
Page 2: Installation
Connect the receiver’s purple plug to the purple PS/2 keyboard connection on your computer. The mouse and keyboard are now ready for (standard) use. If you wish to use the special function buttons on the WIRELESS OPTICAL DESKSET 310KD, continue from chapter 3.4. Uninstalling old drivers and devices The most common cause of faults during installation is the presence of a driver for a similar, old product. - Page 3 The ID code is not displayed, but if you move another WIRELESS OPTICAL DESKSET 310KD close by, you will see that there is no interference. This function can also be switched off, so that it is possible to use other...
-
Page 4: Checking After The Installation
- C:\PROGA~1\TRUST\WIRELE~1\MOUSE\AMOUMAIN.EXE Start - Programs - Trust - Wireless Optical Deskset 310KD - Keyboard – iKeyworks Office 6.0 – Uninstall iKeyworks Office 6.0 - Mouse – Trust Mouse Button Assign Software 1.0 – Uninstall Trust Mouse Button Assign Software 1.0 Note:... - Page 5 Alter the way in which the window is displayed on your monitor. Mouse software Double-click on the Trust icon in the system tray. A window will appear which shows the ‘Buttons’ menu (see figure 6). You can carry out the following using this menu: •...
- Page 6 TRUST WIRELESS OPTICAL DESKSET 310KD Click on ‘New/Update’ to create new functions. Follow the on-screen instructions. Note: The ‘NetJump’ and ‘LuckyJump’ menus can be assigned to one of the mouse buttons using the ‘Buttons’ menu. Keyboard 6.3.1 Multimedia keys The functions for the ‘iKeyWorksOffice’ mode and the ‘Standard functions’ mode are given in the table below.
- Page 7 There are two ways to check the batteries in the mouse. Either: Right-click on the Trust icon in the taskbar. A menu will appear. Select “Check RF mouse status”. Figure 9 will appear. The battery status can be viewed in this window. 100% means that the batteries are full and 0% means that the batteries are empty.
-
Page 8: Troubleshooting
TRUST WIRELESS OPTICAL DESKSET 310KD 6.4.3 Deskclip The plastic deskclip can be used so that you do not loose the USB recharge cable behind your desk when it is not being used. Stick the deskclip to your table so that the plug can hang behind the clip when the cable is not used. - Page 9 TRUST WIRELESS OPTICAL DESKSET 310KD Problem Cause Possible solution The keyboard does not The cable has not been Connect the cable connected correctly. correctly. react. The distance between the Place the keyboard wireless receiver and the closer to the wireless keyboard is too great.
-
Page 10: Warranty Conditions
Windows. If you still have problems after trying these solutions, please contact one of the Trust Customer Care Centers. You can find more information at the back of this instruction manual. Please have the following information available: •...
Need help?
Do you have a question about the 310KD and is the answer not in the manual?
Questions and answers