
Related Manuals for EUROCHEF OE612

Summary of Contents for EUROCHEF OE612
- Page 1 Built-in Electric Oven - OE612 User Manual RETAIN THIS MANUAL FOR FUTURE REFERENCE PLEASE READ THIS MANUAL CAREFULLY BEFORE USE...
-
Page 2: Table Of Contents
Built-in Electric Oven - OE612 Table of Contents Safety ........................ 1 Installation ....................... 5 Operation ......................7 Oven Structure .................... 7 Oven Functions ................... 8 Usage ......................9 Racks ......................12 Maintenance....................13 Removing the packaging tap ..............13 Cleaning the inside of the door ..............13 Removing and installing the oven door ............ -
Page 3: Safety
Built-in Electric Oven - OE612 Safety WARNING! For your safety, the information in this manual must be followed to minimize the risk of fire or explosion, electric shock, or to prevent damage, personal injury, or loss of life. READ AND FOLLOW THIS SAFETY INFORMATION CAREFULLY. SAVE THESE... - Page 4 Built-in Electric Oven - OE612 • Do not store flammable materials in an oven. • Items of interest to children should not be stored in cabinets above an oven; children climbing on the oven to reach items could be seriously injured.
- Page 5 Built-in Electric Oven - OE612 and after use, do not touch, or let clothing or other flammable materials contact any interior area of the oven; allow sufficient time for cooling first. • Potentially hot surfaces include oven vent openings, surfaces near the openings, crevices around the oven door, the edges of the window and metal trim parts above the door.
- Page 6 Built-in Electric Oven - OE612 • Do not use harsh abrasive cleaners or sharp metal scrapers to clean the oven door glass since they can scratch the surface, which may result in shattering of the glass. • A steam cleaner should not be used.
-
Page 7: Installation
Built-in Electric Oven - OE612 Installation • Inspect the connection with the power source. Check and ensure a current of 16A from this power source. A special junction box must be provided and connected by a qualified person. • You can switch off the power of the oven after installation for maintenance purposes. - Page 8 Built-in Electric Oven - OE612 NOTE: If the oven is mixed with a different kitchen range, it must observe the rules which are provided by the manual of the kitchen range. In order to get the oven operating normally, the type of cabinet must be correct.
-
Page 9: Operation
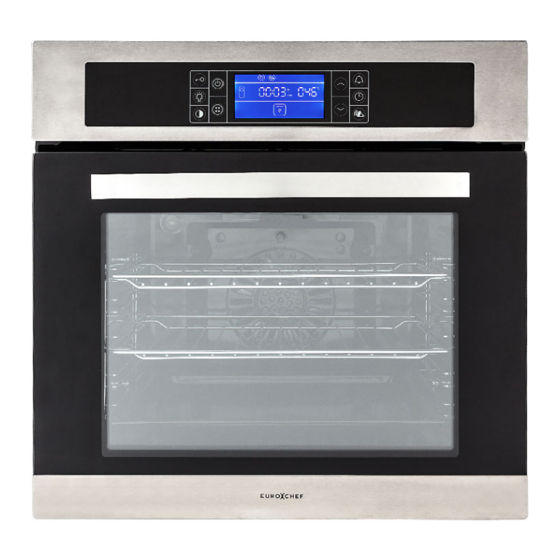
Built-in Electric Oven - OE612 Operation Oven Structure Control panel Gasket Oven light Convection heating element Convection fan element Supply cord Display area Touching set Inside top heating element 10. Outside top heating element 11. Grill grid 12. Tray 13. Door element 14. -
Page 10: Oven Functions
Built-in Electric Oven - OE612 Oven Functions Image Function Description Fan forced This method of cooking uses the circular element while the heat is distributed by the fan. This results in a faster and more economical cooking process. The fan oven allow food to be cooked simultaneously on different shelves, preventing the transmission of smells and tastes from one dish onto another. -
Page 11: Usage
Built-in Electric Oven - OE612 Image Function Description Fan oven and This method of cooking utilizes the top element and the lower grill circular element in conjunction with the fan, which helps to provide a quick circulation of heat. The fan oven allows food to be cooked simultaneously on different shelves;... - Page 12 Built-in Electric Oven - OE612 • Timer Cooking Function Setting: Press the button once and the icon and timer number will flash. This setting is the same as the clock setting. At this time, enter the roasting time and it will show as a countdown timer.
- Page 13 Built-in Electric Oven - OE612 • Buttons: Adjust the time for the hour and minute and set the temperature. Pressing either button once will change the number setting slowly, while pressing either button for a prolonged time will change the number setting quickly.
-
Page 14: Racks
Built-in Electric Oven - OE612 Racks To avoid possible burns, place the shelves they have been provided in the desired position before you turn the oven on (see table for grill position below). Place the shelves correctly on the supports To remove a shelf, pull it towards you, lift the front end up and pull it out. -
Page 15: Maintenance
Built-in Electric Oven - OE612 Maintenance Be sure electrical power is off and all surfaces are cool before cleaning any part of the oven. Removing the packaging tap To assure no damage is done to the finish of the product, the safest way to remove the adhesive left from packaging tape on new appliances is an application of a household liquid dishwashing detergent, mineral oil or cooking oil. -
Page 16: Removing And Installing The Oven Door
Built-in Electric Oven - OE612 Removing and installing the oven door 1. To remove the oven door: first open the oven door utmost, open the buckle of the hinges utmost, which locate below the door, then close the door to lock the hinge and buckle, at last handhold two sides of the door to lift, it can remove the oven door. - Page 17 Built-in Electric Oven - OE612 Spillage of marinades, fruit juices, tomato sauces and basting materials containing acids may cause discoloration and should be wiped up immediately. When surface is cool, clean and rinse. Do not use the oven cleaners, cleaning powders or harsh abrasives on the outside of the door.
- Page 18 Built-in Electric Oven - OE612 Control panel It is a good idea to wipe the control panel after each use. Clean it with dry soft cloth. Do not use abrasive cleansers, strong liquid cleansers, plastic scouring pads or oven cleansers on the control panel-they will damage the finish.
-
Page 19: Specifications
Built-in Electric Oven - OE612 NOTE: A 25-watt appliance bulb is smaller than a standard 25-watt household bulb. Install and tighten the cover clockwise. Reconnect electrical power to the oven. For improved lighting inside the oven, clean the glass cover frequently using a wet cloth. - Page 20 Some experts believe the incorrect or prolonged use of almost any product could cause serious injury or death. For information that may reduce your risk of serious injury or death consult thepoints below and additionally, the information available at www.datastreamserver.com/safety - Consult all documentation, packaging and - The product has been supplied by a general merchandise product labelling before use.
Need help?
Do you have a question about the OE612 and is the answer not in the manual?
Questions and answers