Table of Contents
Advertisement
Quick Links
Advertisement
Table of Contents

Related Manuals for Audiovox SP-6CD


Summary of Contents for Audiovox SP-6CD
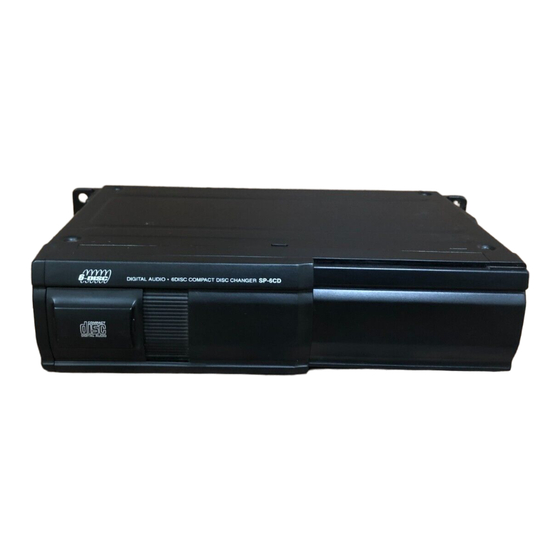
- Page 1 INSTALLATION MANUAL SP-6CD 6 - DISC CD CHANGER SYSTEM MODEL SP-6CD...
-
Page 2: Packing List
PACKING LIST MAIN UNIT INSTALLATION PARTS Bracket (L) 1 pc. Hexagonal Bolt with Washer M5 x 8 4 pcs. OTHER ACCESSORY CD Magazine 1 pc. Changer Bracket (R) 1 pc. 5 Meter DIN cable (8 pin) 1 pc. Index seal sheet Installation Manual 1 pc. -
Page 3: Before Installing The Unit
BEFORE INSTALLING THE UNIT Transport lock screws The mechanism in the CD changer is "locked" into place during shipment by the transport screws. Be sure to remove the screws prior to installation. Caution After removing the transport lock screws, place the supplied seals over the screw holes. - Page 4 SETTING THE ANTI-VIBRATION SPRINGS This unit can be installed horizontally (suspended), vertically, and at a 45° angle. Once the installation position has been decided, it's necessary to set the position of the built-in anti-vibration springs inside the unit. Please do this before performing the procedure. Vibration may cause the disc to skip if the unit is used before properly setting the anti-vibration springs.
- Page 5 PROCEDURE FOR VERTICAL INSTALLATION Confirm that the built-in anti-vibration springs on both the left and right sides are set to the vertical installation position "V". Attach bracket (L) and bracket (R) using the hexagonal bolts (M5 x 8). Determine the mounting location and drill four mounting holes. Never mount the unit near the fuel tank.
- Page 6 PROCEDURE FOR MOUNTING UNDER REAR DECK Confirm that the built-in anti-vibration springs on both the left and right sides are set to the horizontal installation position "H". Attach bracket (L) and bracket (R) using the hexagonal bolts (M5 x 8). Determine the mounting location and drill four mounting holes.
- Page 7 VEHICLE WIRING Mating 8-pin DIN socket on rear of compatible radio chassis (see Note 1 below). NOTE: 1. Check with your Audiovox car audio dealer to be sure 2. Wiring instructions for use with FM Modulator/Commander Car Stereo with CD Changer Controls your stereo is directly compatible with this CD changer.
Need help?
Do you have a question about the SP-6CD and is the answer not in the manual?
Questions and answers