Advertisement
Quick Links
WILLIAMS-SONOMA
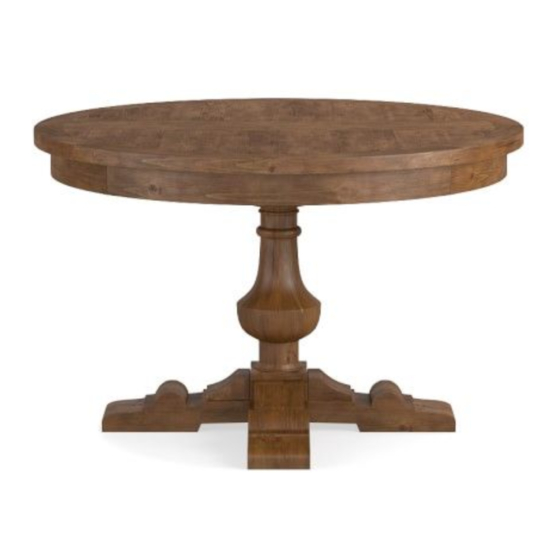
Round Balustrade Table
Assembly Instructions
• Please read all instructions carefully before assembling.
• For your safety and convenience, assembly by at least two people is recommended.
• Use the parts and hardware lists to identify and separate each of the components included.
• Save all packing materials until assembly is completed to avoid the accidental discarding of smaller parts
or hardware.
Tools :
Wrench (not included)
Parts :
(2) Feet - (A and A')
(1) Leg - (B)
(1) Top - (C)
(1) Extension Leaf - (D)
Page 1/4
Advertisement

Subscribe to Our Youtube Channel
Related Manuals for Williams-Sonoma Round Balustrade Table


Summary of Contents for Williams-Sonoma Round Balustrade Table
- Page 1 WILLIAMS-SONOMA Round Balustrade Table Assembly Instructions • Please read all instructions carefully before assembling. • For your safety and convenience, assembly by at least two people is recommended. • Use the parts and hardware lists to identify and separate each of the components included.
- Page 2 Hardware : (4) Hex Bolt M8-100mm (4) Hex Bolt M8-50mm (8) Spring Washer : 8mm Assembly instructions : Position both feet (A & A') by nesting one inside the other. Turn the leg B upside down, then put feet (A & A’) as in Fig.1. Secure them by screwing 4 Hex Bolt M8 100mm, 4 spring washer (Fig.2) (Fig.1) (Fig.2)
- Page 3 2. Fix the Top (C) to Leg (B) (Fig.3) by screwing 4 Hex Bolt M8-50mm, 4 spring washer (Fig.4) (Fig.3) (Fig.4) 3. Pull out to the maximum both semi round top (C1 & C2), then place the extension leaf (D) between C1 and C2 (Fig.5) (Fig.5) Page 3/4...
- Page 4 4. Use the leaf lock to lock parts C1, C2 and D together by swiching the lock (Fig.6 & Fig.7) (Fig.6) (Fig.7) Care Instructions: • Dust with a clean, soft damp cloth and wipe dry immediately. • Avoid the use of chemicals and harsh cleaning agents. •...
Need help?
Do you have a question about the Round Balustrade Table and is the answer not in the manual?
Questions and answers