Table of Contents
Advertisement
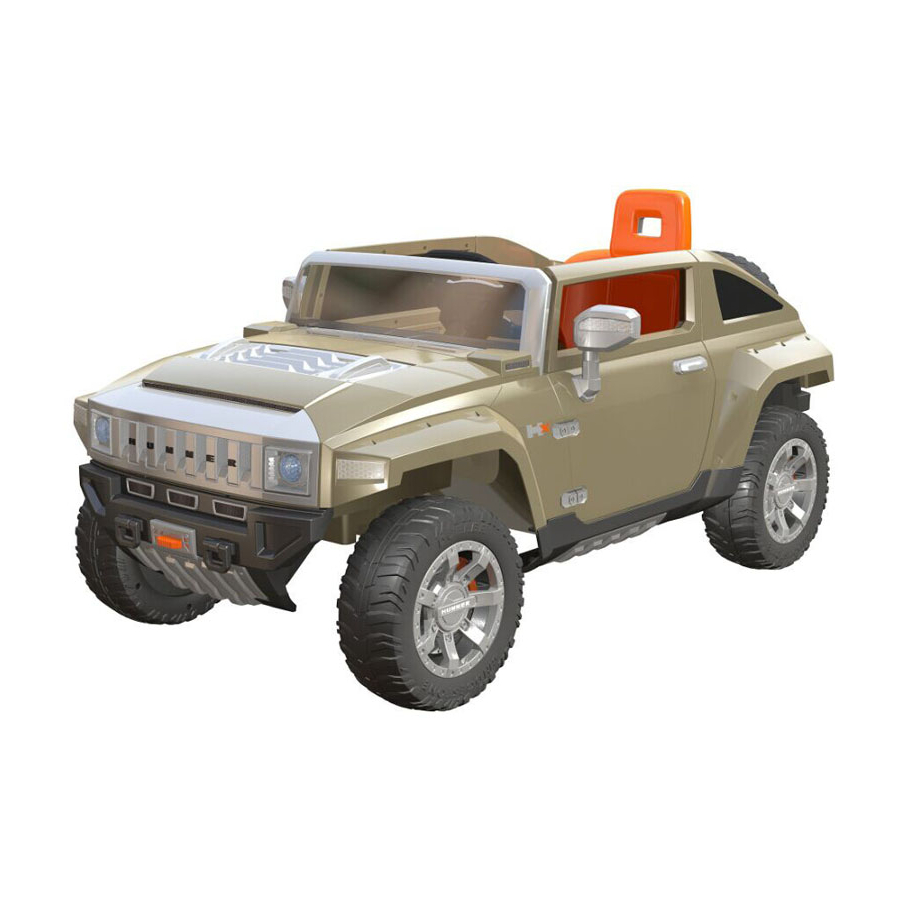
MODEL NO.
0226
0228
0227
0229
(0226-0229)
N ational Products Ltd.
R oom 413- 415, Houston Centre,
63 Mody Road, Tsim S ha Tsui East,
K ow loon, Hong K ong.
W W W . N P L 2 . C O M
info@N P L 2 . c om
205mm (W) x 285mm (H)
12V BATTERY OPERATED RIDE ON
12V BATTERY OPERATED RIDE ON
OWNER'S MANUAL
Please read entire manual before starting assembly.
Keep this manual along with your purchase receipt
CHOKING HAZARD-Small parts.
Not for children under 3 yrs.
CAUTION
Screws contain potentially
hazardous sharp points or
sharp edges. Adult assembly
required.
GENERAL MOTORS TRADEMARKS USED UNDER LICENSE TO NATIONAL PRODUCTS LIMITED
Contents, colors and decorations may vary from those shown.
for future reference.
To reduce the risk of injury, adult supervision
is required. Never use on road ways, near
motor vehicles, on or near steep inclines or
steps, swimming pools or other bodies of
water. Always wear shoes, and never allow
more than one rider.
EN
AGES 3+
TM
WARNING
Advertisement
Table of Contents

Related Manuals for National Products hummer hx


Summary of Contents for National Products hummer hx
- Page 1 63 Mody Road, Tsim S ha Tsui East, K ow loon, Hong K ong. GENERAL MOTORS TRADEMARKS USED UNDER LICENSE TO NATIONAL PRODUCTS LIMITED W W W . N P L 2 . C O M info@N P L 2 . c om Contents, colors and decorations may vary from those shown.
-
Page 2: Limited Warranty
(The warranty and customer service contact in this manual only apply in the United States and Canada) All NPL® vehicles are covered by a ninety day warranty against defects in materials or workmanship for ninety days from the date of purchase from an authorized retailer. 1-909-594-4000 / 1-877-743-3899... -
Page 3: Table Of Contents
Table of Contents Limited Warranty ......................Important Information . -
Page 4: Warning
Warning To Prevent Serious Injuries Safe Driving Rules This product is intended for use by children ages ADULT S UP E R VI S I ON R E QUI R E D. 3 and up, and is not intended for children under 3 M AK E S UR E CHI LDR E N K NOW AND F OLLOW THE S E R ULE S F OR S AF E years... -
Page 5: Battery Warning
1-909-594-4000 / 1-877-743-3899. -
Page 6: Battery Charging
Battery Charging CAUTION Make sure the brand, voltage and frequency of the charger are in accordance with the wall outlet. Non-rechargeable batteries are not to be recharged. Batteries are to be inserted with the correct polarity. Make sure the charger connector is matching with The supply terminals are not to be short circuited. - Page 7 1-909-594-4000 / 1-877-743-3899. 1-909-594-4000 / 1-877-743-3899.
-
Page 8: Parts List
Parts List Please identify all parts before assembly and save all packaging material until assembly is completed to ensure that no parts are discarded. Metal parts have been coated with lubricant for protection during shipment. Wipe all metal parts with a paper towel to remove any excess lubricant. -
Page 9: Assembly
Assembly WARNING Children can be harmed by small parts, sharp edges and sharp points in the vehicles unassembled state, or by electrical items. Care should be taken in unpacking and assembling the vehicle. Children should not handle parts, including the battery, or help in the assembly of the vehicle. - Page 10 Assembly Step 1 Front wheel Step 2 Step 3 Assemble all the parts in sequence as “Snap” a hubcap into the center. picture shown. Insert a pin to the hole of Repeat the process for the other side. the front axle and make it to “M” shape by a plier.
- Page 11 Assembly (5mm) Plug connectors. Place the steering wheel Attach the spare tire on the rear window onto the turning shaft and fasten it with and fasten with 1 screw. bolt and nut. Insert the back lid to the slots of main body. Fasten with one screw.
- Page 12 Assembly Insert the side mirror until you hear click Attach rear side lid to the slots of main body. sound. Same procedures for the other side. Fasten with one screw. Same procedures for the other side. Attach windshield to the slots of main body. Place the window on the door and fasten Fasten with two screws on both sides.
-
Page 13: Assembly
Assembly Plug connectors Plug connectors Fasten with one screw. Same procedures Connect the battery connectors for the other side. Attach seat to slots of main body. Fasten with one screw. -
Page 14: Operating Your Vehicle
Operating your Vehicle Power switch Switch button ON and OFF. Forward Push the shifter in upward position and press the accelerator slowly. Reverse High High Push the shifter in downward position and press the speed speed accelerator slowly. Forward Forward Low speed Vehicle has been pre-set to operate at low speed Reverse... -
Page 15: Trouble Shooting
1-909-594-4000 / 1-877-743-3899 30kg (66 lbs). 8-10 Damaged switch switches 30kg (66 lbs),... - Page 16 8-10 8-10 30kg (66 lbs)
- Page 17 accelerator is 1-909-594-4000 / 1-877-743-3899.
-
Page 18: Parts Diagram
Note: Some parts shown are assembled to both sides of the vehicle. No. Part Quantity No. Part Quantity No. Part Quantity 1. Front bumper 9. Seat 17. Front window (L/R) 2. Front grille 10. Spare tire 18. Side mirror (L/R) 3. - Page 19 WE ARE HERE TO HELP DO NOT RETURN TO STORE 1-909-594-4000 1-877-743-3899 1-909-869-5945...
Need help?
Do you have a question about the hummer hx and is the answer not in the manual?
Questions and answers