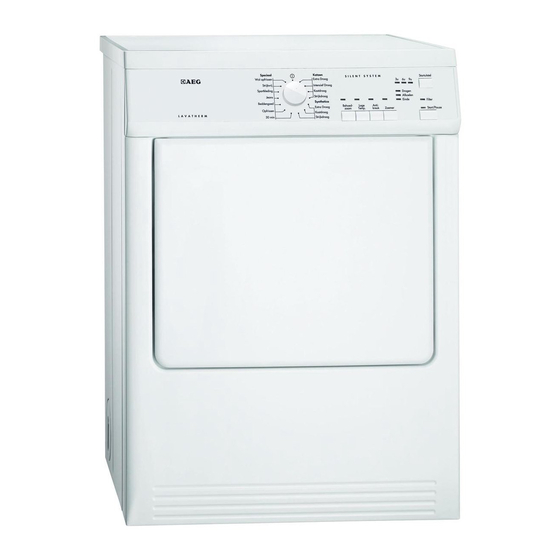
AEG LAVATHERM 65170AV User Manual
Hide thumbs
Also See for LAVATHERM 65170AV:
- User manual (27 pages) ,
- User manual (84 pages) ,
- User manual (40 pages)
Summary of Contents for AEG LAVATHERM 65170AV
- Page 1 User Manual LAVATHERM 65170AV Tumble Dryer...
-
Page 2: Table Of Contents
15. INSTALLATION......................16 FOR PERFECT RESULTS Thank you for choosing this AEG product. We have created it to give you impeccable performance for many years, with innovative technologies that help make life simpler features you might not find on ordinary appliances. Please spend a few minutes reading to get the very best from it. -
Page 3: Safety Information
ENGLISH SAFETY INFORMATION Before the installation and use of the appliance, carefully read the supplied instructions. The manufacturer is not responsible if an incorrect installation and use causes injuries and damages. Always keep the instructions with the appliance for future reference. - Page 4 Read it carefully before installation (Refer to the Installation leaflet). The appliance can be installed as freestanding or • below the kitchen counter with correct space (Refer to the Installation leaflet). Do not install the appliance behind a lockable door, a •...
-
Page 5: Safety Instructions
ENGLISH Items such as foam rubber (latex foam), shower caps, • waterproof textiles, rubber backed articles and clothes or pillows fitted with foam rubber pads should not be dried in the tumble dryer. Fabric softeners, or similar products, should be used •... -
Page 6: Accessories
2.3 Use • Do not use water spray and steam to clean the appliance. WARNING! • Clean the appliance with a moist soft Risk of injury, electrical cloth. Only use neutral detergents. Do shock, fire, burns or damage not use abrasive products, abrasive to the appliance. -
Page 7: Product Description
ENGLISH Available from your authorized dealer. collects lint and condensation, thus To put the appliance higher at the level avoiding dirt and damage due to which helps to easy load and remove the moisture in the room where the tumble laundry. -
Page 8: Control Panel
5. CONTROL PANEL Push button Buzzer Programme knob and OFF switch Push button Anti-crease Push button Delay Push button Sensitive Indication lamp: clean the filter Push button Delicate Push button Start/Pause Function status LED 6. PROGRAMME TABLE Load (max.) -
Page 9: Options
ENGLISH Load (max.) Programmes Type of load Fabric mark Time programme to dry individual items of Time 30’ 1kg/ laundry. Refresh Refreshing a textiles that were in storage. To dry bed linen such as: single and double Bed Linen 2kg/ sheet, pillowcase, bedspread. -
Page 10: Settings
The buzzer function is by default always You can activate the Buzzer on. You can use this function to activate option with all programmes. or deactivate the sound. 7.5 Options table Delicate Sensitive Anti-crease Programmes Cotton Extra Dry ■... -
Page 11: Before First Use
ENGLISH 8.1 Adjustment of the • End and Cooling the standard dry laundry remaining laundry moisture 4. Press the button (E) again and again degree until the indicator of the correct level comes on. To change the default degree of the 5. -
Page 12: Hints And Tips
10.5 Stand-by function When the crease guard phase is completed: To decrease the energy consumption, • Start/Pause indicator goes off. this function automatically deactivates the appliance: 1. Turn the Programme knob to • After 5 minutes if you do not start the 2. -
Page 13: Cleaning The Drum
ENGLISH 1. Open the door. 5. If necessary clean the filter with warm water using a brush. 2. Pull the filter. 6. Close the filter. 7. Remove fluff from the filter socket. For this a vacuum cleaner can be used. 8. -
Page 14: Troubleshooting
13. TROUBLESHOOTING Problem Possible solution You cannot activate the appliance. Make sure that the mains plug is connected to the mains socket. Check fuse in fuse box (domestic installa- tion). The programme does not start. Press Start/Pause. Make sure that the appliance door is closed. -
Page 15: Technical Data
ENGLISH 14. TECHNICAL DATA Height x Width x Depth 850 x 600 x 580 mm (maximal 640 mm) Max. depth with the appliance door open 1090 mm Max. width with the appliance door open 950 mm Adjustable height 850 mm (+ 15 mm - feet regulation) Drum volume 108 l Maximum load volume... -
Page 16: Installation
Energy Programme Spun at / residual humidity Drying time consump- tion Iron Dry 1400 rpm / 50% 85 min. 2,55 kWh 1000 rpm / 60% 97 min. 3,20 kWh Synthetic 3 kg Cupboard Dry 1200 rpm / 40% 44 min. - Page 17 ENGLISH Note that to prevent condensation Installation problems, it is essential that the dryer be installed with the flexible hose to There are 3 vent outlets: on transmit its “exhaust” at least beyond the left, right side and at the the kitchen units;...
- Page 18 15.3 Load door reversal WARNING! Before changing the door stop, disconnect the mains plug. Note regarding contact protection: The appliance is only secure for operations again once all plastic parts have been put. 1. Open load door. 2. Unscrew hinge A from the front of the appliance and remove the load door.
-
Page 19: Environment Concerns
ENGLISH 10. Change door lock E above to the opposite side, screw down the door interlock. 11. On the other side, put cover F and let snap-in button to lock into position. 12. Put load door and hinges into recesses on the front of the 8. - Page 20 www.aeg.com/shop...


Need help?
Do you have a question about the LAVATHERM 65170AV and is the answer not in the manual?
Questions and answers