Table of Contents
Advertisement
Advertisement
Table of Contents

Related Manuals for EUROCHEF COKOVNEUCA610


Summary of Contents for EUROCHEF COKOVNEUCA610
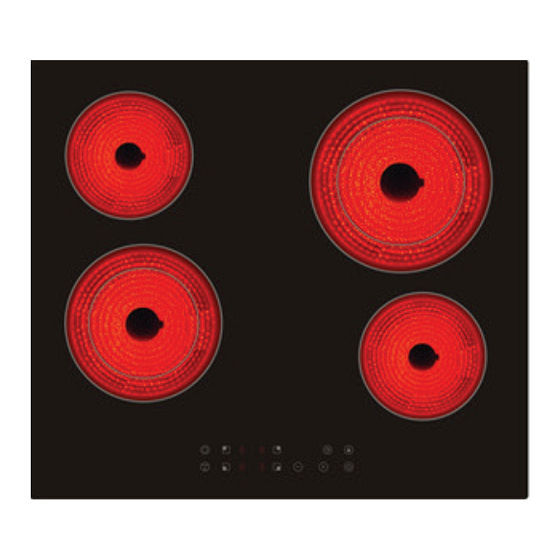
- Page 1 CERAMIC COOK TOP USER’S MANUAL COKOVNEUCA610 - COKOVNEUCA608...
-
Page 2: Table Of Contents
CONTENTS 1. SAFETY INFORMATION…………………………………………………….… 3 2. SAFETY INSTRUCTIONS ………………………………………………….…..3 3. PRODUCT DESCRIPTION …………………………………………………..…5 4. DAILY USE ……………………………………………………………………….8 5. HELPFUL HINTS AND TIPS…………………………………………………..11 6. CARE AND CLEANING………………………………………………………...12 7. TROUBLESHOOTING………………………………………………………….14 8. INSTALLATION INSTRUCTIONS…………………………………………….15 9. TECHNICAL INFORMATION………………………………………………….21 10. ENVIRONMENT CONCERNS…………………………………………………21 WE’RE THINKING OF YOU Thank you for purchasing our appliance. -
Page 3: Safety Information
1. SAFETY INFORMATION Before the installation and use of the appliance, carefully read the supplied instructions. The manufacturer is not responsible if an incorrect installation and use causes injuries and damages. Always keep the instructions with the appliance for future reference. 1.1 Children and vulnerable people safety WARNING! Risk of suffocation, injury or permanent disability. - Page 4 • Protect the bottom of the appliance from steam and moisture. • Do not install the appliance adjacent to a door or under a window. This prevents hot cookware to fall from the appliance when the door or the window is opened. •...
-
Page 5: Product Description
WARNING! Risk of fire or explosion . • Fats and oil when heated can release flammable vapours. Keep flames or heated objects away from fats and oils when you cook with them. • The vapours that very hot oil releases can cause spontaneous combustion. •... - Page 6 1. Cooking zone 2. Cooking zone 3. Cooking zone 4. Cooking zone 5. Control panel 6. Cooking zone 7. Cooking zone 8. Cooking zone 9. Control zone 10. hot indication 11. Cooking zone NOTE: Please refer to the practicality type and functions. 3.1 Control panel layout Use the sensor fields to operate the appliance.
- Page 7 Sensor field Function Stop and Go ON/OFF button Switching on the outer circle of a double zone Indicator lamp (Selecting the timer) 4,12 Indicator lamp (Outer circle of a double zone switched on) Selecting the timer Child Lock button Indicator lamp (Selecting the child lock) ON/OFF button Indicator lamp (Selecting ON) Plus/Minus button...
-
Page 8: Daily Use
3.3 Residual heat indicator WARNING! The risk of burns from residual heat! 4. DAILY USE Switching the hob on and off Touch for 1 second to activate the appliance,the indicator comes on. Touch for 1 second to deactivate the appliance, the indicator goes out. - Page 9 Touch the button for selecting the cooling zone you want. While the power level is flashing, touch the button to deactivate the outer ring. The indicator lamp goes off. 4.4 Auto heating-up When Auto heating-up has been activated, the cooking zone switches on automatically at the highest power setting and then switches to the continued cooking setting selected.
- Page 10 4.5 Timer Timer makes cooking much simpler. You do not have to wait beside the hob; the selecting cooking zone will switch off automatically. All the cooking zones can be programmed at the same time. Select a power level for the cooking zone you require. Touch the button , “00”...
-
Page 11: Helpful Hints And Tips
4.7 Children lock ,The indicator lamp Touch the button comes on. Operating any keys is not effective. Touch and hold again 3 seconds to unlock. The indicator lamp goes out, the other touching keys return using situation. 4.8 Safety cut-off If one or more of the cooking zones are accidentally left on, a safety cut off will activate after a certain period of time. -
Page 12: Care And Cleaning
Solidify: fluffy omelettes, baked egg 10-40min Cook with a lid on Simmer rice milkbased dishes, 25-50min Add the minimum twice heating up ready-cooked meals as much liquid as rice, mix milk dishes part procedure through Steam vegetables, fish, meat 20-45min Add some tablespoons of liquid Steam potatoes... - Page 13 Figure 3 Figure 4 Figure 5 After each use of the glass-ceramic hob, wait for it to cool down and clean it; otherwise, even the smallest food residue will be burnt onto the hot surface next time you use the appliance. For regular cleaning and maintenance of the glass-ceramic surface, use special conditioning agents which form a protective layer on the surface, shielding it from dirt.
-
Page 14: Troubleshooting
with the scraper! Sugar and sugar-laden food may permanently damage the glass-ceramic surface (Figure 5); therefore, they should be removed from the glass-ceramic surface as soon as possible, although the cooking zone may still be hot (Figure 4). Any change in the color of the glass-ceramic surface does not affect its operation or the stability of the surface. -
Page 15: Installation Instructions
Make sure, you operated the appliance correctly. If not the servicing by a customer service technician or dealer will not be free of charge, also during the warranty period. The instructions about the customer service and conditions of guarantee are in the guarantee booklet. 8. - Page 16 • Cooking hobs can be installed into worktops that are 30 to 50mm thick. • The kitchen furniture element underneath the hob should not be fi tted with a drawer. If the kitchen furniture element as a horizontal partition wall, it should be installed no less than 60 millimeters from the lower surface of the worktop.
- Page 17 screws). 4. Place the cooktop into the cutout, then tighten the screws to clamp the cooktop securely to the bench. 5. Using a sharp cutter or trimmer knife, trim the excess sealing material around the edge of the cooktop. Take care not to damage the benchtop. Note: if your bench is thicker than 40 mm, recess the underside to between 30 and 40 mm.
- Page 18 8.3 Connecting the cooktop to the mains power supply Important! •This cooktop must be connected to the mains power supply only by a suitably qualified person. •This cooktop must be earthed. •Before connecting the cooktop to the mains power supply, check that: 1.the domestic wiring system is suitable for the power drawn by the cooktop 2.the voltage corresponds to the value given on the rating plate 3.the power supply cable sections can withstand the load specified on the rating plate.
- Page 19 Connecting the terminal block, for example the electrical source is AC220-240V 5 core power cord 1.5mm 3 core power cord 4 mm Connecting the terminal block includes the single-phase power, two-phase power and the three-phase power as follows:...
- Page 20 Connecting the air switch of the electrical source as follows:...
-
Page 21: Technical Information
9. TECHNICAL INFORMATION Product specifications Electric parameter 2 single circle AC220-240V 50/60HZ 2750W-3270W 3 single circle AC220-240V 50/60HZ 4390W-5330W 2 single circle, 1 dual circle AC220-240V 50/60HZ 4670W-5560W 4 single circle AC220-240V 50/60HZ 5490W-6530W 3 single circle, 1 dual circle, AC220-240V 50/60HZ 5400W-6420W mechanical control... - Page 22 Some experts believe the incorrect or prolonged use of almost any product could cause serious injury or death. For information that may reduce your risk of serious injury or death consult thepoints below and additionall y , the information available at www.datastreamserver.com/safety - Consult all documentation, packaging and - The product has been supplied by a general merchandise...
Need help?
Do you have a question about the COKOVNEUCA610 and is the answer not in the manual?
Questions and answers