Table of Contents
Advertisement
Advertisement
Table of Contents

Subscribe to Our Youtube Channel
Related Manuals for Dish TV satBox S7070rHD-XM

Summary of Contents for Dish TV satBox S7070rHD-XM
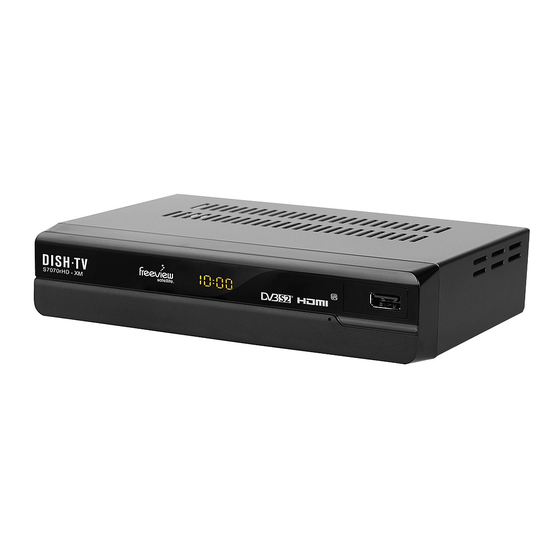
- Page 1 S7070rHD - XM USER MANUAL...
-
Page 2: Table Of Contents
CONTENTS CONTENTS GENERAL INFORMATION Features and Unpacking Remote Control Rear Panel Connections Connecting your S7070rHD Freeview EPG FIRST TIME INSTALLATION MENU INFORMATION 1. Installation 2. Channel Organiser 3. Settings 4. PVR 5. Manual Timer 6. Admin 12-13 7. EPG 8. System Info 9. -
Page 3: Features And Unpacking
GENERAL INFORMATION GENERAL INFORMATION Welcome Thank you for choosing this Dish TV Freeview Satellite Digital Receiver. You will be able to receive all Freeview Satellite Digital TV and Radio Channels all free from subscriptions. This User Manual covers the installation of the STB (Set Top Box) and the necessary steps to implement various features. -
Page 4: Remote Control
REMOTE CONTROL REMOTE CONTROL REMOTE CONTROL UNIT (RCU) Function Standby On/Off. Mutes Sound when watching a Channel. Enter Numbers - Selects Channels. Enters PIN. Calls up Freeview EPG (Electronic Program Guide) Switches back to Previous Channel. CH+/CH- Change Channels Up and Down. Adjust Volume Up and Down. -
Page 5: Rear Panel Connections
INSTALLATION INSTALLATION Rear Panel Rear Panel Connections LNB IN/ LOOP OUT COMPONENT OUT POWER CABLE CONNECT TO A DIGITAL AMP Model: S7070rHD - XM Set Top Box Power Supply:100-240V~ 50/60Hz Max Power Consumption: 18W USB: DC 5V , 500mA S/N: VIDEO COMPONENT VIDEO / AUDIO OUT RCA AUDIO R/L OUT... -
Page 6: Freeview Epg
GENERAL INFORMATION GENERAL INFORMATION FREEVIEW EPG Navigation You can open the Freeview EPG (Electronic Program Guide) by pressing the EPG key on the Remote. The guide shows you all of the channels and programs available for the next eight days. Use the LEFT/RIGHT keys to select different channels. -
Page 7: First Time Installation
First Time Installation The First Time Installation Menu will be shown when your Dish TV S7070rHD is first powered on. Note, you will also see it anytime a Factory Reset is done. First Time Installation Menu will allow you to configure... -
Page 8: Installation
MENU INFORMATION MENU INFORMATION 1. Installation The Installation Menu allows you to access all tuning related functions. In this Menu you can tune in all services with the various tuning options listed below. Blind Scan Through the Blind Scan sub-menu you can scan all carriers in according to the satellite selected. -
Page 9: Channel Organiser
MENU INFORMATION MENU INFORMATION 2. Channel Organiser The Channel Organiser Menu allows you to access the following sub-menus: Channel Organiser Favourite Settings 2.1 Channel Organiser Through the Channel Organiser sub-menu you can Lock, Skip, Move or Delete channels. RED to Lock - When Locked a Channel will require a Password to view it. -
Page 10: Settings
MENU INFORMATION MENU INFORMATION 3. Settings This Menu allows you to change general user settings, from Video settings to your preferred Language options. It consists of three sub-menus, as follows: User Preference System Settings Recorder Settings 3.1 User Preference In this sub-menu, you will be able to adjust settings such as the unit’s Brightness, Contrast, the preferred Audio and Subtitle Languages (Default - English), OSD (On-Screen Display) Timeout and Parental Rating. -
Page 11: Pvr
MENU INFORMATION MENU INFORMATION 4. PVR The PVR sub-menu is used to view Media Information and your Recording Library, as well as manage your Booked Recordings and the USB Device used. There are three options to choose from: Media Information Media Library Record Booked List 4.1 Media Information... -
Page 12: Manual Timer
MENU INFORMATION MENU INFORMATION 5. Manual Timer Manual Timer allows you to set up a specific date and time, where your unit will turn itself on if in standby or simply switch to the specified channel. The two modes Recording and Service will define what action the unit will take as it does so. -
Page 13: Epg
MENU INFORMATION MENU INFORMATION 6.2 USB Software Upgrade Selecting this option in the Admin sub-menu will start a Manual USB Update. As long as the software has been put on the inserted USB Device. Your unit will restart and search the USB Device, and will update the software to the version that it finds. -
Page 14: System Info
MENU INFORMATION MENU INFORMATION 8. System Info The System Info sub-menu provides you with relevant information regarding your unit. All information is split between four main headings: Software Info System Info Info Technical Support Between the headings above you will see important information like your unit’s SW (Software) Version, so you can always see if your unit is up to date. -
Page 15: Trouble Shooting
TROUBLE SHOOTING TROUBLE SHOOTING Problem Possible Causes What to do Main Lead unplugged/ switched Check that the adapter is plugged in and turned on. Front Panel Power Indicator not lit. Go to Menu > Settings > • Your TV isn’t able to display the current output format System Settings Box is on, but no... -
Page 16: Help And Support
Freeview Forum youtube.com/dishtvNZ freeviewforum.co.nz Office Hours are 8:00am - 4:30pm NZST, Mon - Fri. * Geekzone and Freeview Forum free registration required, please be a descriptive as possible when posting and make sure you include Dish TV in the post title. -
Page 17: Warranty
GENERAL INFORMATION GENERAL INFORMATION Information Please keep your receipt as proof of purchase. This product is warranted for any defect in materials or workmanship for one year after the original date of purchase. This product is for normal domestic use only. This warranty doesn’t cover damage from misuse or neglect, accidental damage, vermin infestation, excessive voltages such as lightening or power surges or any modification that affects the reliability of the product. - Page 18 Version 1.3 August 04, 2016 10:20 AM www.dishtv.co.nz 0800 DISH TV (347488) support@dishtv.co.nz the next generation...
Need help?
Do you have a question about the satBox S7070rHD-XM and is the answer not in the manual?
Questions and answers