Samsung ML-1640 Service Manual
Hide thumbs
Also See for ML-1640:
- User manual (83 pages) ,
- Specifications (2 pages) ,
- Manual del usuario (82 pages)
Table of Contents
Advertisement
Quick Links
SERVICE
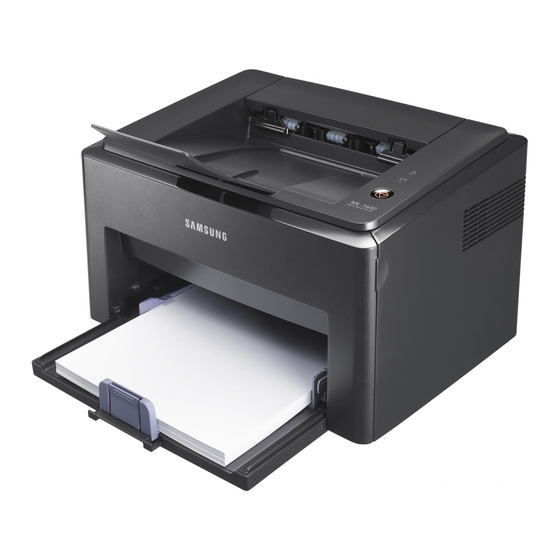
LASER PRINTER
ML-1640/ML-2240
Model : ML-1645/XEV
Basic Model : ML-1640
Manual
The keynote of Product
- Speed
ML-1640 : 16 ppm (A4), 17 ppm( Ltr)
ML-2240 : 22ppm (A4), 23 ppm (Ltr)
- Emulation : GDI
- Processor : 150 Mhz Jupiter4e CPU
- Memory : 8 MB
- Toner cartridge : Initial (0.7K), Sales (1.5K)
- MP tray : Only ML-2240
- Interface : Full Speed USB 2.0
- Machine life : 50K (pages)
Advertisement
Table of Contents
Troubleshooting


Need help?
Do you have a question about the ML-1640 and is the answer not in the manual?
Questions and answers
Since I changed the toner in my ML-1675, after warming up, the cogwheels move a little bit, then the printer switches off. The same happens with old toner.