Subscribe to Our Youtube Channel
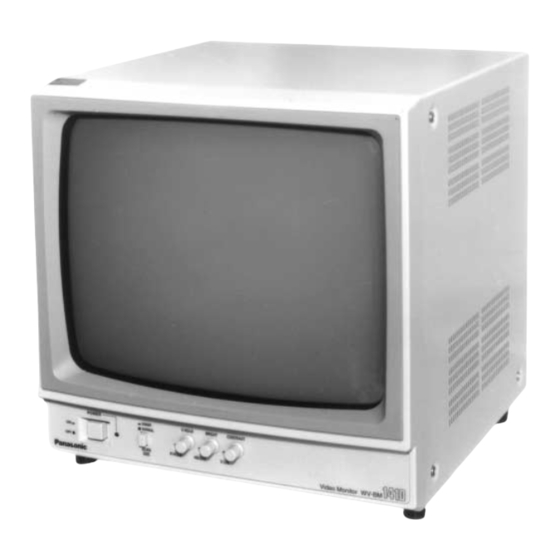
Summary of Contents for Panasonic WV-BM1410
-
Page 1: Video Monitor
Video Monitor WV-BM1410 Before attempting to connect or operate this product, please read these instructions completely... -
Page 2: Table Of Contents
You should note the serial number of this unit in the space provided and retain this book as a permanent record of your purchase to aid identification in the event of theft. Model No. Serial No. For U.S.A It has been tested WV-BM1410... -
Page 3: Preface
1000 lines at center. The WV-BM1410 can be used with other CCTV monitors or Panasonic Video Cassette Recorders. FEATURES • 322 mm (12-11/16”) actual diagonal viewing size. -
Page 4: Major Operating Controls And Their Functions
MAJOR OPERATING CONTROLS AND THEIR FUNCTIONS <FRONT VIEW> POWER V.HOLD BRIGHT CONTRAST UNDER NORMAL SCAN H.HOLD HEIGHT V.LIN SIZE 1. Power On/Off Switch (POWER ON/OFF) This switch turns the power of the monitor on and off. Press this switch once to turn (switch down ;) the power of the monitor on. -
Page 5: Connections
10. Video Output Connector (VIDEO OUT) This BNC type connector is used to provide the video output signal of the source to an additional monitor or video cassette recorder. 11. Video Input Connector (VIDEO IN) This BNC type connector is used for receiving the video signal from a source to be monitored, such as a VCR. -
Page 6: System Connections
Coax. Cable • Connect the Video Input Connector (VIDEO IN) on this monitor to the Video Output Connector of the video WV-BM1410 source with a coaxial cable. • Connect the Video Output Connector (VIDEO OUT) on VIDEO this monitor to the Video Input Connector (VIDEO IN) on the second monitor with a coaxial cable. -
Page 7: Adjustment
ADJUSTMENT Preparations: Make sure that all required connections in the system are completed. Turn on the power of this monitor by pressing the Power On/Off Switch on the front panel. POWER 1. Adjust the brightness by the Bright Control (BRIGHT) and the Contrast Control (CONTRAST) so that the overall brightness is appropriate and grey tones are resolved. -
Page 8: Installation
INSTALLATION Mounting into EIA Standard 19” Rack Note: Rack mounting requires the purchase of an optional WV-Q21W Rack Mount Adapter. 1 Remove the four Cover Fixing Screws. 2 Remove the four Rubber Feet. Rubber Feet 3 Align the Rack Mount Adapter to the four holes on the monitor, and attach with screws provided with the Adapter. -
Page 9: Specifications
SPECIFICATIONS Power Source : Power Consumption : Video Input : Horizontal Resolution : Sweep Linearity : Sweep Geometry : Overscanning : Scanning Size : Tube Size : Ambient Operating Temperature : Ambient Operating Humidity : Dimensions : Weight : Weight and dimensions shown are approximate. Specifications are subject to change without notice. - Page 10 Video Imaging Systems Company A Division of Panasonic Broadcast & Television Systems Company A Unit of Matsushita Electric Corporation of America Executive Office: One Panasonic Way 3E-7, Secaucus, New Jersey 07094 Regional Offices: Northeast: 43 Hartz Way, Secaucus, NJ 07094 (201) 348-7303...


Need help?
Do you have a question about the WV-BM1410 and is the answer not in the manual?
Questions and answers