Advertisement
Advertisement

Related Manuals for XIRO Xplorer


Summary of Contents for XIRO Xplorer
- Page 1 USER MANUAL V1.2 EN...
-
Page 2: Table Of Contents
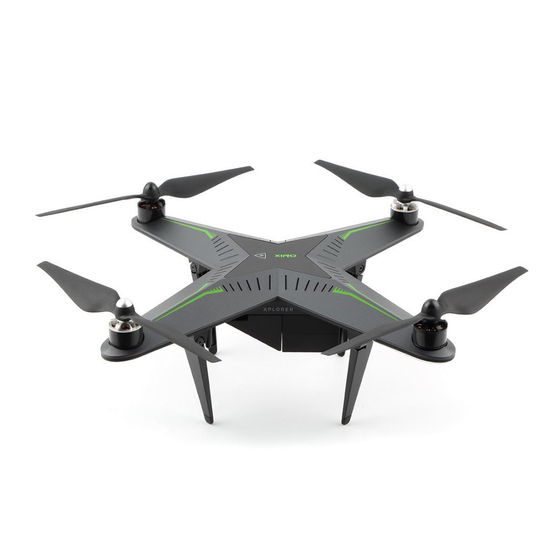
The spinning blades of a model quadcopter can cause serious injury. When choosing a flying site for your Xplorer, stay clear of buildings, trees and power lines. AVOID flying in or near crowded areas. -
Page 3: Charging Smart Flight Battery And Remote Control
75%-100% Battery Status: Full All indicators OFF 50%-75% • Firstly, we recommend watching our tutorial videos to show you the correct and safe way to use your Xplorer. 25%-50% Please visit www.xirodrone.com/video/xplorer. 0-25% CHARGING THE BATTERIES • You will note that there are two batteries included with the Xiro Xplorer;... -
Page 4: Smart Battery Safety Guidelines
(3) seconds, the motors will disarm (stop the rotation of these items will be covered in this section. accordingly). • If the left stick is moved to the left, the front of the Xplorer will TRANSMITTER STICK INPUT also rotate to the left (counter clockwise). Conversely, moving •... - Page 5 • Red: Attitude Mode powered up and took off. • Red Aircraft Connection Indicator and Red GPS- Aircraft • When you are ready to have your Xplorer return home, press Disconnected the Return Home button. The button’s green LED will glow accordingly and the Xplorer will return home.
- Page 6 Indicator Lights on the Drone (Rear Flight Indicators) MOBILE DEVICE HOLDER The rear LEDs are used as a visual indicator of the Xplorer’s • Situated between the two shoulder scroll wheels is the flight status. Please refer to the information below.
-
Page 7: Smart Battery Safety Guidelines
• Simply put, silver to silver and black to black. propellers. • Additionally, the propellers are self-tightening. When • Ensure that the Xplorer is away from all person and objects attaching them to the appropriate motor, please ensure that when preparing for flight and during the flight itself. - Page 8 The edges of the propeller blades may be sharp and could lead to cuts. GIMBAL • The Xplorer V and the Xplorer G both include a 3-axis stabilized gimbal unit that may be used to capture the perfect video or still photo. The gimbal ensures that the camera is...
- Page 9 INSTALLING THE FLIGHT BATTERY This information is • The battery is installed on the bottom of the Xplorer. It should explained elsewhere be firmly and securely installed prior to flying the drone to in this manual.
-
Page 10: Flying Your Xplorer
**Note**: You cannot start the motors when the flight level is pre-flight check list that follows. Doing so will ensure a safe set to Level 1 and the Xplorer is in Attitude Flight Mode. The and pleasant flying experience. rear indicators will blink rapidly as a reminder. - Page 11 • Press the “Auto Take-off/Land” button. that will prevent the Xplorer from performing unwanted • The Xplorer will take off and reach an altitude of 3 meters. maneuvers should it lose connection with the transmitter’s When it has done so, please press this button once again.
- Page 12 Attitude Flight Mode: with less than 6 GPS satellites available, Step 3 the Xplorer is ready to fly in Flight Level 2 or 3 with NO GPS. No location-based functions are enabled. Home Point: the GPS position that the Xplorer receives after achieving 6 or more GPS satellites.
- Page 13 Range Extender SSID Information the transmitter complies with the FCC regulations. The FCC • The range extender for the Xplorer is used to increase the configuration allows for a slight increase in the power which transmission distance. The range extender has its own enables the Xplorer to be operated at distances up to 600 Service Set Identifier (also known as SSID).
Need help?
Do you have a question about the Xplorer and is the answer not in the manual?
Questions and answers