Table of Contents
Advertisement
Quick Links
Advertisement
Table of Contents

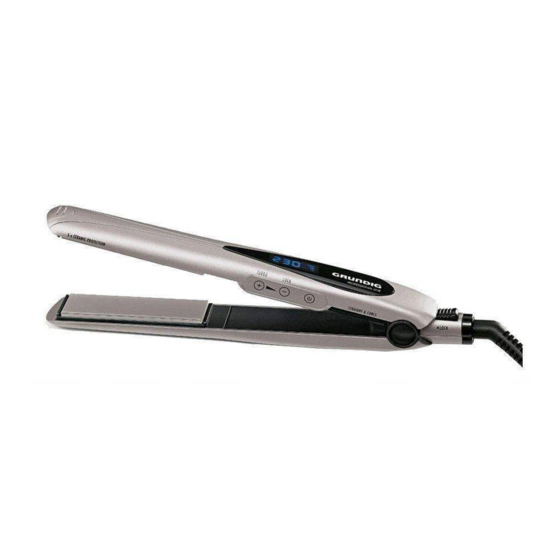
Summary of Contents for Grundig HS 9930
- Page 1 PROFESSIONAL HAIR STYLER HS 9930...
- Page 2 ------------------------------------------------------------------------------------------------------------------------------------------------------------------...
- Page 3 SAFETY ------------------------------------------------------------------------------------------------------------------------------------ Please note the following instruc- If not already in use, for addi- tions when using the appliance: tional protection it is recom- mended to install a residual- The appliance is designed for current-operated protective de- domestic use only. vice (RCD) with a rated residual Never use the appliance in the operating current not exceeding...
- Page 4 SAFETY ------------------------------------------------------------------------------------------------------------------------------------ If the power cord is damaged, it Check if the mains voltage on the must be replaced by the manu- type plate (on the handle of the facturer, a service centre or a appliance) corresponds to your similarly qualified person to local mains supply.
-
Page 5: Special Features
Special features The hair styler is 2.5 cm wide and Congratulations on the purchase of suitable for any type of hair. your HS 9930 professional hair styler. 42 W output gives you profes- sional styling results at home. Read the following user notes care-... - Page 6 OVERVIEW ---------------------------------------------------------------------------------------------------------------------- Controls Sensor button » « to switch the appliance on and off. See the illustrations on page 2. Display, shows the tempera- Moving 5x ceramic-coated ture levels. heating plates. Handle. Sensor button »+«, LOCK« to lock the » slide over the sensor button to appliance.
-
Page 7: Operation
OPERATION ------------------------------------------------------------------------------------------------------------------ Hair structure and Temperature setting temperature settings The temperature can be set us- ing the sensor buttons »+« and »–« at 10 levels ranging from Hair structure 140 °C to 230 °C. The appliance allows you to make individual temperature settings. -
Page 8: Styling Options
OPERATION ------------------------------------------------------------------------------------------------------------------ “Locking” the temperature Styling options setting The special temperature settings make this appliance suitable for all Switch the appliance on by types of hair. touching the sensor button approx. 1 second. Using your hair styler, you can: – The display lights up in Straighten hair. - Page 9 OPERATION ------------------------------------------------------------------------------------------------------------------ Switch the appliance on by The appliance reaches a tem- touching the sensor button perature of 200 °C in 60 sec- approx. 1 second. onds – depending on the – The display lights up in temperature setting. blue. When set accordingly, the tem- perature level reaches a maxi- mum temperature of 230 °C...
-
Page 10: Styling Waves Or Curls
OPERATION ------------------------------------------------------------------------------------------------------------------ Note Styling waves or curls If you have thick hair, you might Caution have to repeat this procedure The housing of the appliance be- on the same strand several comes very hot near the heating times. plates. Do not touch the housing near the heating plates. - Page 11 OPERATION ------------------------------------------------------------------------------------------------------------------ “Slide” over the sensor button While rotating, slowly pull the symbols to set the temperature. appliance towards the ends of the hair. To the right »–« to reduce the – A curl is formed once the ap- temperature in 10 °C increments, pliance has been pulled down to the left »+«...
-
Page 12: Cleaning And Care
INFORMATION ------------------------------------------------------------------------------------------------------ Cleaning and care Storage Turn the appliance off and un- If you do not want to use the appli- plug the power supply unit. ance for a long period of time, please store it carefully. Before cleaning, allow the appli- ance to cool down completely. -
Page 13: Environmental Note
INFORMATION ------------------------------------------------------------------------------------------------------ Environmental note Technical data This product has been made from This product con- high-quality parts and materials forms to the Euro- which can be re-used and are suit- pean directives able for recycling. 2004/108/EC, Therefore, do not dispose of the 2006/95/EC and 2009/125/EC.


Need help?
Do you have a question about the HS 9930 and is the answer not in the manual?
Questions and answers