Table of Contents
Advertisement
Advertisement
Table of Contents

Related Manuals for VuPoint FC-C520-VPD


Summary of Contents for VuPoint FC-C520-VPD
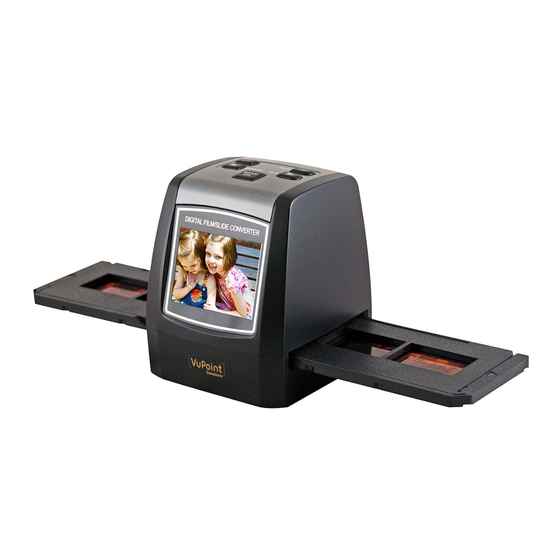
- Page 1 Digital Film & Slide Converter FC-C520-VPD...
-
Page 2: Table Of Contents
CONTENTS Safety Precautions…………………………………… Package Contents…………………………………… Descriptions of Parts………………………………… Inserting SD Memory………………………………… Installing Slides……………………………………..Installing Negatives………………………………….. Quick Start Guide…………………………………..Menu Icon Key……………………………………….. Display Screen……………………………………….. Mirror Image/Flip…………………………………..Main Menu………………………………………..Capture Mode Setting…………………………..Film Type……………………………………..Exposure Compensation…………………….. Playback Mode…………………………………..Subordinate Menu from Playback………..Rotate and Save…………………………….. - Page 3 Federal Communications Commission (FCC) Important: Do not expose this product to rain or moisture to preserve This device complies with Part 15 of the FCC Rules. the life of this product Operation is subject to the following two conditions: (1) This device may not cause harmful interference, and Ventilation: (2) this device must accept any interference received, including The device should be situated so that its location or position...
- Page 4 5.0 Mega pixels (2592X1944) 1.3/2” CMOS sensor Image Sensor F/NO. 2.8, f=5mm, View Angle= 60° Lens FILM SCANNER Color 2.4” TFT LCD (960*240) Display Positive Slide Holder Fixed focus Focus Range Automatic/Manual (-2.0 EV~+2.0 EV) Exposure Control Automatic White Balance Film/Slide Converter 5.0 Mega pixels/ 10 Mega pixels (interpolation) Resolution...
-
Page 5: Descriptions Of Parts
Description of Parts 1) In the main MENU, press button to navigate to RESOLUTION 2) Press SCAN/OK to enter into RESOLUTION setting 3) Choose resolution 5MP/10MP, then Press SCAN/OK to confirm FILM SCANNER Resolution (1) Power ON/OFF (6) Display Screen SD/MMC USB MSDC: Viewing images from a Computer (2) Left/Mirror... -
Page 6: Installing Slides
Language Setting Installing Slides In CAPTURE mode, press MENU button, and then press the Hold the slide toward the light. navigation button to the Images on the slide should be LANGUAGE setting. Press the seen upright SCAN/OK button to confirm Open the Slide Holder with "Open"... -
Page 7: Installing Negatives
Rotate and Save Installing Negatives 1) In PLAYBACK mode press the MENU button for the Subordinate Menu 2) Navigate with the buttons to ROTATE feature. Hold the negative film strip toward 3) Press SCAN/OK button to rotate image the light. Images on the negative 4) To save image after rotation, navigate to SAVE. -
Page 8: Quick Start Guide
Quick Start Guide 1) Press the MENU button to enter into main menu Powering ON/OFF the converter: 2) Use the navigation button to CAPTURE mode A) Connect converter to the Power Adapter and then the USB 3) Click SCAN/OK button, and then select Exposure (EV) Cable. -
Page 9: Display Screen
Display Screen Main Menu Capture Mode Setting Capture Mode Scanning amount available Resolution Film Types Storage mode Exposure Mirror Image/Flip Mirror image: In CAPTURE mode, to view a mirror image of the Film Types Negative/Slide on screen, press the MIRROR button before Select the correct Film Type before capturing image.
Need help?
Do you have a question about the FC-C520-VPD and is the answer not in the manual?
Questions and answers