Table of Contents
Advertisement
Advertisement
Table of Contents

Related Manuals for Westinghouse 3/4 HP


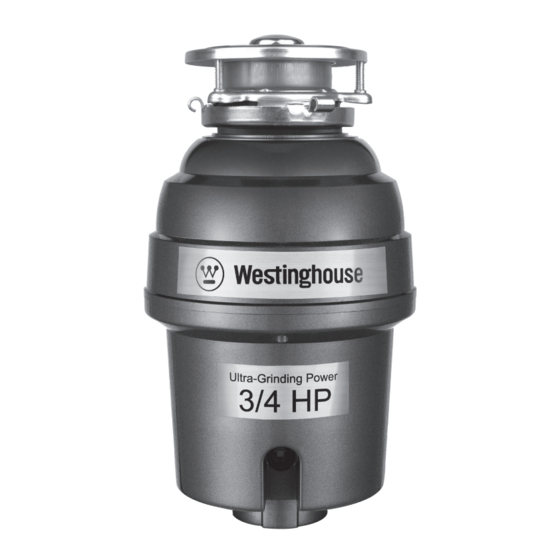
Summary of Contents for Westinghouse 3/4 HP
- Page 1 3/4 HP HIGH TORQUE GARBAGE DISPOSER NOTE: This product may require approval of the relevant regulators and/or the sewerage system operator. Waste disposal must be installed according to AS/NZS 3500.2 requirements. ATS 5200.028 220-240V AC, 50/60 HZ WM-022588 OWNER’S MANUAL...
-
Page 2: Table Of Contents
Table of Contents Table of Contents . . . . . . . . . . . . . . . . . . . . . . . . . . . . . . . . . . . Installation of the Mounting Assembly . -
Page 3: Warranty
Warranty FIVE (5) YEAR LIMITED WARRANTY A thorough inspection must be made before installation and any damage must be promptly reported . We will not be liable for failures or damage that could have been discovered or avoided by proper inspection and testing prior to installation . Conglom Kitchen &... -
Page 4: Pre-Installation
Pre-Installation TOOLS/MATERIALS REQUIRED (NOT SUPPLIED) Pipe wrench Phillips screwdriver Flat screwdriver Electric drill with 1-1/4”(32mm) hole Plumber’s putty PACKAGE CONTENTS Stopper Splash Guard Sink Flange Gasket Flange Ring Ring Tool Supporting Plate Top Supporting Ring (with 3 screws) Cushion Mount Bottom Supporting Ring Part Description Quantity... -
Page 5: Installation
Installation REMOVAL OF OLD UNIT CAUTION: Risk of electric shock . Turn off electric power at fuse box or circuit breaker before removing old unit . General instructions - your model may vary . NOTE: CAUTION: Be sure to support the disposer when removing the mounting ring or it may fall . -
Page 6: Installation Of The Mounting Assembly
Installation (continued) INSTALLATION OF MOUNTING ASSEMBLY NOTE: Top supporting ring Pay close attention how the parts come assembled, as they have been correctly assembled by the factory (see Fig. 5). Top supporting ring screw This food waste disposer has been designed to operate on 220-240 V AC, 50/60 Hz, 2.7A and 560W. -
Page 7: Attaching Discharge Elbow
Installation (continued) If at any time the bottom supporting ring becomes disengaged from the body of the waste disposer, then: Slot 1 . Align the slot in the bottom supporting ring with tab on the waste disposer body . 2 . Lower the bottom supporting ring and make the slot fit in the tab . -
Page 8: Connecting Disposer To Mounting Assembly
Installation (continued) CONNECTING THE DISPOSER TO THE MOUNTING ASSEMBLY - Adjust the disposer position to make the elbow line up with the Fig. 11 trap (see Fig . 11) . Elbow Trap Disposer body - The disposer must be installed so that the reset button is Reset Button readily accessible (see Fig . -
Page 9: Dishwasher Connection
Installation (continued) Turn the bottom supporting ring 1/3 of a turn counter-clockwise and repeat the mounting procedure described previously . - Connect the bottom of the elbow to the trap by tightening the slip nut (Fig . 14) . - Run water and check all connections for leaks . Fig . -
Page 10: Operation
Operation TESTING AND OPERATION TIPS FOR SUCCESSFUL OPERATION - Remove sink stopper. Turn on a medium flow of cold water. - Turn switch to ON position; your motor is turning at full speed - Be sure disposer is empty before using your dishwasher so and ready to use . -
Page 11: Troubleshooting
Troubleshooting Before seeking repair or replacement, we recommend that you review the following: Problem Solution The disposer is making loud noises . Other than the noises during grinding of small bones and fruit pits, these are usually caused by accidental entry of a spoon, bottle cap or other foreign objects . -
Page 12: Service Parts
Service Parts If you are missing parts or if you require replacement parts, please contact our customer service team at cs@conglomkb .com or +61-2-968-127-62 (Service available Monday - Friday from 6:30 am - 3 pm AEDT) . Identify the required part(s) and have the part number(s) ready . Sink Flange Gasket Flange Ring... - Page 13 Santry, Dublin 9, Ireland +61-2-968-127-62 | cs@conglomkb.com (service available Monday - Friday from 6:30 am - 3 pm AEDT) www.conglomkb.com Made in China and WESTINGHOUSE are trademarks of Westinghouse Electric Corporation. Used under license by Conglom International Ltd. All Rights Reserved.
Need help?
Do you have a question about the 3/4 HP and is the answer not in the manual?
Questions and answers