Table of Contents

Related Manuals for DèLonghi MAGNIFICA S ECAM23460


Summary of Contents for DèLonghi MAGNIFICA S ECAM23460
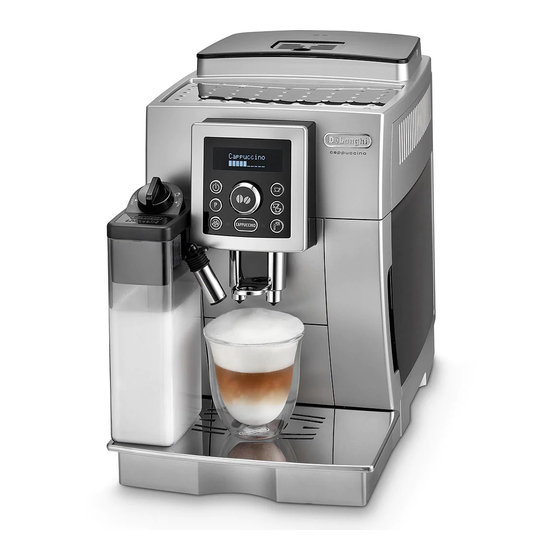
- Page 1 Better Everyday Get Started This short guide is not intended to explain all the functions of the appliance. Please read all the owner’s instruction booklet before use. Video available on http://ecam23460.delonghi.com ECAM23460...
- Page 2 WELCOME Introducing the exclusive world of espresso through the global leaders, De’Longhi. Based in Treviso, Italy, we grew up appreciating the taste and aroma of a good cup of coffee. The De’Longhi “bean to cup” machine delivers freshly brewed espresso in just one touch.
- Page 3 ESPRESSO DRINKS Espresso Italian Macchiato Small, strong, black and effec- A single or double espresso tive. A delightful follow-up to a topped with a dollop of heated fine Southern European dish. milk and served in a traditional espresso cup. Cappuccino Espresso Lungo A single espresso shot topped From 3 oz.
-
Page 4: Important Safeguards
IMPORTANT SAFEGUARDS When using electrical appliances, basic safety precautions should always be followed, includ- ing the following: • Read all instructions. • Do not touch hot surfaces. Use handles and knobs. • To protect against fire, electrical shock and personal injury, do not immerse cord, plug or appliance in water or other liquid. - Page 5 IN THE BOX A1. Grinding adjustment dial A2. Beans container A3. Pre-ground coffee funnel A4. Main switch A5. Infuser A6. Cup warmer shelf A7. Control panel A8. Hot water and steam nozzle A9. Coffee spout (adjustable height) A10. Coffee grounds container A11.
-
Page 6: Machine Setup
MACHINE SET UP SETTING LANGUAGE: When English appears, HOLD the button for Three Seconds. Once the language has been saved, the Push ON main message “English Set” switch, located on is displayed. Plug into outlet back of machine. Remove and fill water tank, Fill coffee beans then replace. - Page 7 BREWING ESPRESSO Using Coffee Beans Pré-ground MY COFFEE Extra-mild taste ESPRESSO COFFEE Mild taste STANDARD COFFEE Standard taste LONG COFFEE Strong taste EXTRA LONG COFFEE Extra-strong taste Press the button repeatedly to set the Turn the dial to set the desired length of your desired strength of your coffee, increasing coffee, from short to long, following the the quantity of coffee beans that the...
- Page 8 BREWING ESPRESSO Using Pre-Ground Espresso* Please, be sure that the machine is on Press the dial to select pre-ground coffee operating while pouring the pre-ground coffee. mode.*Use only one spoon full of coffee. You can only make one cup of pre-ground coffee at a time. MY COFFEE ESPRESSO COFFEE STANDARD COFFEE...
- Page 9 BREWING CAPPUCCINO or LATTE If Water Spout is in, please remove it. Fill milk container and insert Adjust length where water spout was. of milk spout. Set the desired level of milk foam. Refer to previous section Brewing Espresso for the espresso relalated part.
-
Page 10: Delivering Hot Water
DELIVERING HOT WATER Delivering hot water 1. Make sure the hot water spout is attached correctly 2. Place a container under the spout (as close as possible to avoid splashes). 3. Press the button: “Hot Water” is displayed, together with a progress bar which fills gradually as preparation proceeds. -
Page 11: Measuring Water Hardness
TEST YOUR WATER Measuring Water Hardness 1. Remove the “total hardness test” indicator paper attached to the instructional manual from its pack. 2. Immerse the paper completely in a glass of water for one second. 3. Remove the paper from the water and shake lightly. After about a minute, 1, 2,3, or 4 red squares form, depending on the hardness of the water. -
Page 12: Water Filter
WATER FILTER Installing the filter 10. Turn the dial until the “Installed 1. Remove the filter from the Filter” is displayed. packaging. 11. Press the button to confirm 2. Turn the date indicator disk the selection. (A) until the next 2 months of 12. - Page 13 DESCALING Descale the machine when the message and “FILL TANK” alternate on the display. 10. The appliance is now ready for rinsing “DESCALE” flashes on the display. through with clean water. Empty the container 1. Turn the appliance on and wait until it is ready used to collect the descaler solution.
- Page 14 ACCESSORIES Enjoy our full line of drinkware: an exclusive line of Espresso, Cappuccino and Latte glasses. Care Kit Line Experience the De’Longhi Care Kit Line to improve the performance of your fully automatic machine. EcoDecalk EcoDecalk mini Water Filter Coffee Care Kit Milk Clean ...
- Page 15 ECAM23460...
- Page 16 Better Everyday www.delonghi.com like us: DeLonghi North America – follow us @DeLonghiNA...
Need help?
Do you have a question about the MAGNIFICA S ECAM23460 and is the answer not in the manual?
Questions and answers