Kaba Simplex 5000 Installation Instructions Manual
Hide thumbs
Also See for Simplex 5000:
- Manual (54 pages) ,
- Instructions (2 pages) ,
- Installation instructions manual (20 pages)

Related Manuals for Kaba Simplex 5000


Summary of Contents for Kaba Simplex 5000
-
Page 1: Installation Instructions
5000 CYLINDRICAL INSTALLATION INSTRUCTIONS Kaba Access Control 2941 Indiana Avenue Winston-Salem, NC 27105 USA Tel: (800) 849-8324 (336) 725-1331 Fax: (800) 346-9640 (336) 725-3269 www.kabaaccess.com PKG2842 0407... -
Page 2: Table Of Contents
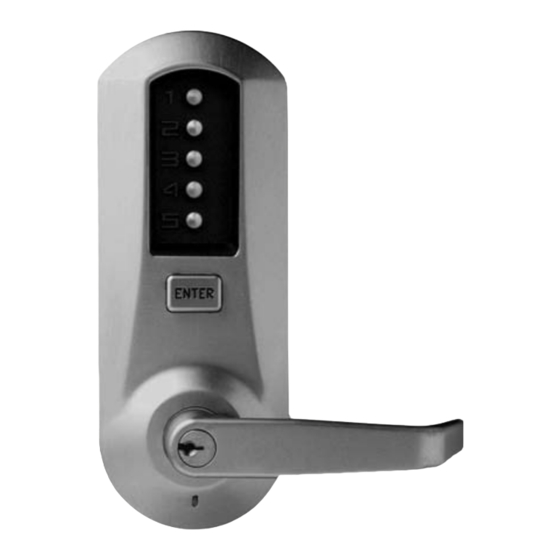
(Interchangeable / Removable Core models) The Simplex 5000 (Model 5021 shown above) is a non-handed lock that K. Testing The Operation Of The Lock ......... . .10 is preassembled for left-hand installations. -
Page 3: Door Preparation
LOCK HANDING Insert the key cylinder or turn knob assembly (a or b) into the opening The Simplex 5000 is a non-handed lock that is on the inside unit assembly (c). Upon completion, the arrow of the turn preassembled for left-hand door installations. -
Page 4: Installing Outside Unit Assembly
CHANGING KEY-IN-LEVER/KNOB CYLINDER INSTALLING INSIDE UNIT ASSEMBLY The Simplex 5000 outside lever/knob comes preassembled with Kaba's Note: Installing levers/knobs to the unit assemblies before key-in-lever/knob cylinder (Kaba 1599). To use a different key-in-lever/ mounting the unit assemblies may ease initial installation. -
Page 5: Installing/Removing Outside Lever/Knob
45 your KIL/KIK cylinder from the chart above. degrees. Insert the release tool (d) You must use a KABA tailpiece. The K-2 tailpiece into the small hole (e) under the is preassembled with the 1599 cylinder. lever/knob as shown. Gently push 45º... - Page 6 5x00 SERIES LIMITED WARRANTY Kaba Access Control warrants this product to be free from defects in material and workmanship under normal use and service for a period of three (3) years. Kaba Access Control will repair or replace, at our discretion, 5000 Series Locks found by Kaba Access Control analysis to be defective during this period.
- Page 7 Notes...
-
Page 8: Testing The Operation Of The Lock
Insert the supplied tailpiece (e) with the flat J-7 Insert the ASSA/Medeco/Yale tailpiece (e) vertically installed vertically into the outside lever/knob into the outside lever/knob as shown. Make certain (b) as shown. Make certain you rotate the that you rotate the tailpiece slightly so that it will tailpiece so that it aligns with the rear of the align with the interchangeable/ removable core. -
Page 9: Installing The Strike
INSTALLING THE STRIKE Interior Combination Change Unscrew special torx screw from inside housing Note: The latch and strike provided must be used. using supplied torx wrench. Enter your existing Mark location of strike on the door frame, making combination, and depress and release the certain that the strike opening is aligned (a) with “ENTER”... -
Page 10: Installing Rubber Bumpers
For alignment. Record the key stem number. This is the first number of your further assistance, call the Kaba Access Control technical support line at combination. 800-849-TECH (8324) or 336-725-1331 between 8AM and 5PM Eastern Note: If two gear pockets are at the same distance, depress Standard Time, Monday through Friday (except holidays). -
Page 11: Trouble Shooting
Clearing the Current Code and Setting a New Code P. TROUBLE SHOOTING Note: Align the code gear pockets with the “L” shaped legs. SYMPTOM POSSIBLE CAUSE REMEDY Depress the code change button (i) located on top of the combination chamber once and release. 1. -
Page 12: Notes
Notes Notes...
Need help?
Do you have a question about the Simplex 5000 and is the answer not in the manual?
Questions and answers