Table of Contents
Advertisement
Quick Links
Advertisement
Table of Contents

Summary of Contents for Oreck JP777
- Page 1 CANADA: 1-888-676-7325 WWW.ORECK.COM VISIT ONE OF OUR OVER 750 LOCATIONS A M A Z I N G ® ’ RAVEL TEAMER JP777 ODEL •IMPORTANT• SAVE THIS BOOKLET! Includes: Important Safety Instructions Warranty Operating Instructions REGISTER YOUR PRODUCT ON THE WEB: WWW.ORECK.COM...
-
Page 2: Safety Instructions
Be sure dual voltage selector is in correct position before operating (refer to the General Information Section). • To protect against a risk of electric shock, do not immerse the iron in water or other liquids. • The iron should always be turned OFF before plugging or unplugging from outlet. - Page 3 US: 1-800-989-3535 Canada: 1-888-676-7325 Warranty Oreck Corporation warrants the Travel Iron/Steamer (Model JP777) free from defects in material and workmanship under normal, non-commercial use and service. Oreck will remedy any such defects if they appear within one (1) year from date of purchase. This warranty gives you specific legal rights, and you may have other rights, which vary, from state to state.
-
Page 4: General Information
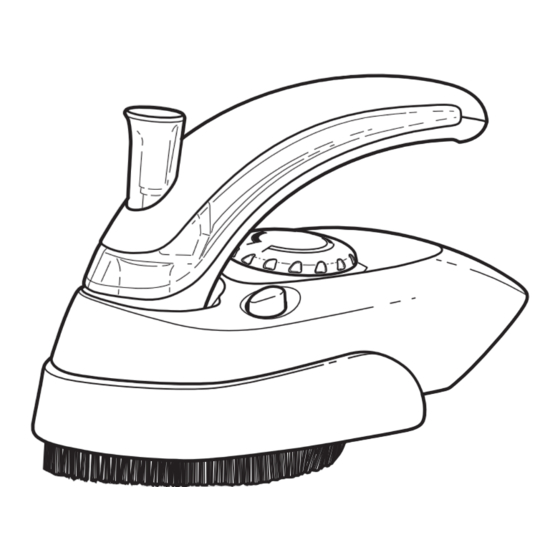
Assembly To assist you in identifying components of your Travel Iron/Steamer, the parts have been numbered as follows: 1. Steam Burst Button 2. Cord Protector/Power Cord 3. Water Tank Release Button 4. Water Tank Lid 5. Detachable Handle Cover/Water Tank 6. -
Page 5: Filling With Water
2. Plug the unit into a wall outlet. Set the temperature control knob to the max setting. The LED light will illuminate. 3. When the LED light goes out, it means the iron reached the working temperature. The LED light will come on and go out regularly during ironing to indicate that the temperature control is working properly. - Page 6 Using as a Dry Iron This iron can also be used without steam as a Dry Iron even if there is water inside the water tank. 1. Unwrap the cord and plug the unit into a wall outlet. Set the temperature control knob to the desired setting.
- Page 7 6. Press the handle lock button to storage position (Fig. G). Loop cord loosely around Iron/Steamer when storing. 7. Do not disassemble or repair your Travel Iron/Steamer yourself, call Customer Service at: US: 1-800-989-3535 Canada: 1-888-676-7325. (Fig. G)
Need help?
Do you have a question about the JP777 and is the answer not in the manual?
Questions and answers