Table of Contents
Advertisement
Quick Links
Advertisement
Table of Contents

Related Manuals for Verilux HappyLight Deluxe HPLD


Summary of Contents for Verilux HappyLight Deluxe HPLD
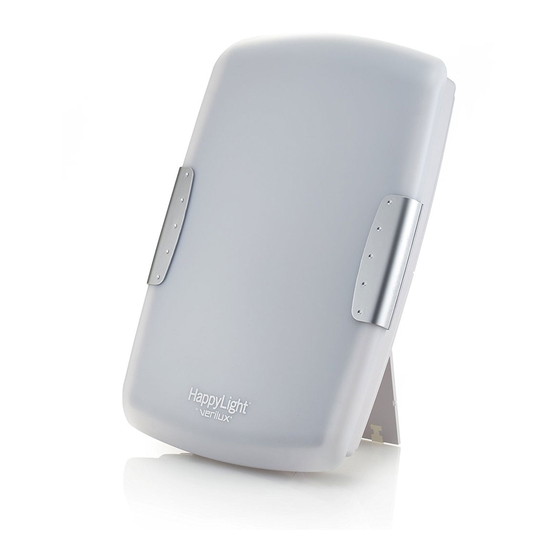
- Page 1 HPLD...
- Page 2 We look forward to serving you now and in the future. Many other healthy lighting products are available through our catalog and online. Visit us on the web at www.Verilux.com to request a free catalog and learn more about all our quality ®...
- Page 3 GENERAL PRECAUTIONS • Do NOT dismantle. • Do NOT place near fl ammable or combustible items. • Do NOT alter power cord. • Unplug from electrical outlet during lightning storms or when unused for long periods of time. • Unplug from electrical outlet before cleaning or changing bulbs. •...
- Page 4 IMPORTANT SAFETY INSTRUCTIONS ® ® Thank you for purchasing the Verilux HappyLight Deluxe Sunshine Supplement Light System. Please read the following safety information before using. IMPORTANT: ® • Verilux does not make any • The light bulbs may become medical claims. This product is loose during transit.
- Page 5 IMPORTANT SAFETY INSTRUCTIONS THIS PRODUCT MUST BE GROUNDED. This product is equipped with a cord having an equipment–grounding conductor and a grounding plug. The plug must be plugged into anappropriate outlet that is properly installed and grounded in accordance with all local codes and ordinances. DANGER Improper connection of the equipment–grounding conductor can result in a risk of electric shock.
- Page 6 INSTRUCTIONS FOR USE ® To use the HappyLight Deluxe Sunshine Supplement Light System: 1. Plug into properly grounded outlet. 4. Time Exposure Recommendation for 10,000 Lux treatment: 2. Turn the unit on using the on/off switch. Allow a few minutes at the start of each session for bulbs to achieve full illumination.
- Page 7 INSTRUCTIONS FOR USE ® Hanging the HappyLight Place the screw (included) into the wall leaving approximately 3mm between the screw head and the wall. Be sure to use the included anchor if mounting into sheet rock or other soft material. Insert the screw head into the hole located in the upper part of unit.
- Page 8 BULB REPLACEMENT INSTRUCTIONS Step 1: Opening the Lens Cover ® Place the HappyLight on its back on a large fl at surface. Press down gently on the center of the lens cover. (See Figure 5). This releases the locking tabs located under the grey handles.
- Page 9 Gently lift the fl uorescent tube up and out of the clip holder. Grasp the tube by the white plastic base ® with the Verilux logo and remove the tube from the socket by pulling the tube towards the black cushion pads.
- Page 10 BULB REPLACEMENT INSTRUCTIONS Step 5: Closing the Bulb Clips Ensure the plastic bulb clips are centered on the white protective bands. Gently push on the upper portion of the fl uorescent tube until it slides snuggly into the clear plastic clip. Close the clip over the tube.
- Page 11 We recommend ® problem. Please call Verilux that you purchase insurance when Customer Service at shipping this unit or any parts. Be 1-888-544-4865.
- Page 12 During the limited warranty period, Verilux, Inc. will, at its option, repair or replace defective parts of this product, at no charge to the customer, subject to the following limitations. This limited warranty does not include any postage, freight, insurance or delivery fees.
Need help?
Do you have a question about the HappyLight Deluxe HPLD and is the answer not in the manual?
Questions and answers