Advertisement
Advertisement
Table of Contents

Related Manuals for Sineoji PT492V

Summary of Contents for Sineoji PT492V
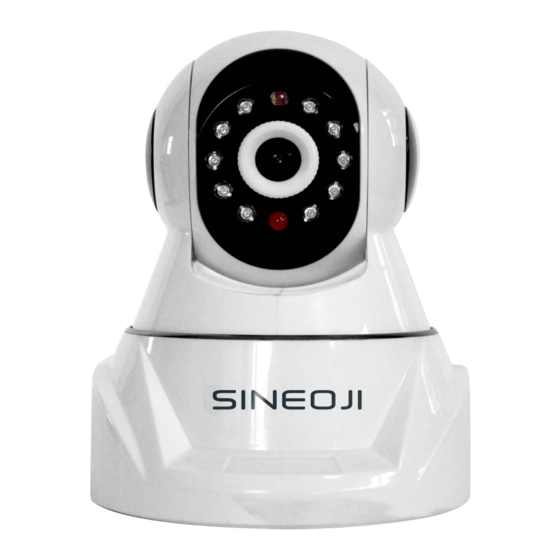
- Page 1 Quick Installation Guide PT492V, PT495V, PT497V, PT593V...
-
Page 2: Chapter 1: Hardware Installation
Chapter 1: Hardware Installation Connect the power adapter to the back of the ipcamera. Plug in an ethernet cable to to the ethernet port of the ipcamera. Connect the other end of the ethernet cable to the ethernet port of the Wireless Router (NOT MODEM). - Page 3 You may configure your ipcamera via wired or wireless connectivity:...
-
Page 4: Chapter 2: Software Installation
Chapter 2: Software Installation Browse the CD: 1. Run the application "Upgrade Tool" 2. Enter the username "admin" and Password "admin". 3. Click "Search" and note the ip address of the ip camera. 4. Open up your IE web browser, enter the ip address of the camera discovered by the upgrade tool. - Page 5 Note: If the plug-in has been installed, login directly. A. Click 'plug-in” to download and Install it. B. Refresh the webpage and login again,the camera video will be displayed as below C. Choose the Web Browser : IE, Google Chrome or FireFox. If your default Web Browser on your PC is Google Chrome, ensure you select Google Chrome in this option.
-
Page 6: Chapter 3 : Background Configuration
i e ideo of ro ser Listen Audio Video Photograph Cruise Digital zoom Video&Photo saving path Background settings Video&Photo online playback Chapter 3 : Background Configuration Video settings 1) Background - the “Video settings” 2) Both the first and second stream can be edited . 3) Mobile picture resolution can be edited. - Page 7 Record Settings 1) Background - the “Record settings” 2) Video files duration, switch , stream and schedule can be edited in this category . Alarm Service Settings 1) Background - the “Alarm service settings” 2) Linkage set including path, relay time, siren and preset position. 3) Images capture number and schedule .
-
Page 8: Email Settings
Email settings 1) Background - the “Email settings” 2) Fill out the email information exactly ,then apply it before submitting it for test. 3) This function works when the IP camera is connected to the network. Whe using Gmail, the port is 465, TLS. - Page 9 Checking the WIFI signal connection situation Motion detection 1) Background - the “Motion detection ”. Four areas can be selected for motion detection. Once alarm has been triggered ,the green selection will turn red. 3).The size , position can be changed accordingly. Video shade 1) Background - the “Video shade”.
-
Page 10: Chapter 4 : Basic Functions Settings
Chapter 4 : Basic functions settings FTP settings DDNS settings 1) Make sure the UPNP port forwarding is ON and port forwarding have been enabled on the main router . 2) 2) Enter the server, username, password and domain, Select APPLY. - Page 11 Multiple settings Image settings 1) Background - the “Image settings”. 2) The related image parameters can be edited. If you are running on a windows8 platform, follow this steps if some of the parameters has been disabled.
- Page 12 Product carried a warranty of 2 years from the date of purchase. Warranty registration can be done via online at http://www.sineoji.com/support/product-registration. Ensure a copy of the proof of purchase is submitted online during the registration process. The Warranty will not apply in respect: a.
- Page 13 To the full extent permitted by law: Sineoji will not be liable for any loss, damage or alterations to third party hardware, software, programs, data and/or information stored on any media or any part of the Product, no matter how occurring; or for any loss or damage arising from loss of use, loss of profits or revenue, or for any resulting indirect or consequential loss or damage.
Need help?
Do you have a question about the PT492V and is the answer not in the manual?
Questions and answers