Table of Contents
Advertisement
Quick Links
na n
oq
User's Guide For
nanoQ DASH CAMERA
Please read this manual carefully before using.
This manual should be kept for future reference.
WARNING: The dash camera should be set up before driving.
Concentration should always be maintained on the task of
driving, let the dash camera record accidents caused by others
not by youself.
www.nanodashcam.com
Advertisement
Table of Contents

Related Manuals for NANO Q


Summary of Contents for NANO Q
- Page 1 na n User's Guide For nanoQ DASH CAMERA Please read this manual carefully before using. This manual should be kept for future reference. WARNING: The dash camera should be set up before driving. Concentration should always be maintained on the task of driving, let the dash camera record accidents caused by others not by youself.
-
Page 2: Specification
SPECIFICATION nanoQ camera specification SONY IMX322 2MP CMOS image sensor 135° angle view field, F1.7 aperture 1.5inch TFT LCD screen full HD recording 1920*1080px 16:9 30fps HD recording 1280*720px 16:9 60fps H.264 coding MOV file recording supports microSD card up to 64GB supports WiFi host for mobile device live view and playback supports Wide Dynamic Range boost supports GPS trace logging... - Page 3 PRECAUTIONS – Do not expose the dash camera to dusty, dirty or sandy conditions, if these gets into the camera or on the lens it can damage the components. – Do not expose the dash camera to high temperatures. The normal operating temperature of the dash camera is -10 C to 60 C (14F to 140F)...
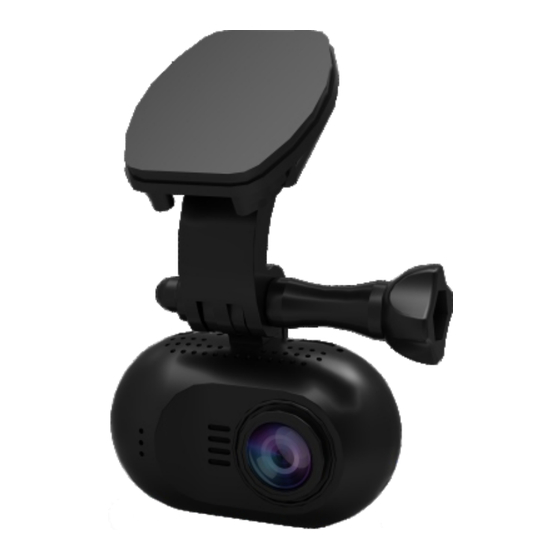
- Page 4 APPEARANCE nanoQ camera 1 - mount 2 - top cooling holes 3 - speaker holes 4 - CPL mounting ring 5 - lens 6 - front cooling holes 7 - bottom cooling holes camera mounting bracket 21 - 3M pad 22 - microUSB port 23 - GPS antenna 24 - knob...
- Page 5 APPEARANCE 8 - microUSB port 9 - HDMI port 10 - GPS contacts 11 - POWER button 12 - MODE button 13 - INDICATOR button 14 - LED indicator 15 - 1.5" TFT screen 16 - UP button 17 - OK button 18 - DOWN button 19 - microUSB port 20 - AV-out port...
-
Page 6: Operation
OPERATION Read this chapter to know how to operate the camera. TURN ON /OFF YOUR CAMERA You may turn on the camera by pressing the power button. You may turn off the camera by holding the power button for 3 seconds. - Page 7 OPERATION PLAYBACK ON TV When the camera is connected to a TV with an HDMI cable, the camera screen will be turn off and transfer the display to the TV. The operation will be the same as when using playback on the camera.
-
Page 8: Video Resolution
SETTING The 0806 camera is pre-configured to provide you with a simple plug and play experience - the default settings are the most popular options. Please read this chapter to help you to customize the camera setting, when you require a slightly different experience. WiFi HOST Here you can active / disable the WiFi host function to allow a mobile device to connect the camera for live view or playback. - Page 9 SETTING +1.0 +1.3 +1.7 +2.0 FLICKER Here you can set the sensor flicker frequency to fit your AC power frequency and reduce the effect of flickering lamps. Please leave it AUTO if you don’t know which frequency is in use in your country. options: AUTO 60HZ...
-
Page 10: Parking Guard
SETTING PARKING GUARD When you have turned off your engine, the nanoQ camera will detect the battery voltage change and launch Parking Guard mode (connected Parking Guard hardwire kit). The video recording will be low frame rate to save storage space. Once any impact over the threshold value is detected, the camera will change to normal recording mode to save a 30 second video clip. - Page 11 SETTING G-SENSOR SENSITIVITY The G-sensor is used to detect the 3-axis impacting forces. If any impact over the threshold value is detected, the current recording file will be locked/protected to avoid being over-writen. Here you can define the sensitivity threshold value. options: 2.5G 3.5G...
-
Page 12: Restore Defaults
SETTING DATE STAMPING Here you can define the date stamping format on video. options: YYMMDD MMDDYY DDMMYY TIME STAMPING Here you can define the time stamping format on video. options: 12 HOURS 24 HOURS DATE AND TIME Here you can set the system date and time manually. The date/time information will be automatically updated if GPS satellites are connected. - Page 13 WHITE BALANCE EXPOSURE 0.0EV COMPENSATION LOOP RECORDING FILE LOCKED MIC ON VIDEO RECORDING MODE SYSTEM TIME BATTERY STATUS REMAINING TIME GPS INVALID RECORDING TIME MOTION DETECTION PARKING GUARD CARD B WORKING RECORDING PLAYER Registrator Viewer MAP AREA VIDEO AREA PROGRASS FILE LIST SPEED G-SENSOR...
-
Page 14: Control Box
ACCESSORIES All the accessories listed in this page are optional. CPL filter Reduce the reflection from shiny surface like vegetation, sweaty skin, water surface, glass, road, and let the natural color come through at the same time. Some of the light coming from the sky is also polarized to give a more dramatic sky and high contrast clouds, rendering outdoor scenes... -
Page 15: Troubleshooting
TROUBLESHOOTING Can't record a video or take picture Please check that there is enough storage space on the microSD card, or the files are all protected (read only attribute). Camera stops recording occasionally Because the data stream of high-definition video is huge, please use a high- speed Class 6 or Class 10 microSD card that compatible with SDHC. - Page 16 MORE THAN A DASH CAMERA n ano...
Need help?
Do you have a question about the Q and is the answer not in the manual?
Questions and answers