Sign In
Upload
Download
Table of Contents
Contents
Add to my manuals
Delete from my manuals
Share
URL of this page:
HTML Link:
Bookmark this page
Add
Manual will be automatically added to "My Manuals"
Print this page
×
Bookmark added
×
Added to my manuals
Manuals
Brands
Toro Manuals
Seeders
23510
Operator's manual
Toro 23510 Operator's Manual
20in turf seeder
Hide thumbs
1
2
Table Of Contents
3
4
5
6
7
8
9
10
11
12
13
14
15
16
17
18
19
20
21
22
23
24
25
26
27
28
29
30
31
32
page
of
32
Go
/
32
Contents
Table of Contents
Bookmarks
Table of Contents
Table of Contents
Safety
Safe Operating Practices
Safety and Instructional Decals
Setup
Unfolding the Handle
Checking the Engine Oil Level
Product Overview
Controls
Specifications
Torque Requirements
Attachments/Accessories
Operation
Checking the Engine Oil Level
Adding Fuel
Starting and Stopping the Engine
Operating the Self-Propel Drive
Operating the Blade-Control Bail
Operating the Machine
Using the Seed Cover
Adjusting the Cutting-Blade Depth
Adjusting the Seeding-Rate Gauge
Checking the Seed Gate
Operating Tips
Transporting the Machine
Maintenance
Recommended Maintenance Schedule(S)
Premaintenance Procedures
Disengaging the Hydrostatic Drive
Disconnecting the Spark-Plug Wire
Lubrication
Lubricating the Slicer-Shaft Bearings
Engine Maintenance
Servicing the Air Cleaner
Servicing the Engine Oil
Servicing the Spark Plug
Checking the Spark Arrester (if Equipped)
Fuel System Maintenance
Emptying the Fuel Tank
Drive System Maintenance
Checking the Tire Pressure
Adjusting the Self-Propel Drive
Changing the Hydraulic-Transmission Fluid
Belt Maintenance
Checking the Condition of the Belts
Adjusting the Self-Propel Drive-Belt Tension
Maintaining the Cutting Blades
Checking and Replacing the Blades
Seed Gate Maintenance
Adjusting the Seed-Gate Closed Position
Cleaning
Cleaning the Engine Area
Cleaning under the Machine
Cleaning under the Belt Cover
Cleaning the Seed Gate
Storage
Removing the Machine from Storage
Advertisement
Quick Links
1
Controls
2
Adjusting the Cutting-Blade Depth
3
Adjusting the Seeding-Rate Gauge
Download this manual
Register at www.Toro.com.
Original Instructions (EN)
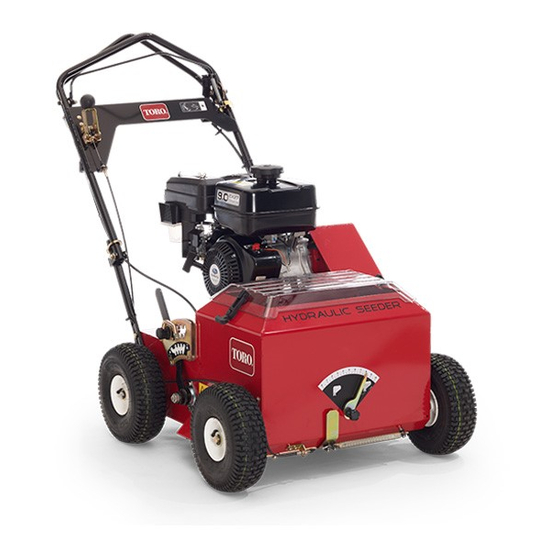
20in Turf Seeder
Model No. 23510—Serial No. 314000001 and Up
Model No. 33510—Serial No. 314000001 and Up
Form No. 3383-385 Rev B
*3383-385* B
Table of
Contents
Previous
Page
Next
Page
1
2
3
4
5
Advertisement
Table of Contents
Need help?
Do you have a question about the 23510 and is the answer not in the manual?
Ask a question
Questions and answers
Subscribe to Our Youtube Channel
Related Manuals for Toro 23510
Seeders Toro 23511 Operator's Manual
18in turf seeder (24 pages)
Seeders Toro 23511 Operator's Manual
18in turf seeder (24 pages)
Seeders Toro 23508 Operator's Manual
20in turf seeder (35 pages)
Seeders Toro 23508—400000000 Tool Turn Manual
20in turf seeder (2 pages)
Seeders Toro 23512 Operator's Manual
20in turf seeder (36 pages)
Seeders Toro 33512 Operator's Manual
20in turf seeder (36 pages)
Seeders Toro 135-6822 Installation Instructions Manual
Ce conversion kit 20in turf seeder (20 pages)
This manual is also suitable for:
33510
Table of Contents
Print
Rename the bookmark
Delete bookmark?
Delete from my manuals?
Login
Sign In
OR
Sign in with Facebook
Sign in with Google
Upload manual
Upload from disk
Upload from URL


Need help?
Do you have a question about the 23510 and is the answer not in the manual?
Questions and answers