Sony MHC-D60 Operating Instructions Manual
Hide thumbs
Also See for MHC-D60:
- Operating instructions manual (44 pages) ,
- Operating instructions manual (44 pages)
Table of Contents
Advertisement
Downloaded From Disc-Player.com Sony Manuals
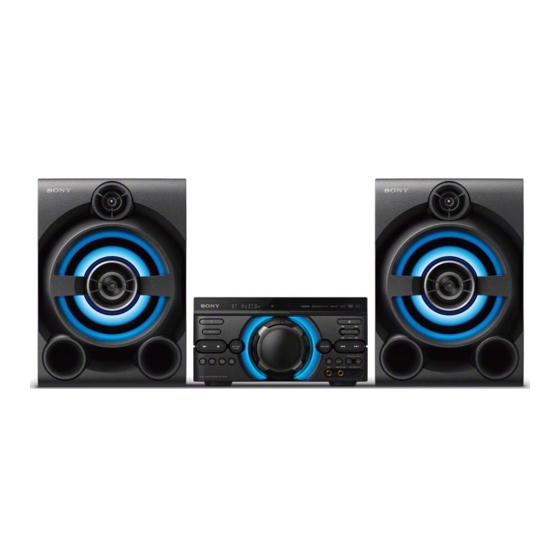
Mini Hi-Fi
Component
System
Operating Instructions
Owner's Record
The model and serial numbers are located on the rear panel. Record the serial
number in the space provided below. Refer to them whenever you call upon your
Sony dealer regarding this product.
Model No.
f
MHC-D60
MHC-GR7
MHC-GR7J
MHC-RX70
©1997 by Sony Corporation
3-859-942-11(1)
Serial No.
Advertisement
Table of Contents


Need help?
Do you have a question about the MHC-D60 and is the answer not in the manual?
Questions and answers