
Related Manuals for Montana MONTANA GRILL 6


Summary of Contents for Montana MONTANA GRILL 6
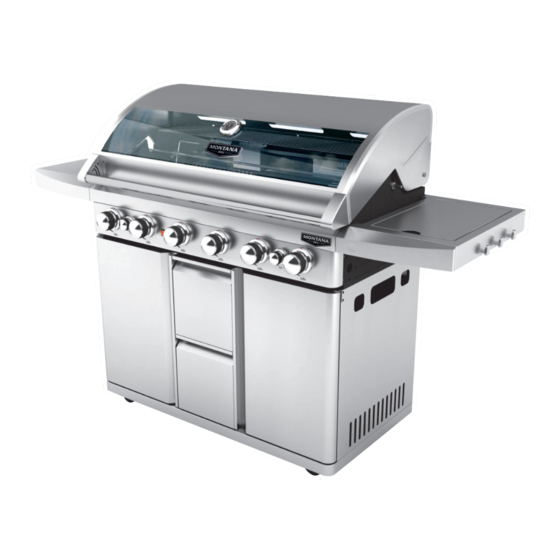
- Page 1 MONTANA GRILL 6 BURNER GAS BARBEQUE - OWNERS MANUAL MONTANA GRILL 6 BURNER GAS BARBEQUE - OWNERS MANUAL Retain manual for future reference Retain manual for future reference...
- Page 2 We’d like to thank you for choosing a Montana Grill gas barbeque. We believe that our barbeque will provide you with the many years of reliable service that you have come to expect of anything with the Montana Grill name on it.
-
Page 3: Parts List
PARTS LIST PARTS LIST ITEM DESCRIPTION QUANTITY PICTURE ITEM DESCRIPTION QUANTITY PICTURE CART BOTTOM DRAWER HORIZONTAL STRENGTHEN WELD SUPPORT RIGID CASTER STORE BATTERY SWIVEL CASTER MOTOR CART LEFT PANEL WELD MOTOR SUPPORT CART RIGHT PANEL WELD FORK A CART REAR PANEL FORK B GAS TANK TRAY CLUMP WEIGHT... -
Page 4: Setting Up The Barbeque
SETTING UP THE BARBEQUE THIS APPLIANCE SHALL ONLY BE USED IN AN ABOVE GROUND OPEN AIR SITUATION WITH NATURAL VENTILATION, WITHOUT STAGNANT AREAS, WHERE GAS LEAKAGE AND PRODUCTS OF COMBUSTION ARE RAPIDLY DISPERSED BY WIND AND NATURAL CONVECTION. 1. POSITIONING Please make sure that the barbeque is NOT positioned underneath any combustible material or surface. -
Page 5: Assembly And Installation
ASSEMBLY & INSTALLATION PLEASE ENSURE THAT YOU HAVE ALL PARTS AND FASTENERS BEFORE BEGINNING ASSEMBLY. STEP 1 ATTACH CASTERS 1. Turn Cart Bottom Plate Assembly (1) upside down. 2. Align each caster on each of the cart bottom caster plates, as shown in diagram. 3. - Page 6 STEP 4 ATTACH GAS TANK TRAY AND MAGNET 1. Align Gas Tank Tray (7) pre-drilled holes to the right of Cart Bottom pre-drilled holes, as shown in diagram. 2. Thread 4xBolt (A) first with Spring Washer (B) and then Flat Washer (C). 3.
- Page 7 STEP 6 ATTACH DOOR AND DOOR UPPER 1. Align Door Upper (10) between top of left and right panels pre-drilled holes and in front of both Drawer Vertical Support (26), as shown in diagram. 2. Thread 2xBolt (D) first with Spring Washer (B) and then Flat Washer (C) and lastly left Door Axis Support-L (34) as shown in diagram. 3.
- Page 8 STEP 8 ATTACH LEFT SIDE SHELF TO BODY & LID ASSEMBLY 1. Thread 2xBolts (E) through Spring Washer (B), Flat Washer (C), rear side of shelf into 1xSide Spacer Rear (16). 2. Thread 2xBolts (E) through Spring Washer (B), Flat Washer (C), front side of shelf into 1xSide Spacer Front (15). 3.
- Page 9 STEP 10 PLACEMENT OF SIDE BURNER ASSEMBLY AND SIDE GRILL 1. Thread side burner hose through hole in right-side Body & Lid Assembly (12) and place behind side burner fascia as shown in diagram. 2. Unscrew side burner hose nut and place valve nozzle end of hose through side burner bracket as shown in diagram.
- Page 10 STEP 12 STEP 13 PLACEMENT OF OIL CUP MOUNT ROTISSERIE 1. Working from the back, slide Oil Cup (24) 1. Align Motor Sup (30) to pre-drilled left-hand side of Body & Lid Assembly (12) holes as shown in diagram. into the brackets under the Fat Tray, 2.
-
Page 11: If You Smell Gas
IMPORTANT HEALTH & SAFETY INFORMATION 1. WARNING FOR OUTDOOR USE ONLY! DO NOT USE INDOORS Please read these instructions carefully prior to assembly and use. Failure to follow these instructions could lead to serious injury and/or significant damage to property. Do not start the barbeque if there is any doubt over the correct assembly, ignition, gas control or cooking of the unit. - Page 12 LEAK TEST To test for leaks, turn on the gas bottle valve and apply soap suds to the areas shown. Watch carefully for any signs of bubbling, which indicate a gas leak. WARNING The design of the barbeque is with one solid hotplate only. More than one solid hotplate will create a dangerous situation where the barbeque can overheat.
- Page 13 TEPPANYAKI TIPS: Keep a small bottle of light cooking oil handy, as food will stick if the surface isn’t kept well oiled. WOK COOKING: Wok cooking is fast, easy and increasingly popular. The great advantage of having a wok burner on your Montana Grill barbecue is that you can do several types of cook at the one time.
-
Page 14: Maintenance
MAINTENANCE There are a couple of maintenance procedures that you should carry out at least once a year. BURNER: Once a year, remove the burner and inspect it for any signs of blockage. If necessary, clear any obstructions with compressed air or short piece of stiff wire. Remove any rust and dirt with a wire brush. -
Page 15: Warranty
Thankyou for purchasing one of our quality Montana Grill BBQs. YOUR MONTANA GRILL BBQ IS COVERED AGAINST DEFECTS FOR A PERIOD OF 1 YEAR FOR PARTS AND LABOUR, REPAIR OR REPLACEMENT. THIS WARRANTY EXCLUDES SURFACE RUST AND DAMAGE CAUSED BY ABUSE OR NEGLECT. IT IS HIGHLY RECOMMENDED DUE TO NEW ZEALAND’S OFTEN Any claim under this warranty must be made within 1 year of the date of purchase of the product.
Need help?
Do you have a question about the MONTANA GRILL 6 and is the answer not in the manual?
Questions and answers